Add custom images to your product tags and display them on product and archive pages
- Download the .zip file from your WooCommerce account.
- Go to: WordPress Admin > Plugins > Add New and Upload Plugin with the file you downloaded with Choose File.
- Install Now and Activate the extension.
More information at
Install and Activate Plugins/Extensions.
Once the plugin is installed and activated, you will notice a new item under WooCommerce >
Custom Product Tag Image.
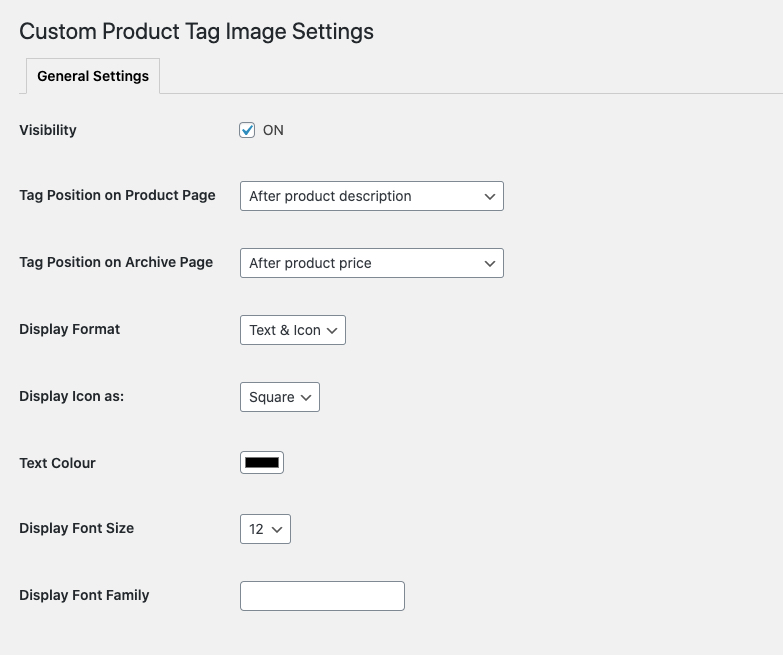
The general settings tab enables you to configure following details,
- Turn on/off the tags visibility
- Customize tag position for product & archive pages (select none to hide)
- Display text, icon or both
- Display image in square or circle style
- Customize font size and family
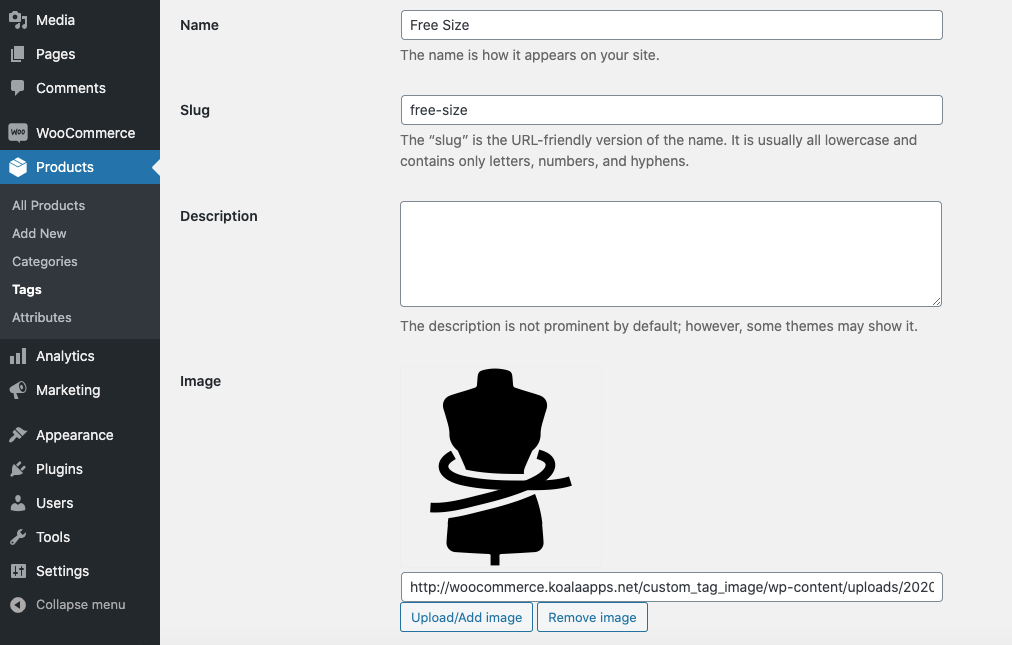
Once the extension is installed and visibility is set as “ON” you will notice an image upload option with your products > tags. You can add images to existing tags or create new tags and add images.
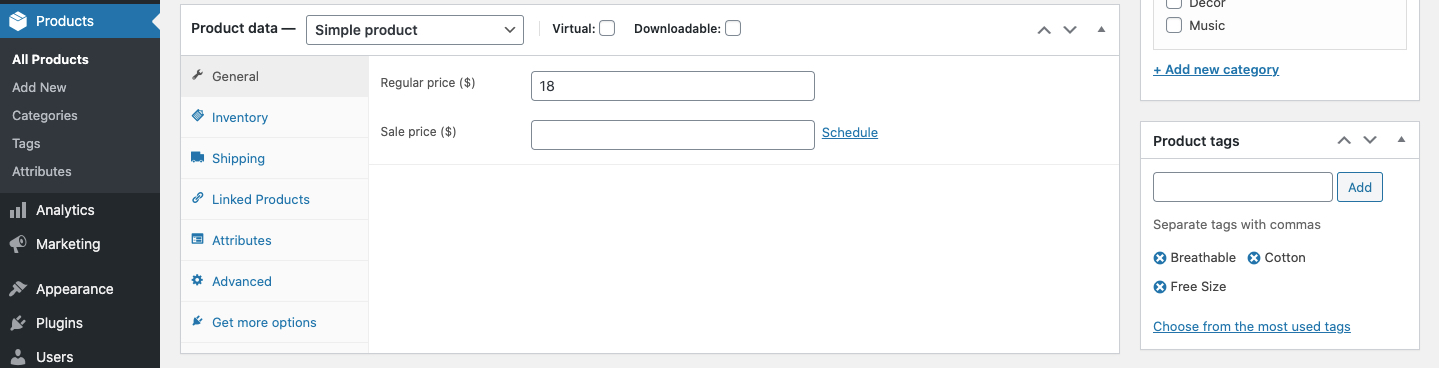
Once the tags are created you can assign them to products individually. You can assign these tags in bulk using the bulk edit feature in product grid.