Clearpay has transformed the way people pay by allowing shoppers to receive products immediately and pay in 3 or 4 instalments over a short period of time. The service is completely free for customers who pay on time – helping consumers spend money responsibly, without incurring interest, fees or revolving in extended debt.
Clearpay is offered by over 85,000 of the world’s best retailers and has more than 14 million active customers globally. The service is currently available in the United Kingdom, as well as Australia, Canada, New Zealand, the United States where its called Afterpay.
Getting Started
↑ Revenir en hautWordPress Version
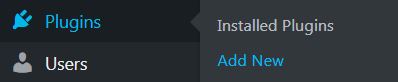
↑ Revenir en haut Please note that the WooCommerce version must be 2.6 or greater to integrate with Clearpay. The WooCommerce version can be found under: WordPress Admin > Plugins > Installed Plugins
 Please note that Store Currency must correspond to the Clearpay account region.
- Navigate to: WordPress Admin > WooCommerce > Settings > General
- Under ‘Currency options’, the ‘Currency’ must be:
- Pound sterling (£)
- Euro(€)

Installation
↑ Revenir en haut- Navigate to: WordPress Admin Dashboard
- Navigate to: Plugins > Add New
- Type ‘Clearpay’ into the Keyword search box.

- Locate the ‘Clearpay Gateway for WooCommerce’ plugin and click ‘Install Now’.

- Once the installation is complete, click the ‘Activate’ button.

Configure Plugin
↑ Revenir en haut- Navigate to: WordPress Admin Dashboard
- Navigate to: Plugins > Installed Plugins
- Locate the ‘Clearpay Gateway for WooCommerce’ in the plugin list and click the ‘Settings’ button.

- Navigate to the ‘Core Configuration’ section.

- Enter the Merchant ID provided by Clearpay into the ‘Merchant ID’ field.

- Enter the Secret Key provided by Clearpay into the ‘Secret Key’ field.

- Click the ‘Save changes’ button at the bottom of the page.

Update Plugin
↑ Revenir en haut Note: Please consider taking a backup of the website files and data prior to performing the update.
- Navigate to: WordPress Admin Dashboard
- Navigate to: Plugins > Installed Plugins
- Locate the ‘Clearpay Gateway for WooCommerce’ in the plugin list. Note: The version update notification will be displayed, with links to the release details and to updated the plugin.
- Click the ‘update now’ link.
.png") The ‘Clearpay Gateway for WooCommerce’ plugin will now commence the update process.
The ‘Clearpay Gateway for WooCommerce’ plugin will now commence the update process.
.png") Once complete, the notification bar will turn green and the text will change to ‘Updated!’.
Once complete, the notification bar will turn green and the text will change to ‘Updated!’.
.png")
Express Checkout
↑ Revenir en haut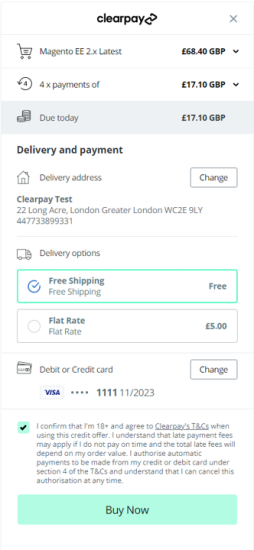
Checkout Steps for Customers
↑ Revenir en haut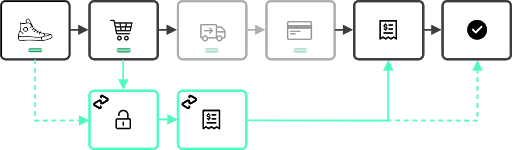
Enable or Disable Express Checkout
↑ Revenir en haut- Navigate to: WordPress Admin Dashboard
- Navigate to: Plugins > Installed Plugins
- Locate the ‘Clearpay Gateway for WooCommerce’ in the plugin list and click the ‘Settings’ button.
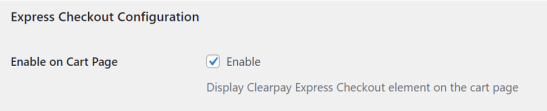
- Find ‘Express Checkout Configuration’ and toggle the checkbox.
Check Product Eligibility
↑ Revenir en haut/*** @param bool $bool_result* @param WC_Product $product*/function clearpay_ips_callback( $bool_result, $product ) {# My custom products don’t support Clearpay.if ($product->get_type() == ‘my-custom-product-type’) {$bool_result = false;} return $bool_result;}add_filter( ‘clearpay_is_product_supported’, ‘clearpay_ips_callback’, 10, 2 );
Display on Individual Product Pages
↑ Revenir en hautclearpay_html_on_individual_product_pages *Note: This is intended for altering the HTML based on custom, varying criteria. For setting the default HTML, use the admin interface under: “WooCommerce > Settings > Checkout > Clearpay”. For hiding the HTML for a subset of products, consider using the following filter hook: clearpay_is_product_supported
/** * @param string $str_html* @param WC_Product $product* @param float $price*/ function clearpay_hoipp_callback( $str_html, $product, $price ) {# Show a different message for products below a custom threshold.# Note that this will only be called if the product price is within# the payment limits defined at the account level.if ($price < 10.00) {$str_html = “<p>Shop Now, Pay Later with Clearpay. Supported for orders over $10.00</p>”; }return $str_html;}add_filter( ‘clearpay_html_on_individual_product_pages’, ‘clearpay_hoipp_callback’, 10, 3 );
Display on Category Pages and Search Results
↑ Revenir en hautclearpay_html_on_product_thumbnails
clearpay_is_product_supported
Display on the Cart Page
↑ Revenir en hautclearpay_html_on_cart_page
Display at the Checkout
↑ Revenir en hautclearpay_html_at_checkout
Customising Hooks & Priorities
↑ Revenir en haut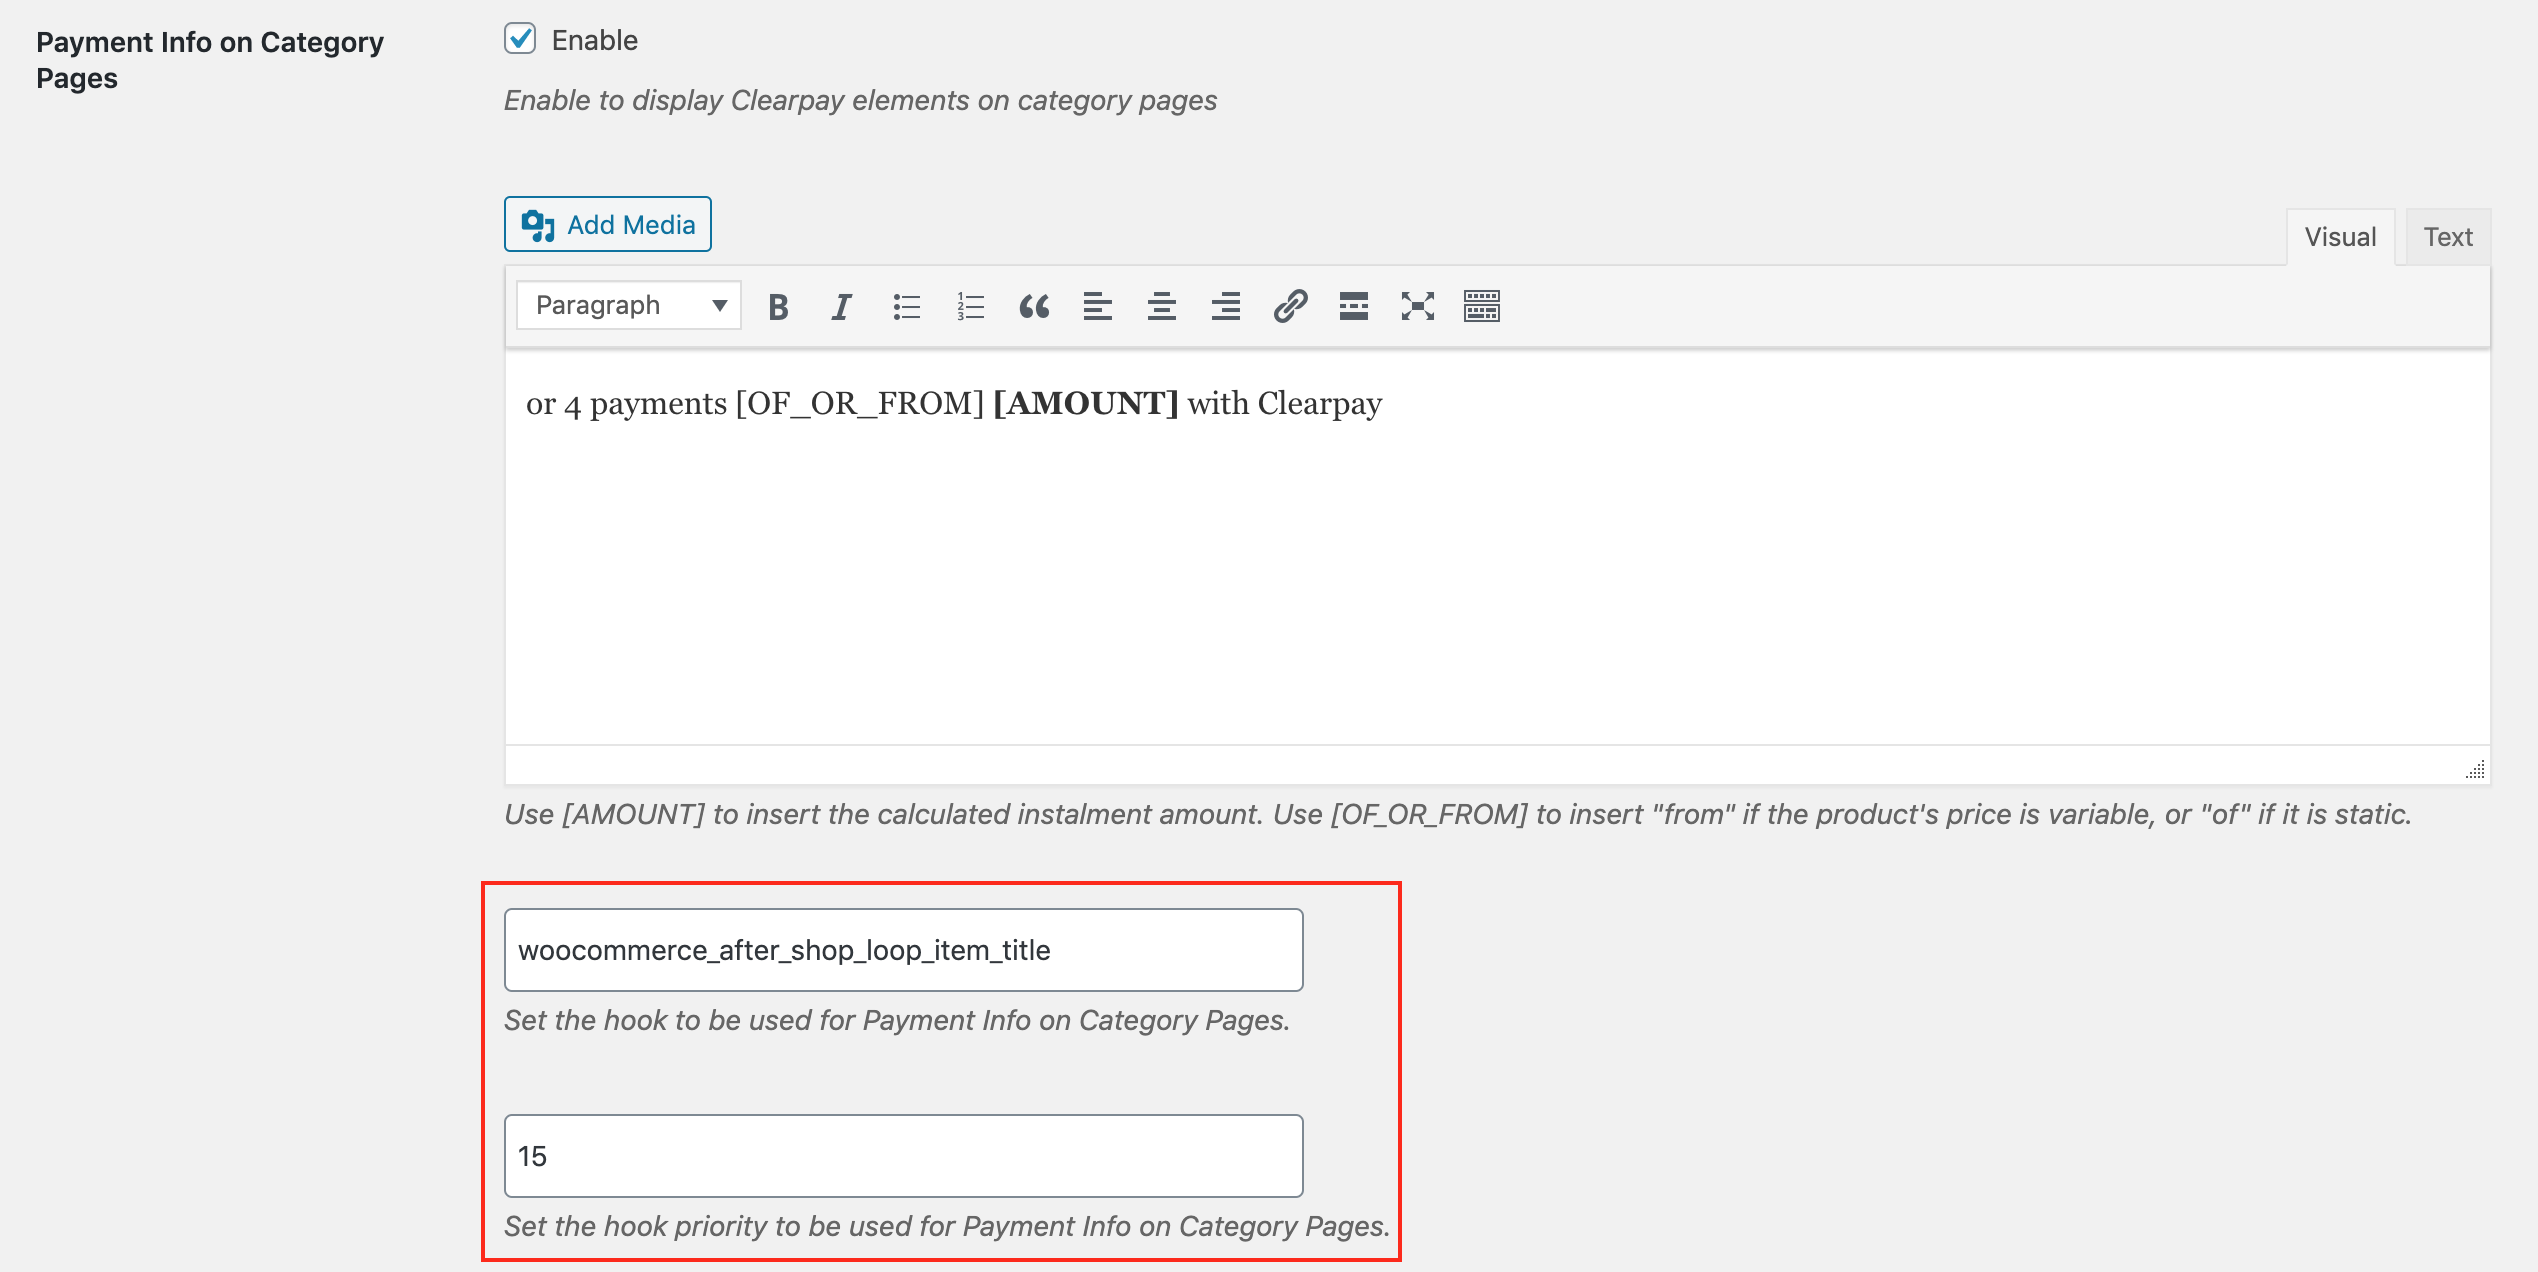
Shortcodes
↑ Revenir en hautClearpay Product Logo
This is provided for rendering an advancedimg tag for displaying the Clearpay logo on individual product pages. The img tag uses the srcset attribute to include 3 different resolutions of the logo for screens with varying pixel density ratios.
Or make 4 payments [OF_OR_FROM] [AMOUNT] with [clearpay_product_logo]
colourblackwhite
colour. This can be overridden by including a theme attribute inside the shortcode. For example, if you have a dark themed website and wish to use the white mono version of the Clearpay logo:
Or make 4 payments [OF_OR_FROM] [AMOUNT] with [clearpay_product_logo theme=”white”]
FAQ
↑ Revenir en hautWhy is Clearpay not showing on product pages?
↑ Revenir en hautwoocommerce_single_product_summary Note: The ‘Payment Info on Individual Product Pages’ setting must also be enabled, and the product must be eligible. For advanced configuration, see our hooks documentation
Why is Clearpay not showing on category and search result pages?
↑ Revenir en hautwoocommerce_after_shop_loop_item_title Note: The “Payment Info on Category Pages” setting must also be enabled, and the product/s must be eligible. For advanced configuration, see our hooks documentation
Why is Clearpay not showing on the cart page?
↑ Revenir en hautwoocommerce_cart_totals_after_order_total
When do I get paid?
↑ Revenir en hautSettlement payments are processed 1-5 business days after the order date, with banks typically taking an additional day or two to deposit the settlement into your company account.