WooCommerce My Account Page Editor enables you to customize my account page. Add new custom endpoints to display additional information on my account page.
- Download the .zip file from your WooCommerce account.
- Go to: WordPress Admin > Plugins > Add New and Upload Plugin with the file you downloaded with Choose File.
- Install Now and Activate the extension.
More information at
Install and Activate Plugins/Extensions.
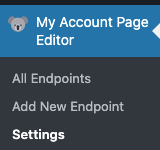
Once the plugin is installed and activated, you will notice a new menu item in WordPress Admin panel >
My Account Page Editor.
The
All Enpoints show the list of custom endpoints created using this plugin.
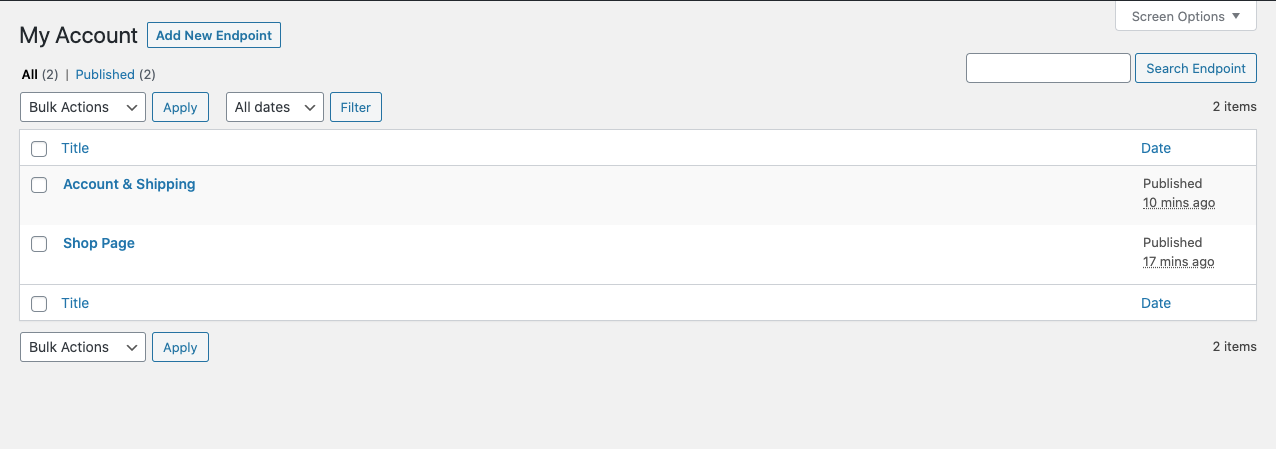
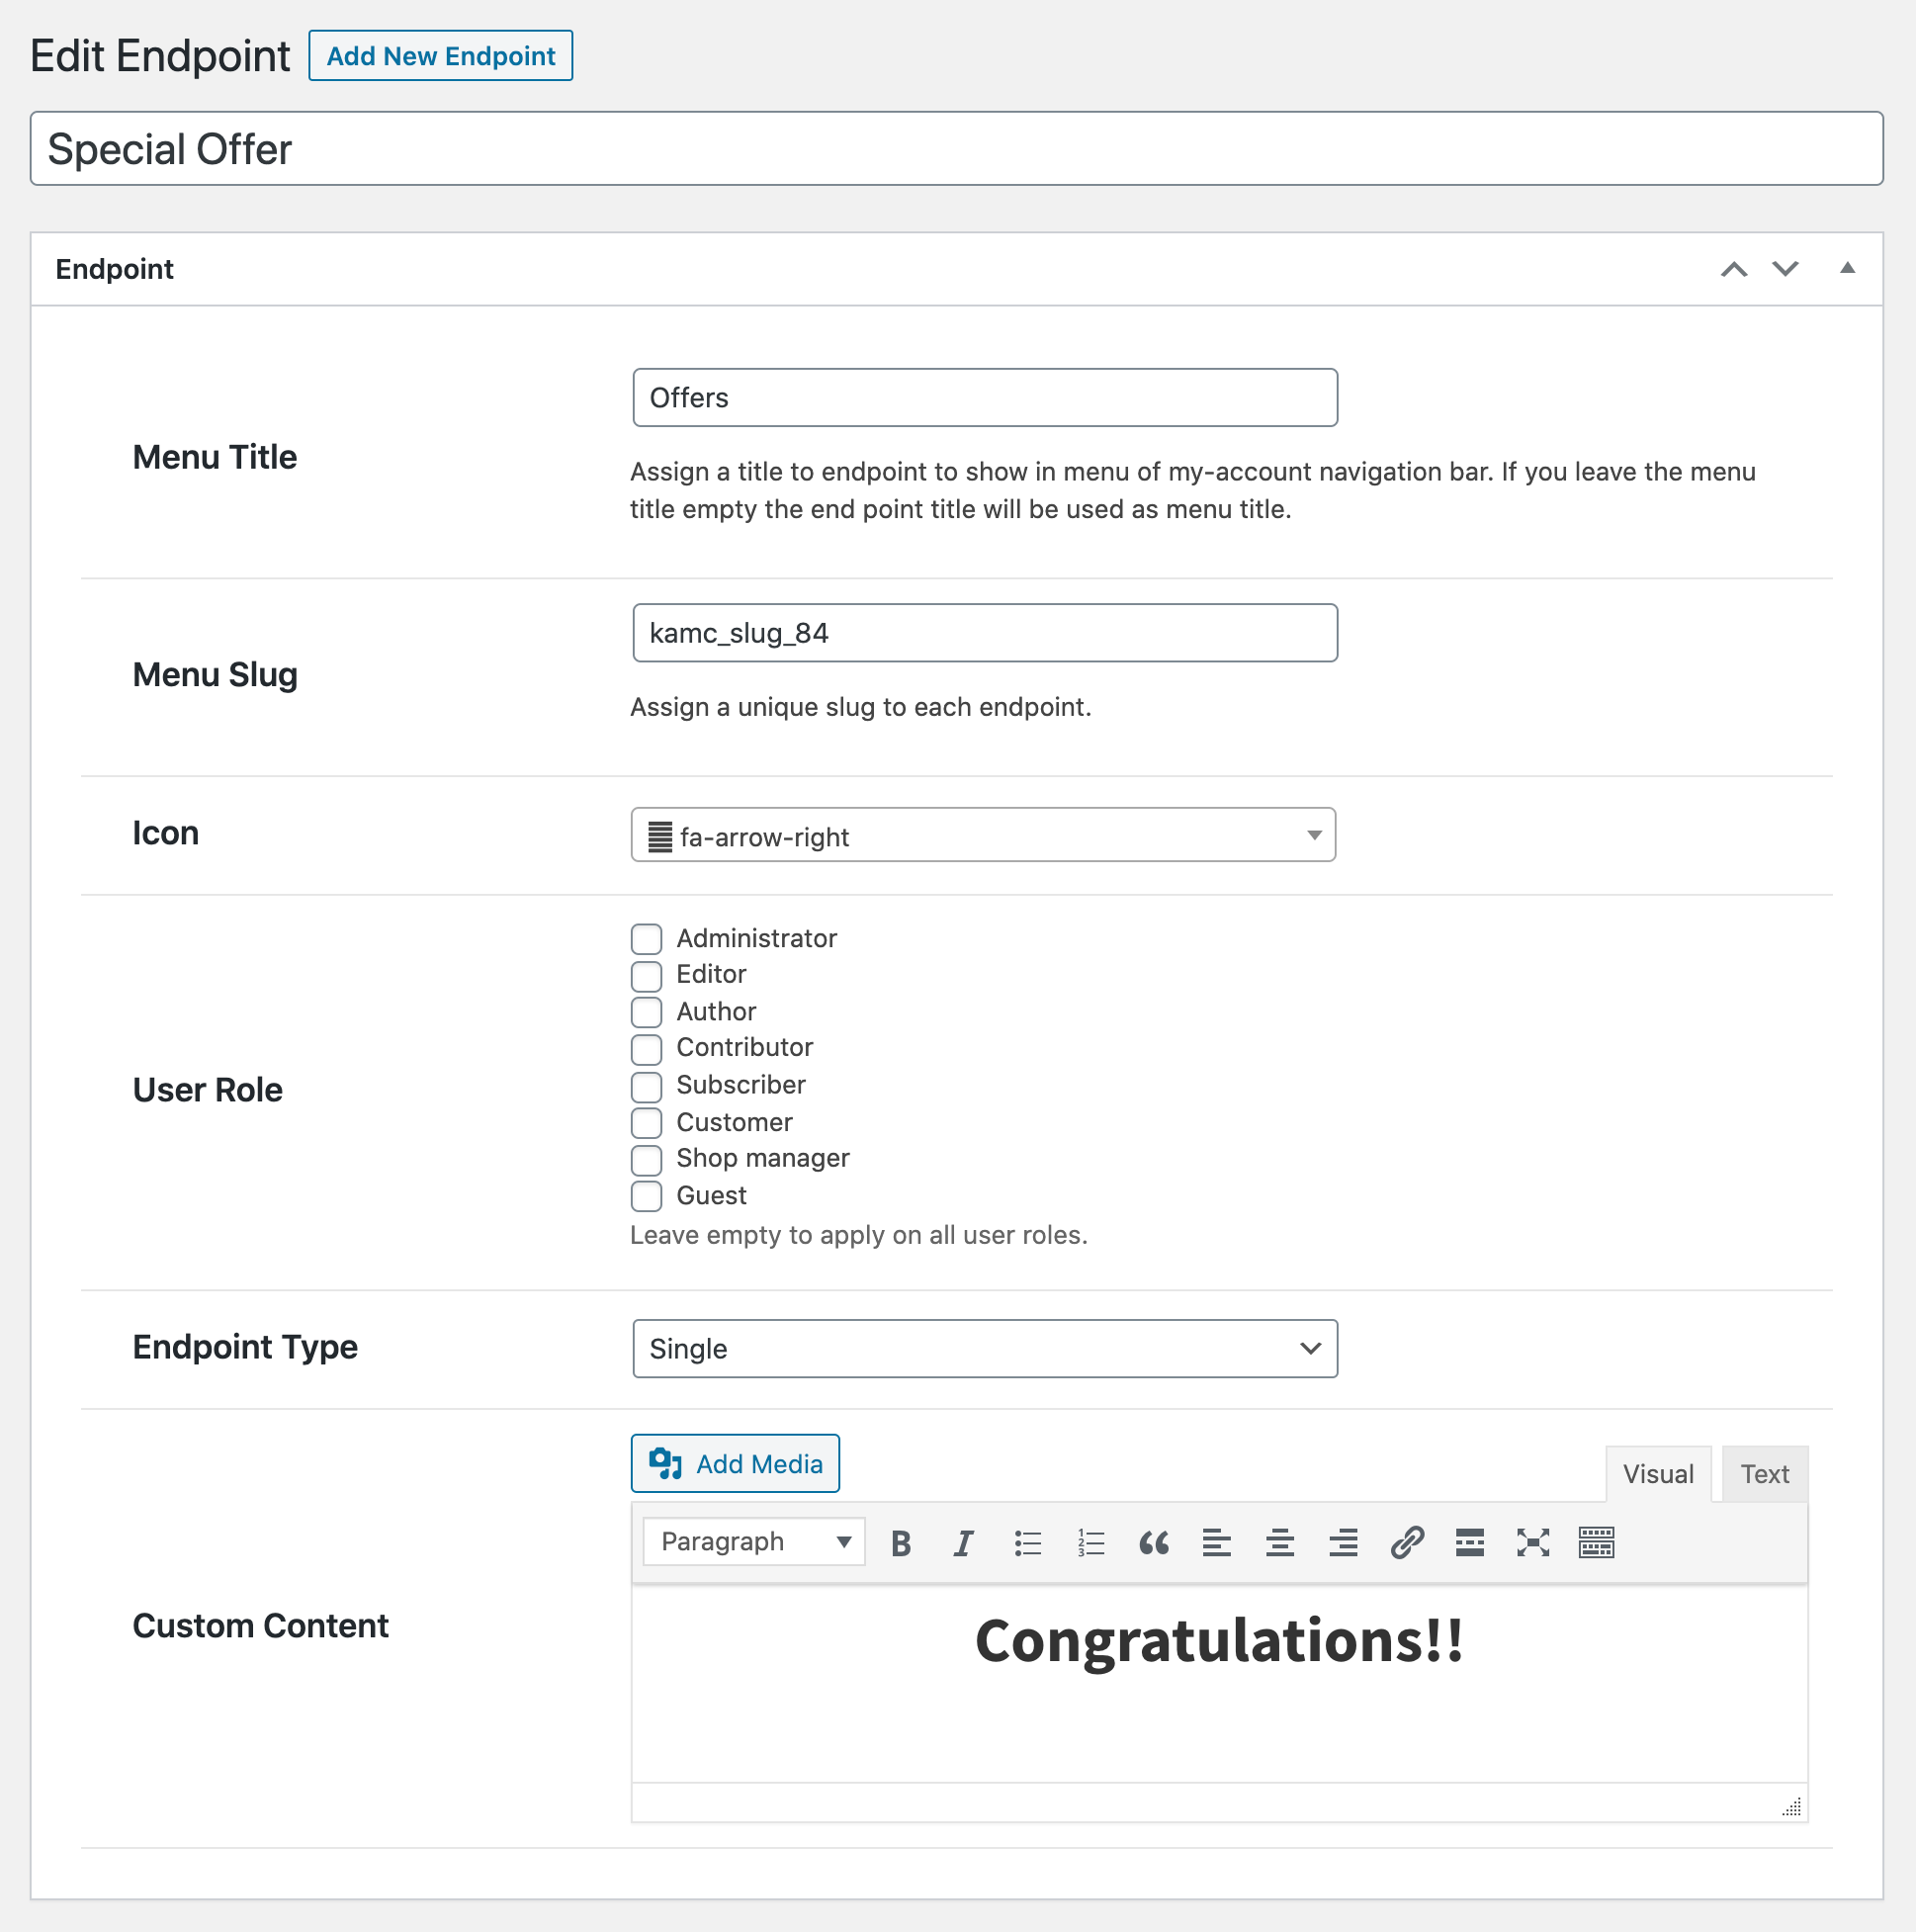
Click on Add New Endpoint to create a new menu item / tab for your my account page. While creating new end point you can specify the following details.
- Endpoint title
- Select from available icon
- Restrict by user roles (leave empty to apply for all customers)
- Select endpoint type
- Add content using editor
When select the grouped endpoint, it will show 2 additional fields to
- Select the custom endpoints to show as dependable
- Select the default endpoints to show as dependable
The dependable endpoints will be automatically remove from main my account menu and will be listed under this group endpoint heading.
You can customize,
- Endpoint display type
- Theme Style (Inherits theme default style. Group endpoints are not compatible)
- Left Sidebar (Replaces menu with plugin custom style)
- Right Sidebar (Replaces menu with plugin custom style)
- Tabs (Replaces menu with plugin custom style)
- Add text, background and hover color
- Option to hide default endpoints
- Enable/disable profile picture
- Reorder endpoints