B2B eCommerce for WooCommerce is an all-in-one wholesale suite for WooCommerce stores, packed with features that allow you to cater to your business buyers and their unique needs.
- Request for Quote Functionality
- Custom Pricing
- Custom User Roles
- Catalog Price Visibility
- Sign Up Form Generator
- Minimum/Maximum Order Quantity
- Minimum/Maximum Order Value
- B2B Payment Terms on Checkout Page
- Reorder Functionality
- Requirements
- Installation
- Configuration Settings
- Request for Quote
- Enable RFQ Functionality on Global Level
- Customize RFQ interface
- Enable RFQ Functionality on Product Level
- Enable RFQ Functionality on Product Category Level
- How Does the RFQ Functionality Work?
- Custom Pricing
- Enable Custom Pricing Functionality
- Create rules for custom pricing
- Sign Up Form Generator
- Make it Mandatory to Get the User Approved By Admin
- Customize the Signup Form
- Embed the Signup Form on a page
- Catalog Price Visibility
- Enable Price Visibility Feature
- Hide Whole Catalogue Price
- Hide Catalogue Price by Category
- Hide Catalogue Price by Products
- Hide Pages
- Payment Methods
- Enable Payment Method Functionality
- Add Payment Methods and Enable them for Individual Customers
- MOQ
- Reorder
- Custom Roles:
- Creating custom roles and customize them
B2B eCommerce for WooCommerce requires:
Installation of the B2B Ecommerce plugin is a straightforward process. Once you have received your copy of the plugin with a valid license. You can proceed with the installation process by following the steps below.
- Log in to the Admin Dashboard of your store and click on the Add Plugin option under the Plugins menu on the left side of the dashboard.
- Once reloaded, the dashboard will give you a new page with the title Add Plugin. Click the link to proceed with the new page.
- Right next to the page title, you will find a button namely Upload Plugin. Upon clicking that button, you will be presented with the option to upload the plugin.
- Simply click the Choose File button to locate and upload the plugin and then click the Install Now button to install the plugin on your store.
- After the upload and installation process is finished. You will be presented with the Activate button option, which you can click to activate the plugin.
Moreover, we have also made a quick video, shared below, to explain the installation process of the B2B Ecommerce for WooCommerce plugin.
Once the plugin is successfully activated, go back to your WordPress dashboard and navigate to WooCommerce > Settings.
On the settings page, you will notice multiple tabs like General, Products, Tax, and Shipping. As illustrated below, you will see the Catalog Visibility tab. Click on it to open up the settings page.
Click on the RFQ tab in the top menu of the Settings page.
- Enable RFQ: Select the checkbox to enable RFQ functionality on a global level. If you leave it unselected, you can still enable RFQ for individual products from the Edit Product page.
- Disable Add to Cart: Select the checkbox to disable the Add to Cart button from all products in your store. This will hide the Add to Cart button and only display the RFQ button instead. If you leave it unselected, you will still have the option to disable it for individual products from Edit Product Page.
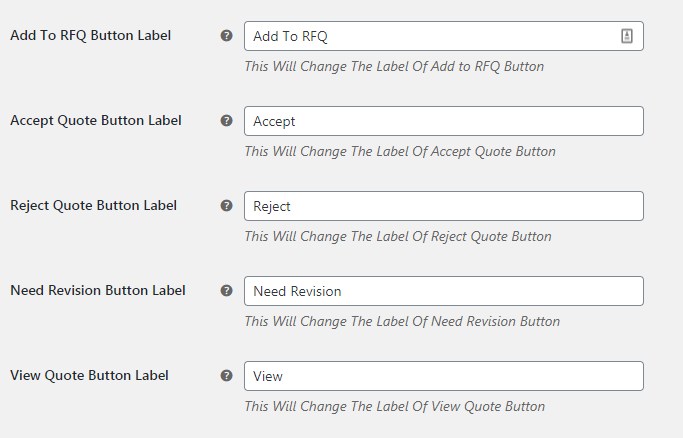
Button Labels Customizations – Several more options appear here that allow you to customize the Quotes interface on the customer’s account dashboard. You can change the labels of buttons to suit your brand style and tone across the site.
To enable or disable RFQ functionality on a product level, go to Products and click on the Product you want to edit. Scroll down to the RFQ option.
Enable RFQ – selecting this checkbox will make the RFQ button appear on this particular product.
Disable Add to Cart – Selecting this checkbox will hide the Add to Cart button from this particular product.
To enable RFQ functionality on a product category level, go to Products > Categories and click on the Product Category you want to edit. Scroll down to RFQ option.
Enable RFQ – selecting this checkbox will make the RFQ button appear on this particular product category.
Disable Add to Cart – Selecting this checkbox will hide the Add to Cart button from this particular product category.
If RFQ option is enabled, the product will show an RFQ button along with or instead of the Add to Cart. If the customer wants to buy the product, he will click on the RFQ button. In doing so, the product is added to RFQ. The customer can click on View RFQ link at the top to see the quote requests he is interested in. From there, the customer can edit the price of the product and the quantity required and submit the quote request along with a message.
The quote request is sent.
The store admin gets an email notification about the quote request submitted. He can view the RFQ from the Quotes section on his WordPress admin panel. Store admin can send a message to the customer about the RFQ and whether the deal is acceptable or not.
The customer gets an email notification about the message received by the store admin regarding the RFQ.
The customer can accept the RFQ from his My Account dashboard. On accepting the RFQ, the order is automatically placed and the customer is redirected to the checkout page.
Click on the Role-Based Pricing tab in the top menu of the Settings page.
Enable Discount Option by turning on the toggle. This will allow you to create rules for custom pricing.
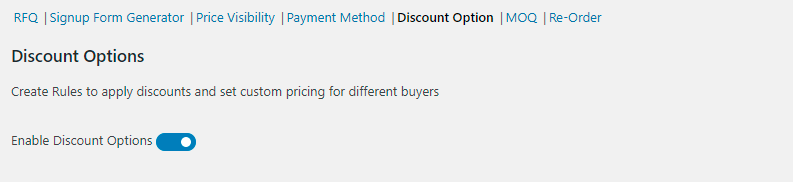
Next, you need to create rules for custom pricing.
Here are some parameters for custom pricing rules.
Set Rule Priority: This allows you to set the priority for that rule. This priority is used when you create conflicting rules. The rule with a higher priority is executed. (10 is higher than 9)
Role-Based Discount: Turning on this option lets you create a rule for offering custom pricing or discount based on custom roles. When you select the checkbox, the Roles field appears underneath. Clicking anywhere in the field displays a list of custom roles you have created. You can select any number of roles for your custom pricing rule.
Customer-Based Discount: Turning on this option lets you create a rule for offering custom pricing or discount for individual customers. When you select the checkbox, the Customers field appears underneath. Clicking anywhere in the field displays a list of customers you have in your store. You can select any number of customers for your custom pricing rule.
Category-Based Discount: Turning on this option lets you create a rule for offering custom pricing or discount based on certain categories. When you select the checkbox, the Categories field appears underneath. Clicking anywhere in the field displays a list of categories you have in your store. You can select any number of categories for your custom pricing rule.
Product-Based Discount: Turning on this option lets you create a rule for offering custom pricing or discount based on certain products. When you select the checkbox, the Products field appears underneath. Clicking anywhere in the field displays a list of products you have in your store. You can select any number of products for your custom pricing rule.
Discount-Format: You can choose from Default and Per Unit Price. It’s basically how the discount is shown on the front-end to the customer. It’s especially relevant for Minimum/Maximum Order Quantity. When Per Unit Price is selected, it calculates the price per unit as displays it so the customer can see the real value of their purchase.
Quantity-Based Discount: Turning on this option lets you create a rule for offering custom pricing or discount based on the number of products ordered. When you select the checkbox, a set of fields appear underneath. Here you can enter Minimum Quantity and Maximum Quantity.
Discount and Type of Discount: Enter a value in Discount and choose the type of discount. This discount will apply to all the parameters you have set above in this rule.
Click on the Sign-Up Form Generator tab in the top menu of the Settings page.
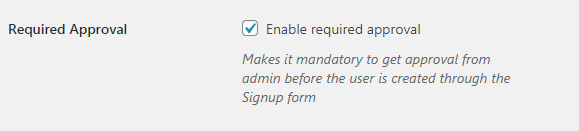
Select the checkbox “Require Approval” if you want the user to be approved by the admin before they get an account. Whenever someone uses the Sign-Up form, approval is required by the admin before the user account is created.
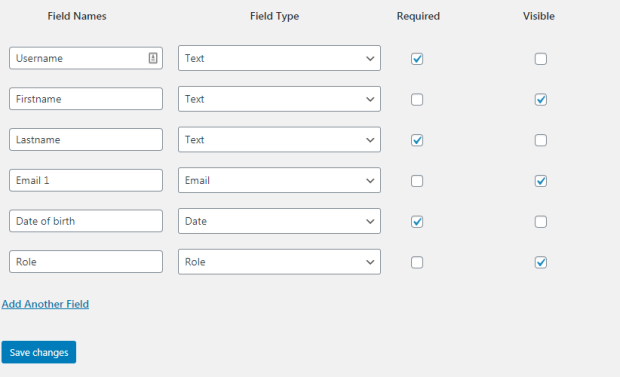
You can customize the Sign-up form by adding custom fields, making them mandatory or non-mandatory, and changing visibility status. Save changed and you’re done.
Embedding the sign-up form can be easily done using the shortcode given on the top. Just copy the shortcode and paste it in the text editor of any page you want.
Click on the Price Visibility tab in the top menu of the Settings page.
Select the Enable checkbox to enable the Catalogue Visibility feature of this plugin.

Select this option if you want to hide the prices of all the products in your catalog for non-logged-in users. If you want to hide prices for only selected categories and products, leave this option unselected.

Select categories you want to hide prices for. If someone who is not logged in visits your site, they won’t see the prices of these selected categories unless they log in or sign up with you.

Select products you want to hide prices for. If someone who is not logged in visits your site, they won’t see the prices of these selected products unless they log in or sign up with you.

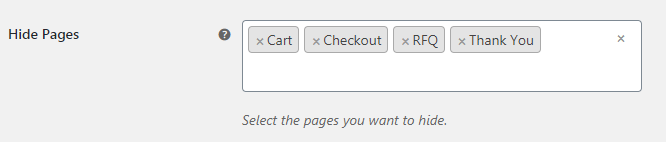
Select the pages you want to hide. If someone who is not logged in visits your site, they won’t see the selected pages unless they log in or sign up with you.
Click on the Payment Method tab in the top menu of the Settings page.
Select the Enable option if you want to offer custom payment terms methods to your customers.

You can create the payment method here and enable them for custom roles from the Custom Roles tab. See the section “Custom Roles” for more on that. You can also enable/disable a particular payment method for a particular customer from the Edit User screen.
You can create unique algorithms for setting MOQ requirements for buyers based on different parameters like customers, categories, products, and custom roles.
Enable MOQ by turning on the toggle. This will allow you to create rules for MOQ requirements.
Next, you need to create rules for MOQ requirements.
Here are some parameters for MOQ rules.
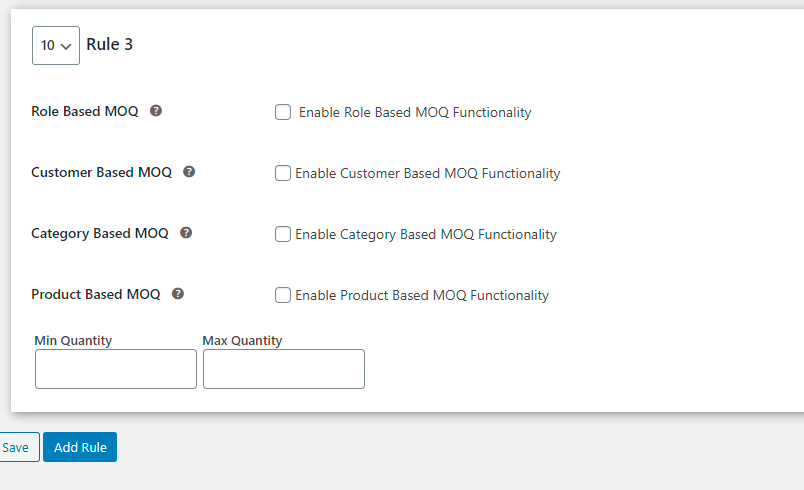
Set Rule Priority: This allows you to set the priority for this rule. This priority is used when you create conflicting rules. The rule with a higher priority is executed. (10 is higher than 9)
Role-Based MOQ: Turning on this option lets you create a rule for MOQ based on custom roles. When you select the checkbox, the Roles field appears underneath. Clicking anywhere in the field displays a list of custom roles you have created. You can select any number of roles for your MOQ rule.
Customer-Based MOQ: Turning on this option lets you create a rule for MOQ for individual customers. When you select the checkbox, the Customers field appears underneath. Clicking anywhere in the field displays a list of customers you have in your store. You can select any number of customers for your MOQ rule.
Category-Based MOQ: Turning on this option lets you create a rule for MOQ based on certain categories. When you select the checkbox, the Categories field appears underneath. Clicking anywhere in the field displays a list of categories you have in your store. You can select any number of categories for your MOQ rule.
Product-Based MOQ: Turning on this option lets you create a rule for MOQ based on certain products. When you select the checkbox, the Products field appears underneath. Clicking anywhere in the field displays a list of products you have in your store. You can select any number of products for your MOQ rule.
Minimum and Maximum Quantity: Enter the Minimum and Maximum Order Quantity that would apply to all the parameters you have set above.
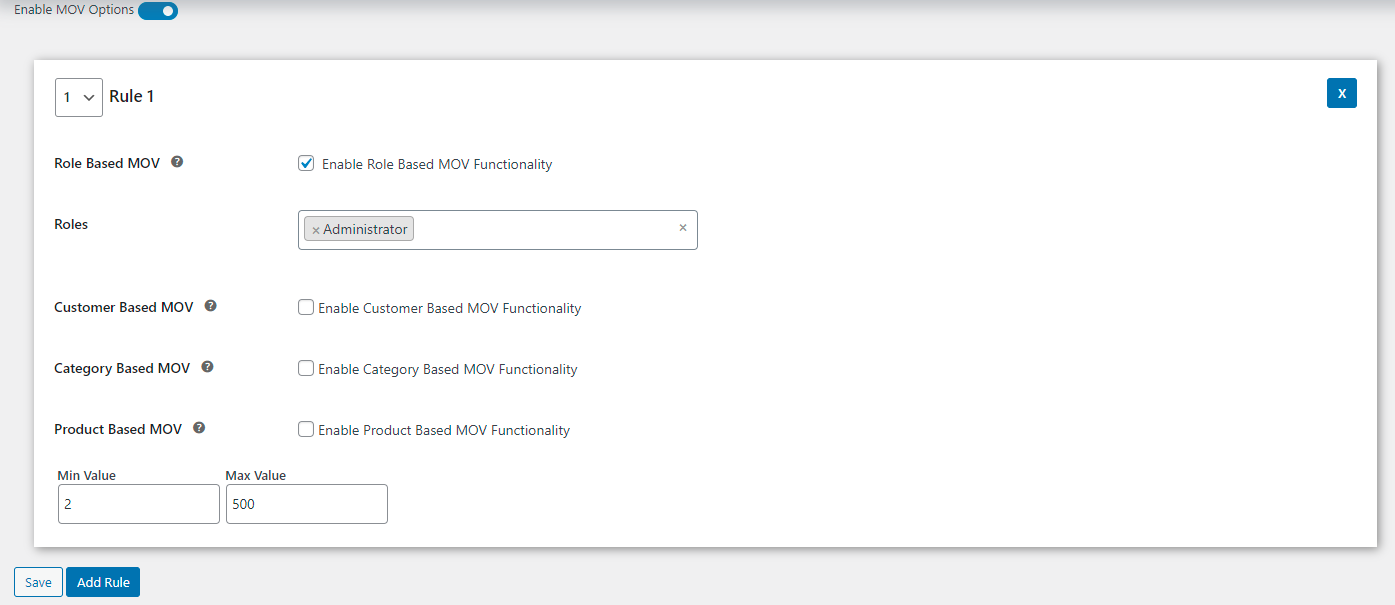
Enable MOV by turning on the toggle. This will allow you to create rules for MOV requirements.
Next, you need to create rules for MOV based on the following parameters.
Set Rule Priority: This allows you to set the priority for this rule. This priority is used when you create conflicting rules. The rule with a higher priority is executed. (10 is higher than 9)
Role-Based MOV: Turning on this option lets you create a rule for MOQ based on custom roles. When you select the checkbox, the Roles field appears underneath. Clicking anywhere in the field displays a list of custom roles you have created. You can select any number of roles for your MOV rule.
Customer-Based MOV: Turning on this option lets you create a rule for MOV for individual customers. When you select the checkbox, the Customers field appears underneath. Clicking anywhere in the field displays a list of customers you have in your store. You can select any number of customers for your MOV rule.
Category-Based MOV: Turning on this option lets you create a rule for MOV based on certain categories. When you select the checkbox, the Categories field appears underneath. Clicking anywhere in the field displays a list of categories you have in your store. You can select any number of categories for your MOV rule.
Product-Based MOV: Turning on this option lets you create a rule for MOV based on certain products. When you select the checkbox, the Products field appears underneath. Clicking anywhere in the field displays a list of products you have in your store. You can select any number of products for your MOV rule.
Minimum and Maximum Quantity: Enter the Minimum and Maximum Order Value that would apply to all the parameters you have set above.
You can create multiple rules like these.
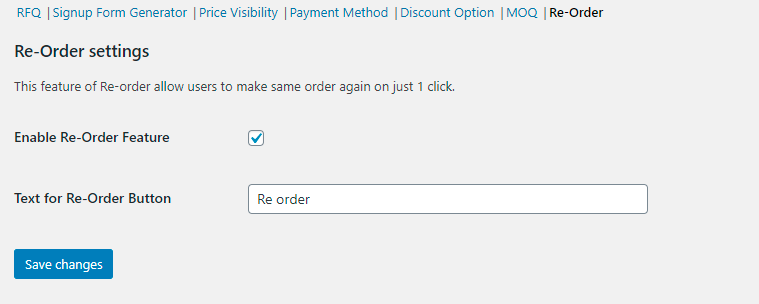
Click on the Reorder option in the top menu.
Enable the feature by selecting the checkbox.
You can even customize the button label.
This button appears on the Account dashboard in the Orders tab besides a completed order.
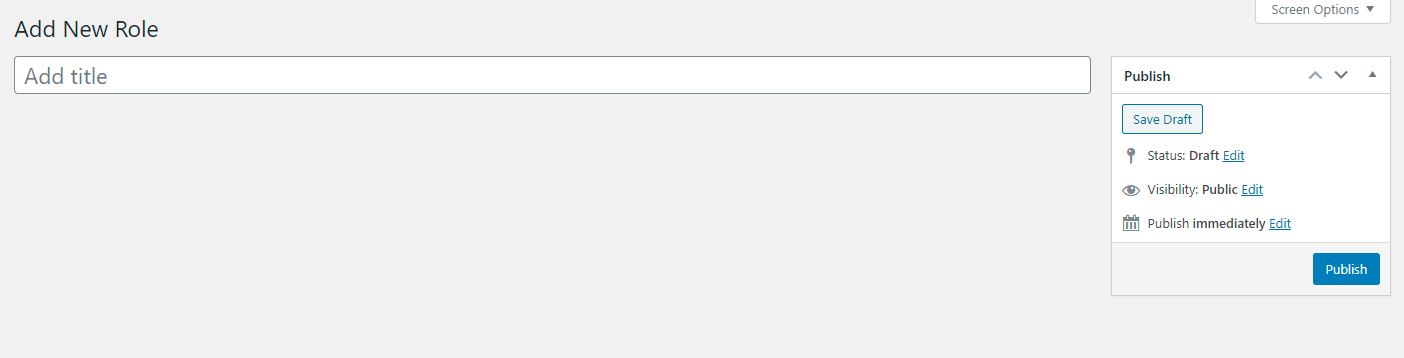
To create Custom Roles, go to the Custom Role tab in the side menu in WordPress and click Add New.
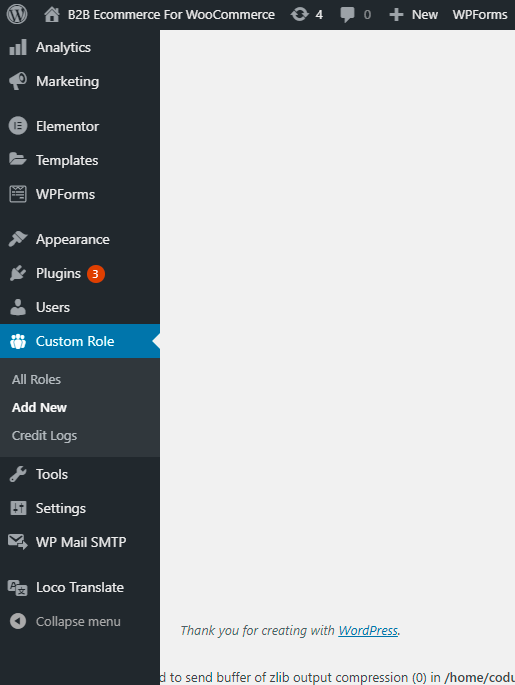
Give a title to your custom role and click Publish to create the role. You can then edit your role later and enable or disable certain features for the role.
To edit the role, go to All Roles and click the role you want to edit.
The Edit Role screen will appear.
You’ll see a bunch of options here:
RFQ: You get an option to enable/disable RFQ button and enable/disable Add to Cart button for a store visitor having this role.
Shipping Exemption: You get an option to exempt Shipping Rate when a buyer with this particular role buys from your store.
Tax Exemption: You get an option to exempt tax when a buyer with this particular role buys from your store.
WooCommerce Payment Methods: Here, you can enable/disable certain WooCommerce native payment methods for a buyer having this role.
B2B eCommerce Payment Methods: Here, you can enable/disable B2B eCommerce custom payment methods for a buyer having this particular role.
Enable Credit Payments: You can enable Credits for a buyer having this role. By assigning credits and a credit limit, you can allow the buyer to purchase on credit within the limit set.
 View Credit Logs
You can view credit logs for a particular role by clicking the View Logs link underneath the Credit Payments section on Edit Roles screen.
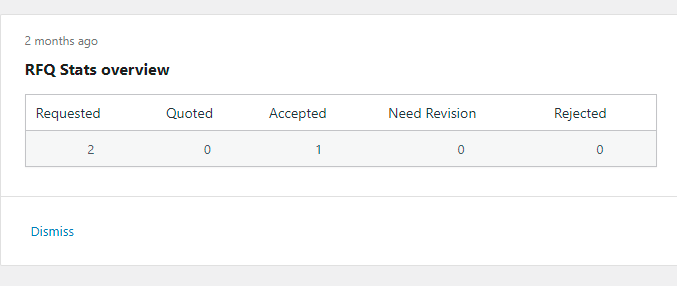
You can find real-time stats about Requests for Quotes received, on the WooCommerce homepage.
You can extend the functionality of B2B eCommerce for WooCommerce using its webhooks and API requests. We’ve built compatibility for template overriding that allows users to edit the frontend interface of the plugin. Refer to its
API documentation for more details.
Should you need any further assistance regarding this plugin, feel free to contact us at woosupport@codup.io and have our support team look into the issue for you. Thank you!