As a site administrator, you can install the Stripe WooCommerce Extension in various ways, but one of the most accessible is directly from your WordPress site’s admin dashboard.
In this guide, we will cover how to install and activate the Stripe WooCommerce Extension from the Plugins section of the WordPress administrator dashboard.
Check for the Stripe WooCommerce Extension
↑ Back to topBefore trying to install the Stripe WooCommerce Extension, we will want to check to see if it is already installed. If it is, then some of the work is already done!
To see if the Stripe WooCommerce Extension is already installed:
- Navigate to your WooCommerce site’s administrator dashboard.
- Head over to Plugins > Installed Plugins.
- Browse through the list to see if “WooCommerce Stripe Gateway” is already installed.
- If it’s not listed, please follow the instructions in the installation section below.
Installing the Stripe WooCommerce Extension
↑ Back to topOnce you’ve determined that the Stripe WooCommerce Extension is not already installed on your site, you can take steps to install and activate it.
To install Stripe:
- Go to Plugins > Add New on your WordPress site.
- Type “Stripe” in the search box and hit
Enteron your keyboard. - Find “WooCommerce Stripe Payment Gateway” by WooCommerce — which will be one of the first results.
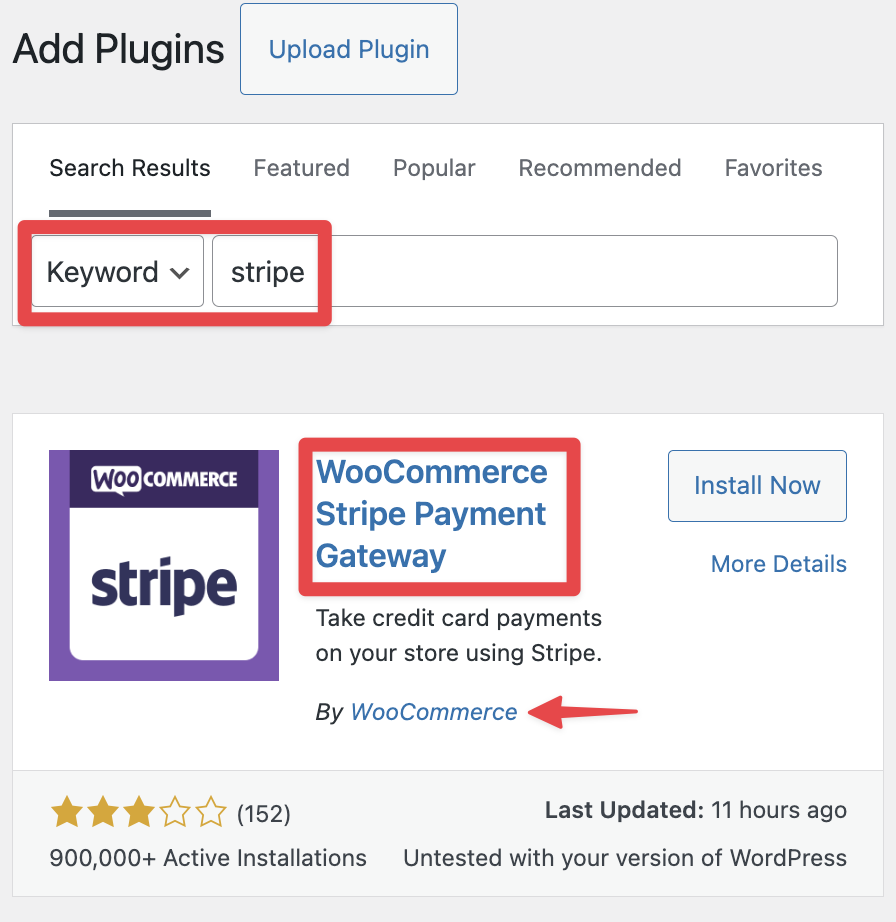
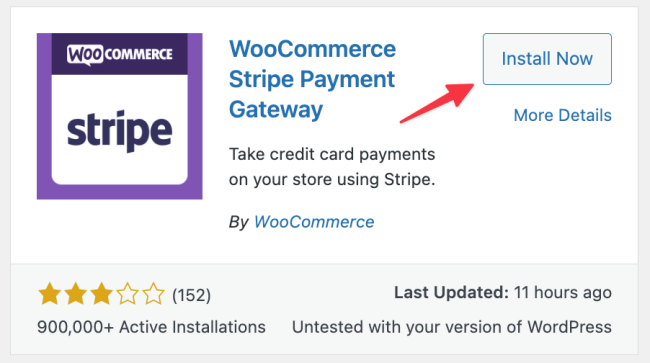
- Click the Install Now button to begin installing the Stripe WooCommerce Extension on your site.
Once installation is complete, the Install Now button will change to Activate.
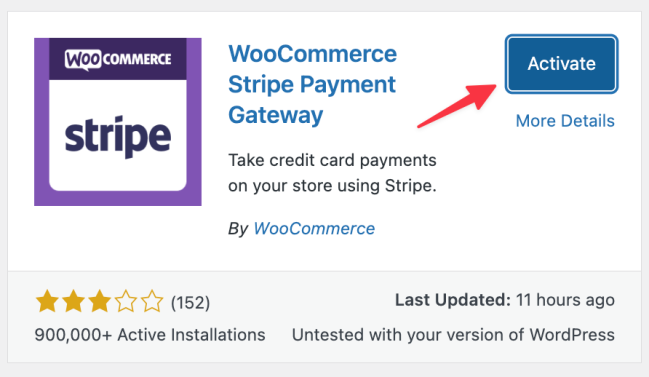
- Click the Activate button to activate the Stripe WooCommerce Extension.
After clicking Activate, you will be taken to the Plugins > Installed Plugins page.
Once the Stripe WooCommerce Extension is activated, you can learn how to connect your Stripe account here.