Store Finder for WooCommerce is a neat way to attract users and give information about the different locations of your business. This extension supports live filtering that helps your users filter stores or any location by radius or category.
Store Owner’s Guide
↑ Back to topInstallation Guide
↑ Back to top- Log in to your WordPress Admin Panel.
- Navigate to the WordPress Admin Dashboard → Plugins → Add New.
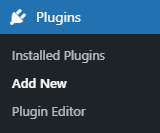
- Click on the Upload Plugin button on the top left corner of your screen.
- Next, click the Choose file button in the box that appears below.
- Select the zip file that you have downloaded and upload it.
- Click on the Activate Plugin button.
Store Finder Shortcode
↑ Back to topHow to display Store Finder via shortcode?
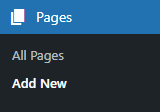
↑ Back to top- Navigate to WordPress Admin Dashboard → Pages → Add New.
- A new page would open.
- Add the Title of the page.
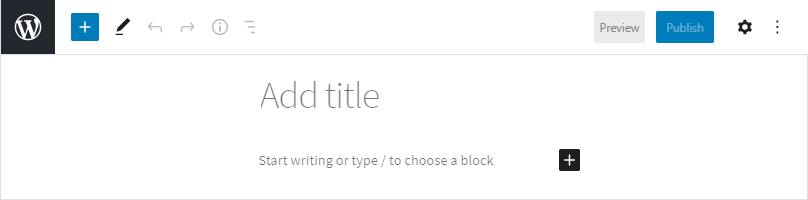
- Click on the sign ➕ to add blocks.
- Select the Shortcode element.
- Now paste the shortcode [woo_store_locator].
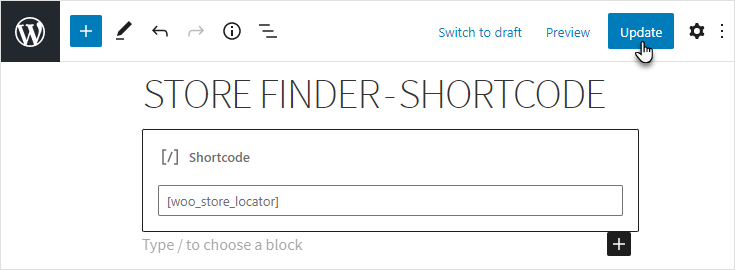
- Click on the Publish button.
How to display Store Finder in Gutenberg Block?
↑ Back to top- Navigate to WordPress Admin Dashboard → Pages → Add New.
- A new page would open.
- Add the Title of the page.
- Click on the sign ➕ to add blocks.
- Select the Woo Store Finder element.
- Once done, we can see that a shortcode [woo_store_locator] will be added to the page.
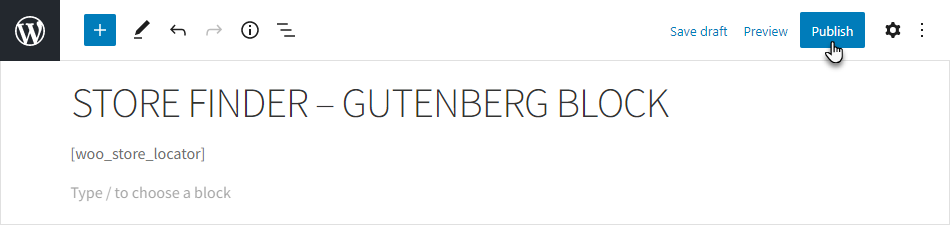
- Click on the Publish button.
Store Locator – General Settings
↑ Back to topHow to view Store Locator settings?
↑ Back to top- Navigate to the WordPress Admin Dashboard → WooCommerce → Settings.
- Now you’re on the Setting page.
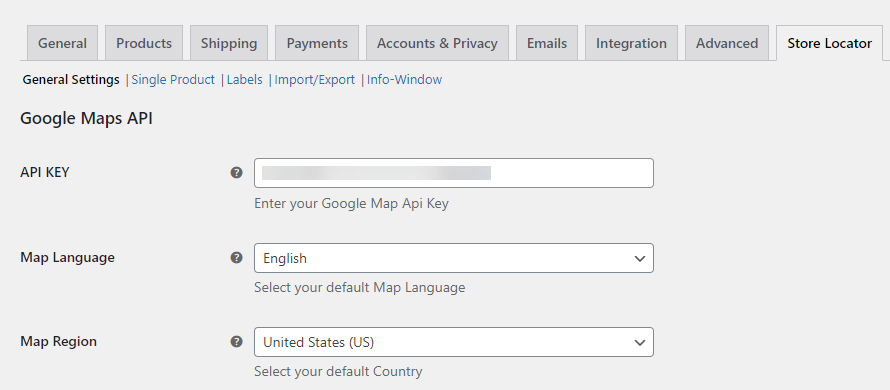
- On the Setting page, navigate to the Store Locator tab.

- In the Store Locator tab, there are five subtabs.
- General Settings
- Single Product
- Labels
- Import/ Export
- Info-Window
Google Maps API
API KEY
- Enter the Google Map API key.
Map Language
- Select the language for your map from the dropdown menu.
Map Region
- Select the country for your map from the dropdown menu.
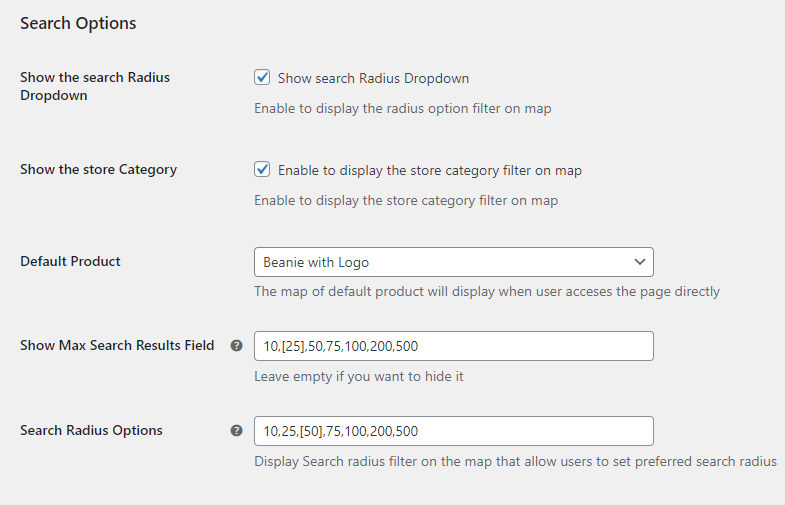
Search Options
Show the search Radius Dropdown
- Enable this option to show the list of radius on your map.
Show store category
- Enable this option to show the dropdown list of the store categories.
Default Product
- Select a default product so that the map of that default product will be displayed when the user accesses the page directly.
NOTE: If no product is selected in the Default Product option, then the message “You need to access the map from product page or you need to add a default product from settings” will appear when the user accesses the Store Finder page.
Show Max Search Results Field
- Define search options here. The default one will be Square Brackets.
Search Radius Options
- Insert Radius Value here. The default one will be Square Brackets.
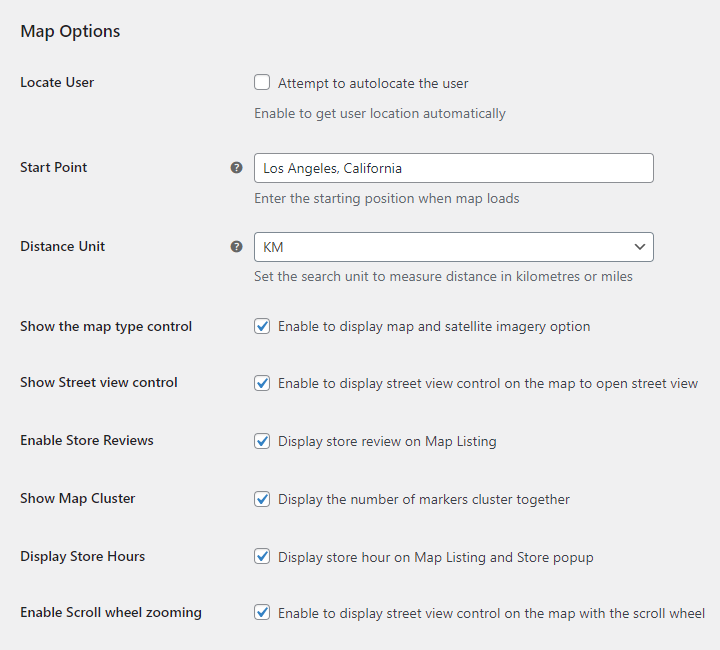
Map Options
Locate User
- Enable this option to get the user’s current location automatically.
Start Point
- Enter your Starting Point.
Distance Unit
- Set the search unit to measure the distance in kilometers or miles.
Show the map type control
- Enable the user to change the map type from the front-end.
Show Street view control
- This feature shows a street control icon on the map for the front-end.
Enable Store Reviews
- This option will allow reviews ratings to be displayed on map listing, single store page & store popup.
Show Map Cluster
- This option will allow displaying the number of markers clustered together.
Display Store Hours
- This option will allow the hours to be displayed on the map listing under more info.
Enable Scroll wheel zooming
- This option will allow you to zoom the map with the scrolling wheel.
Permalink
Enable Permalink
- Checkmark the checkbox to enable the permalink.
Store Slug
- You can enter the value of Stores Slug.
Stores Categories Slug
- You can enter the value of Stores Categories Slug.

Markers
Start Location Marker
- Select any color marker for your Default Location.
Stores Location Marker
- Select any color marker for your Store Location.
Image
- Enable this option to display images on the single store page.
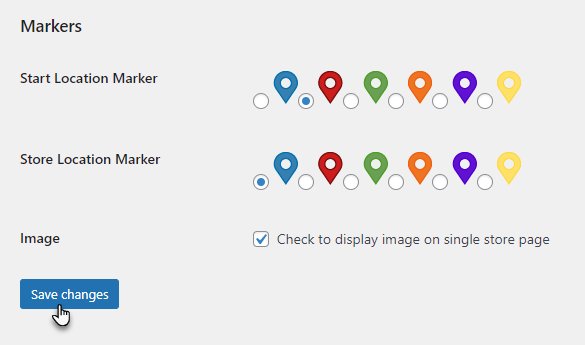
- Click on the Save changes button to apply your settings.
Single Product
↑ Back to topSingle Product Settings
Display Find in Store button
- Enter the Google Map API key.
Remove Add to cart button
- You can hide/remove the Add to Cart button from a single product page.
Find in Store button label
- Enter the label for the Find in Store button.
Store Locator Shortcode
- Select the page from the dropdown menu for Store Locator where you entered the [woo_store_locator] shortcode.
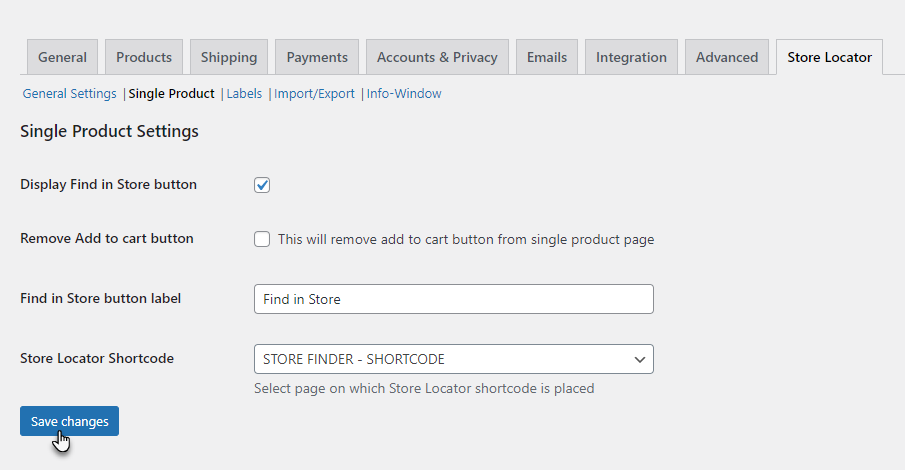
- Click on the Save changes button to apply your settings.
Labels
↑ Back to topLabel Options
- All “Labels Options” are customizable. You can change all of them according to your requirements.
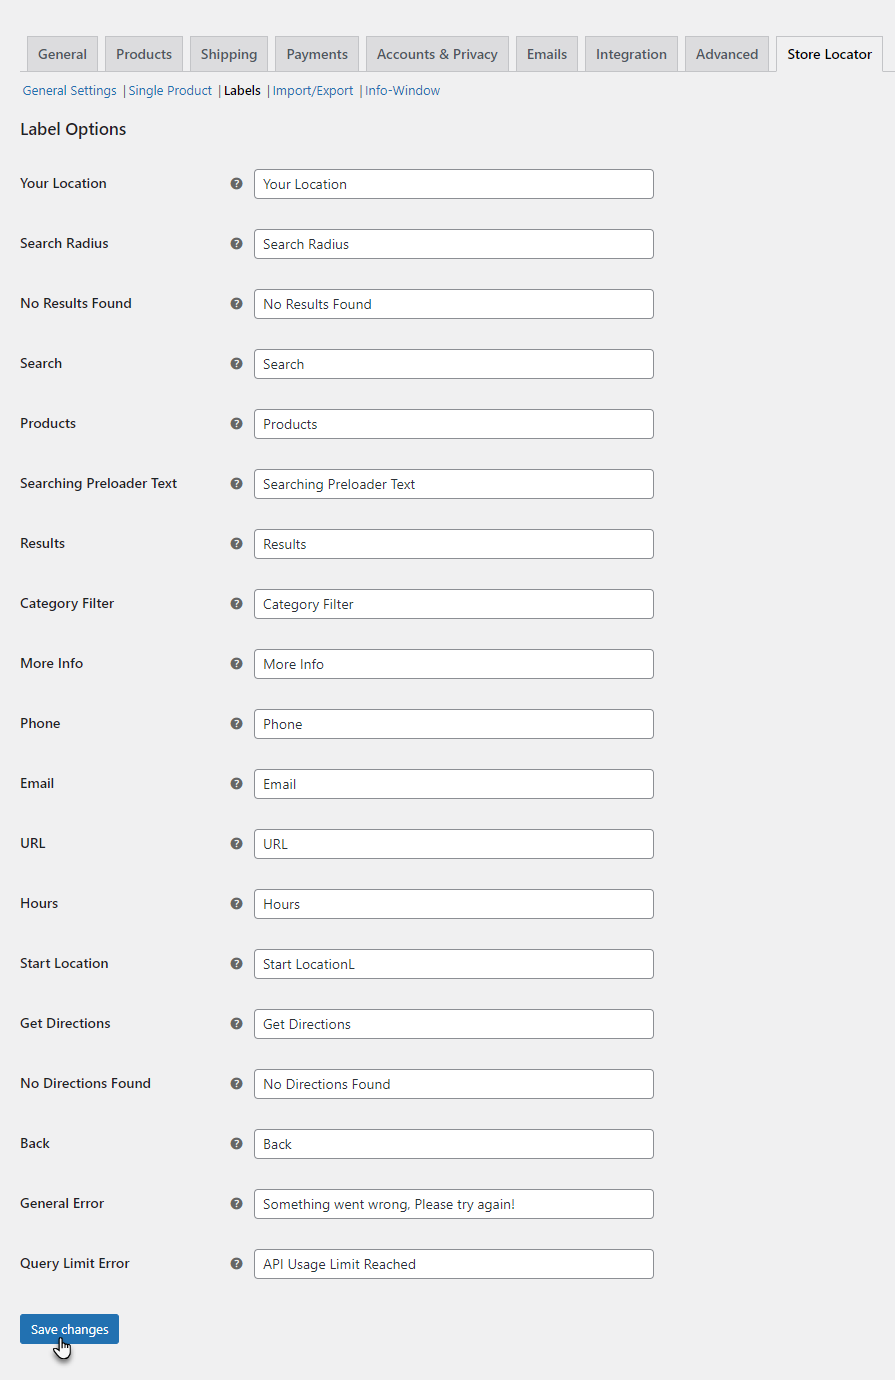
- Click on the Save changes button to apply your settings.
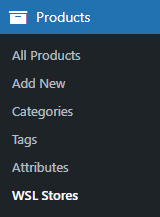
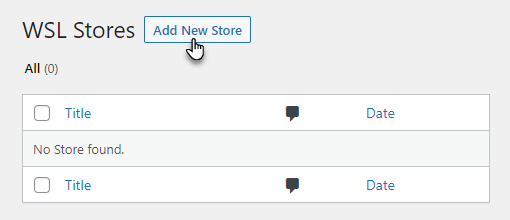
How to Create WSL Stores
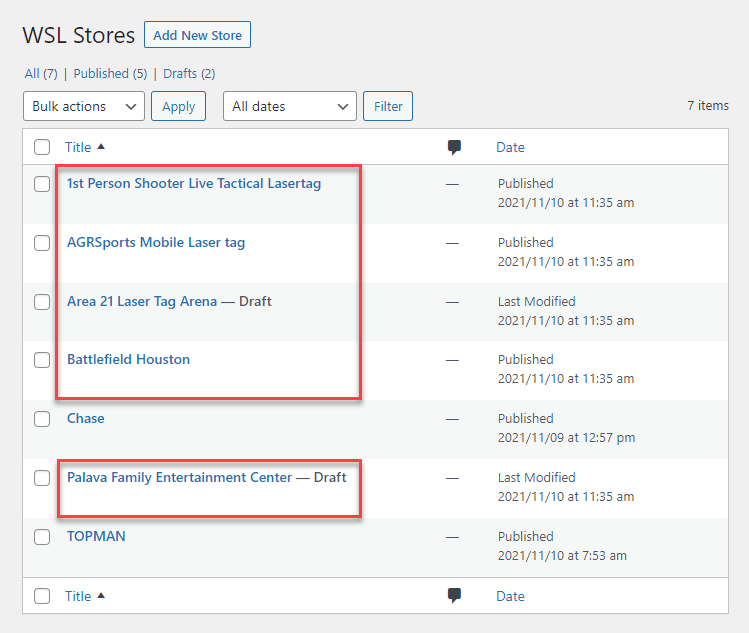
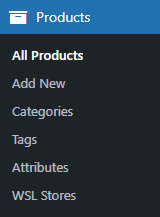
↑ Back to top- Navigate to WordPress Admin Dashboard → Products → WSL Stores.
- Now you’re on the WSL Stores page.
- Click on the Add New Store button.
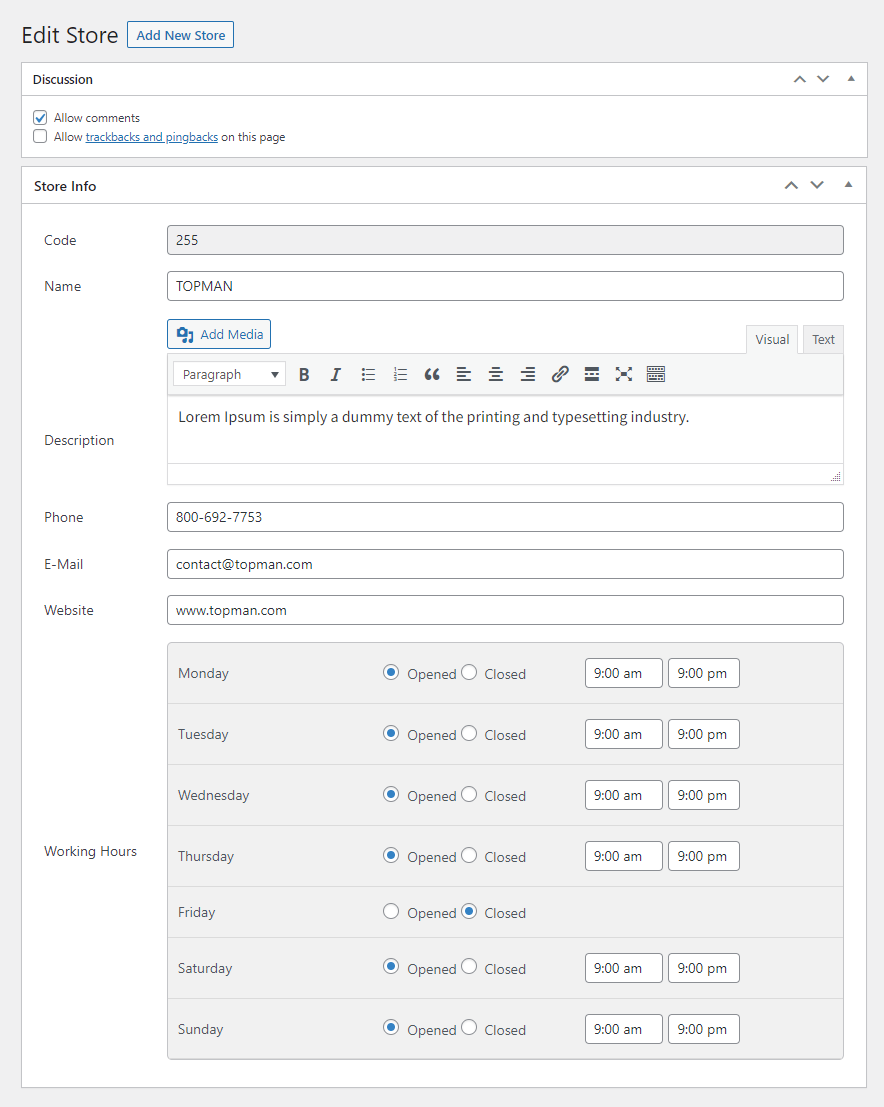
- Now you’re on the Edit Store page.
- Go to the Store Info section.
- Add the Code for your store.
- Add the Name of your store.
- Add the Description of your store.
- Add the Phone of your store.
- Add the E-Mail of your store.
- Add the Website of your store.
- Set the Working Hours of your store.
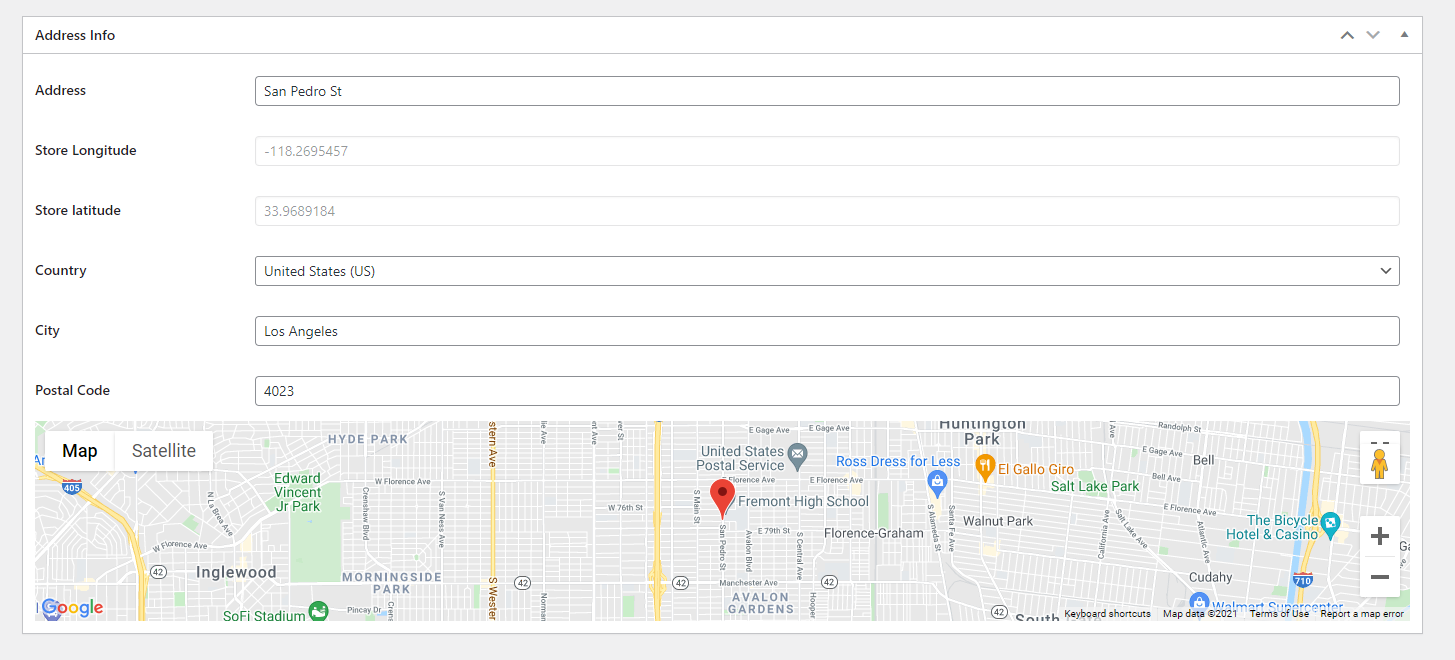
- Go to the Address Info section.
- Set the Address of your store.
- Select the County from the dropdown menu.
- Set the City of your store.
- Set the Postal Code of your store.
- Go to the Featured image section and select the image for your store.
- Go to the Store Categories section and set the tags for your store.
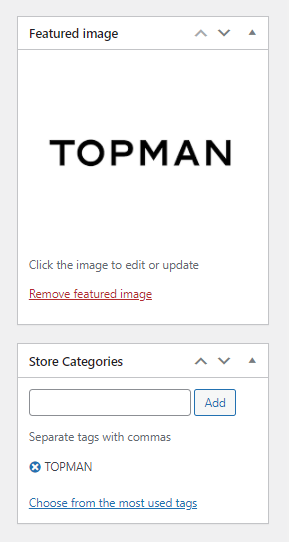
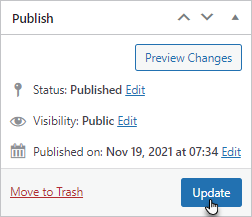
- Once done, click on the Publish/ Update button.
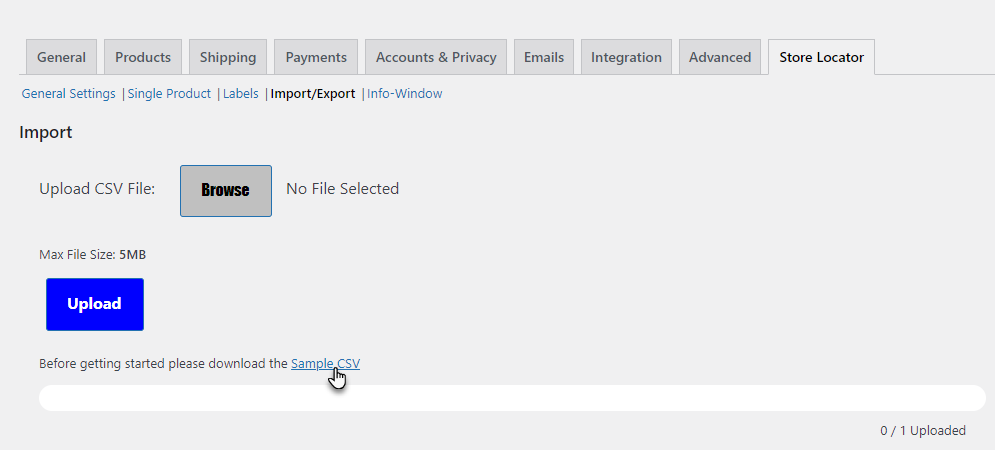
Import/ Export
Import
Upload CSV File
- You can import the store list CSV file via the admin panel, click on the Browse button, select a CSV file & click on the Upload button, a progress bar to display the progress of imports.
- Click on Sample CSV to download a sample file.
- Click on Sample CSV to open it.
- You can also edit the file according to your requirement.
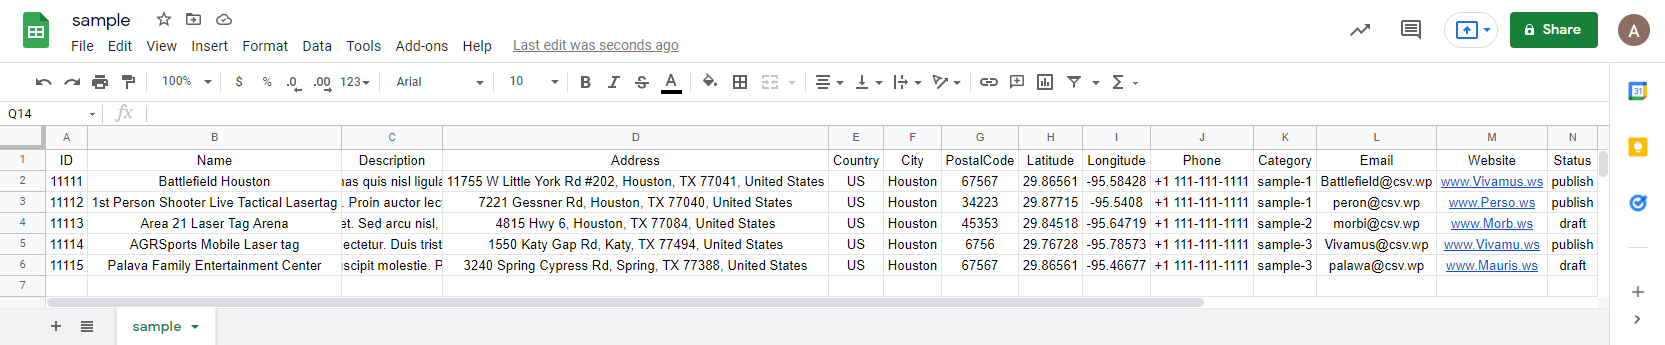
- You can also edit the file according to your requirement.
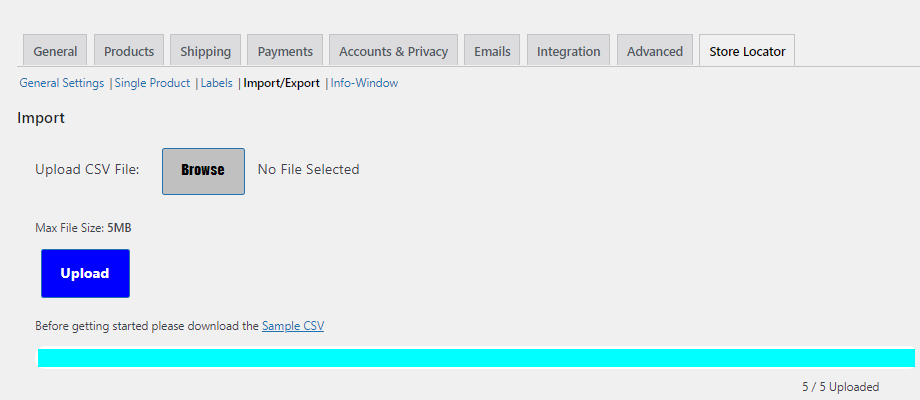
- Click on the Browse button.

- Select the CSV file.
- Once done, click on the Upload button.
- Once the file is uploaded, Navigate to WordPress Admin Dashboard → Products → WSL Stores.

- Now you’re on the WSL Stores page.
- We can see that all the new stores are added along with the details provided in the CSV file.
Export
Export CSV File
- You can export the Store List in CSV file format by clicking on the Export button.
- There are three filters for export.
- You can set filters according to your requirement.
- Once done, click on the Export button.
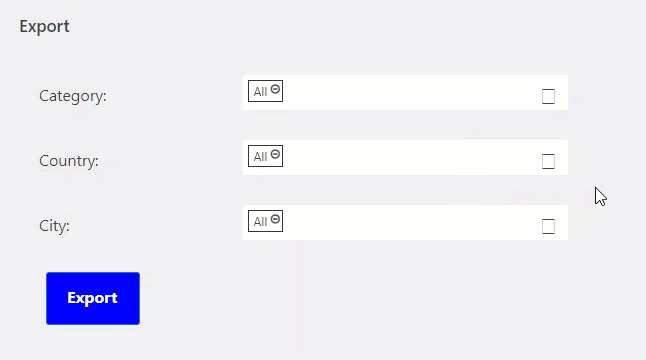
- Once done, a CSV file would be downloaded.
- Open the CSV file.
- It will contain all the details of all the stores.

NOTE: The Stores whose state is Publish will be exported in the CSV file only.
Connect Stores with WooCommerce Products
↑ Back to topHow to connect stores with WooCommerce products?
↑ Back to top- Navigate to WordPress Admin Dashboard → Products → All Products.
- Now you’re on the Products page.
- All the products are displayed on this page.
- Hover over any product to view the further sub-options.
- Now click on the Edit sub-option.
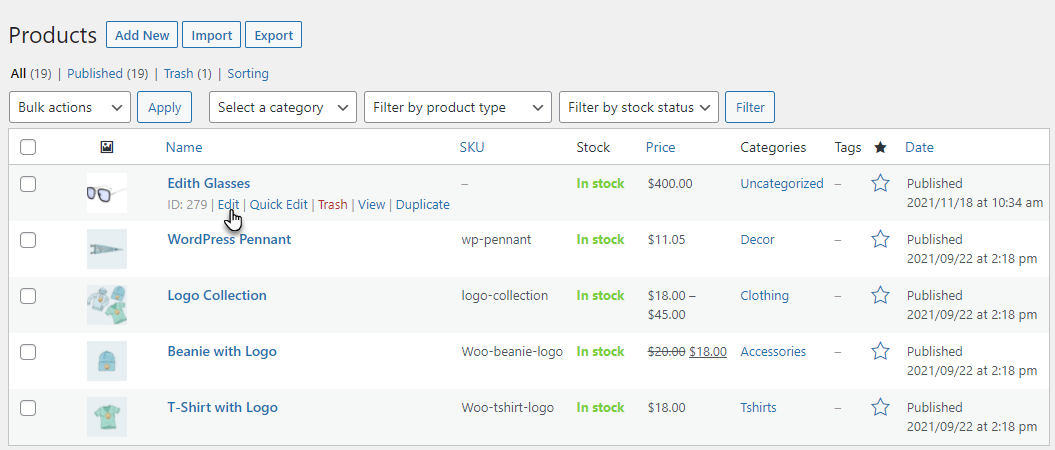
- Once you’re on the Edit product page, go to the Stores section.
- In the Stores section, select the store in which you want to showcase this item.
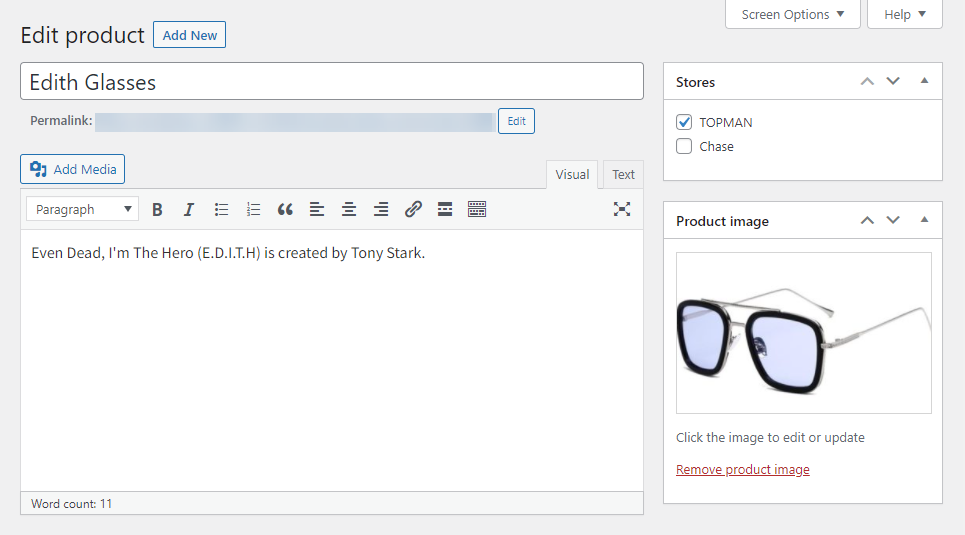
- Once done, click on the Update button.
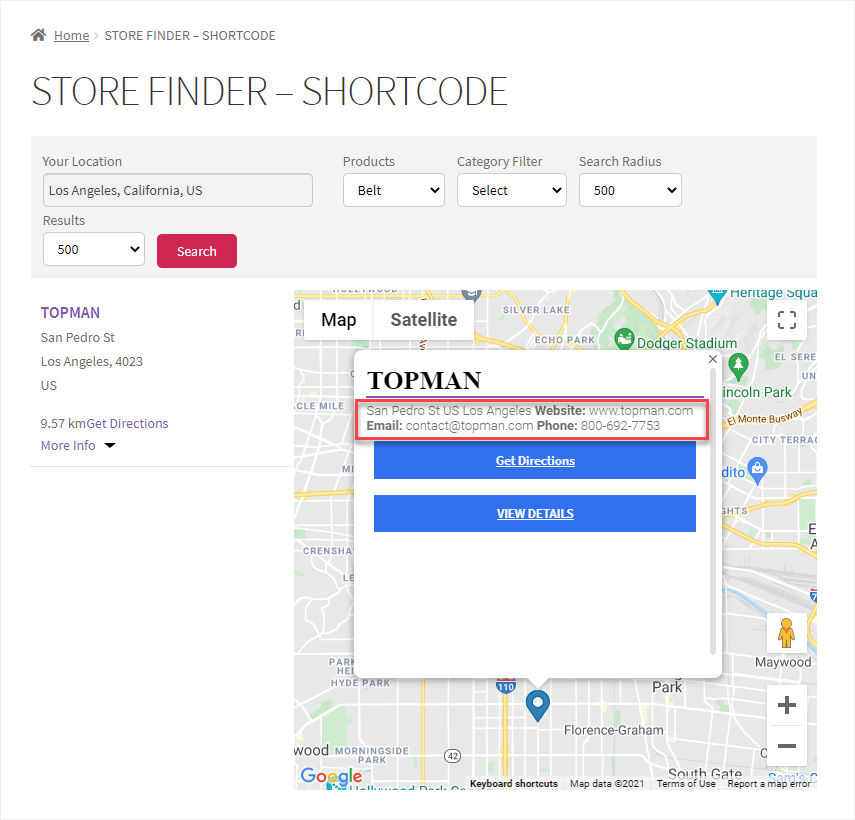
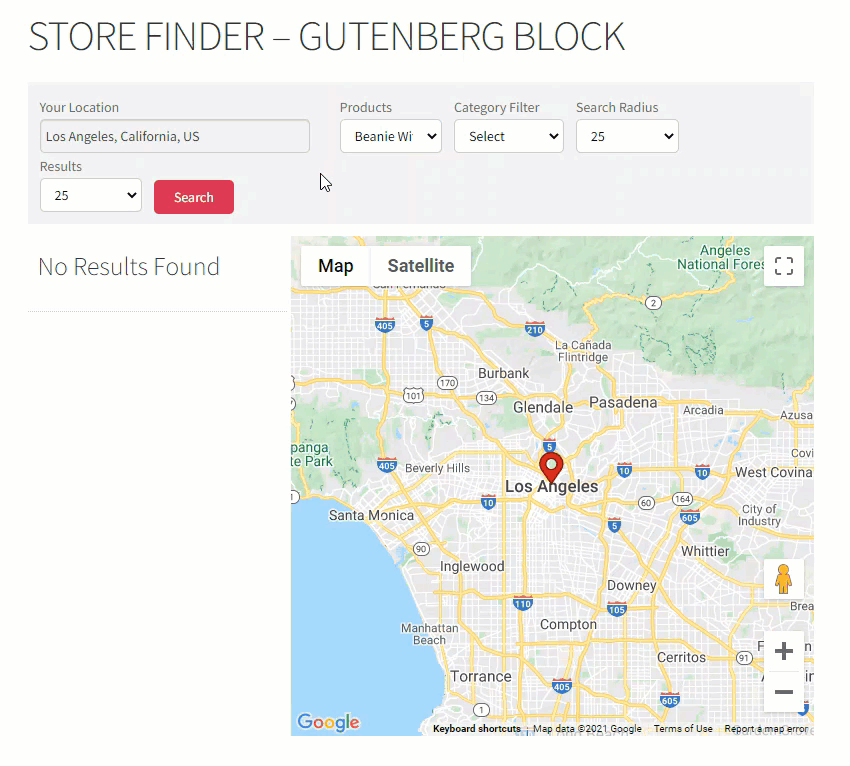
Front-End Impact
- On the website, go to the STORE FINDER page.
- In the Products dropdown menu, select your product.
- Select the Category Filter, if any.
- Set the Search Radius.
- Set the Search Results.
- Click on the Search button.
Info-Window
↑ Back to topStore Info Window
↑ Back to top- You can enter the information and a summary (HTML supported) in Info-Window to fetch the results on loading maps using template tags.
- The content in the Info-Window will display a popup of the store on the map.
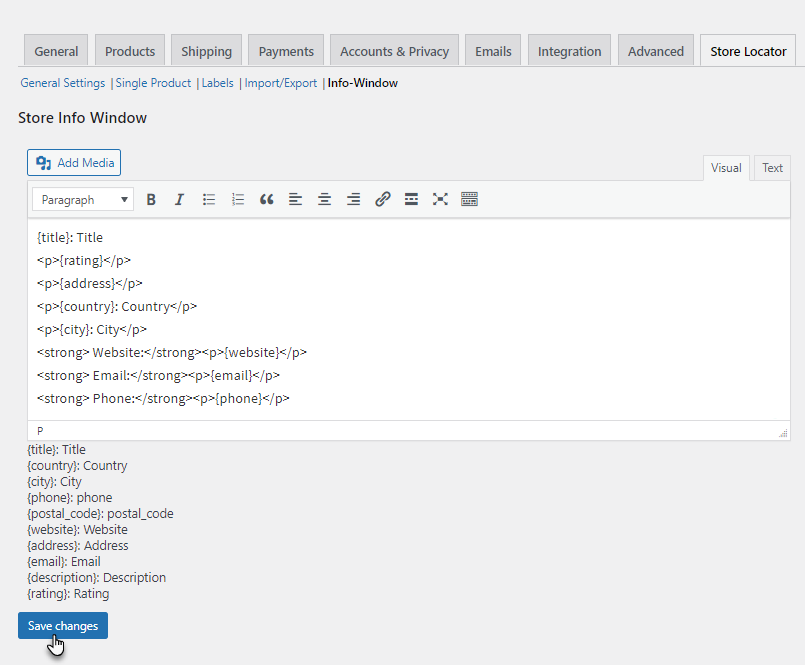
- Click on the Save changes button to apply your settings.
Front-End Impact
- On the website, search any store.
- Now on the map, click on the Store Location Marker.
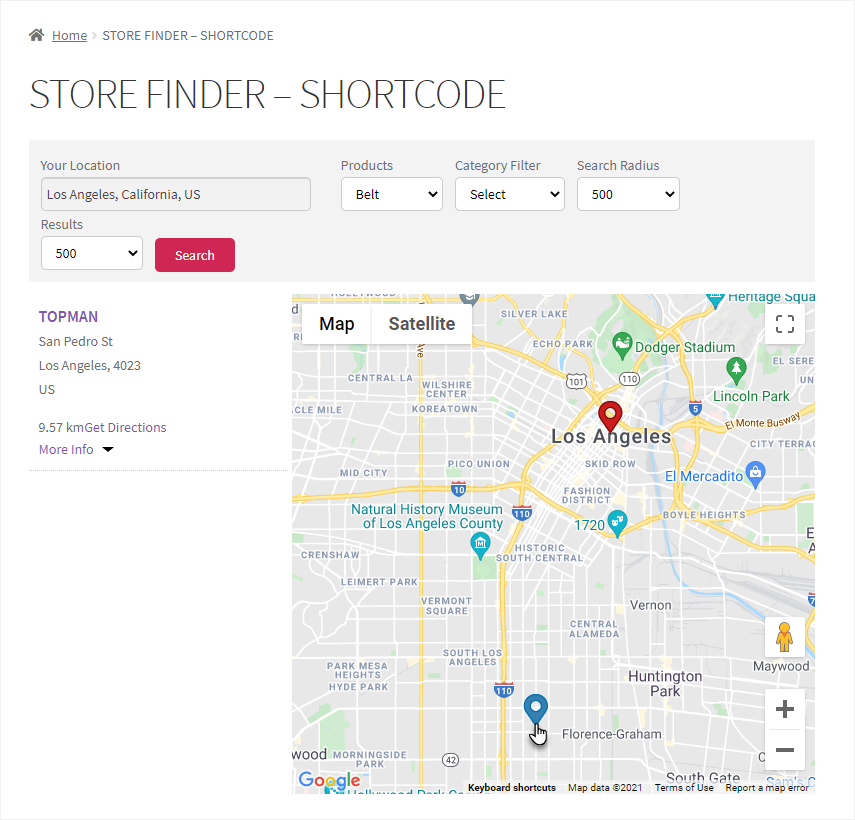
- The mentioned information in the configuration will be displayed in the Info Window.