Introduction
↑ Back to topWelcome to the Bespoke theme documentation page. The Bespoke theme is a responsive and modern WordPress theme designed to showcase your lovely products and bespoke offerings. It’s a clean, simple, yet elegant theme, enabling you to sell your products on WordPress and WooCommerce.
Installation
↑ Back to top- Log in to your WordPress dashboard, navigate to the “Appearance” tab and click on “Themes”.
- In the “Add New” section, search for “Bespoke”.
- Click on “Install” and then “Activate”.
WooCommerce Integration
↑ Back to topTo integrate WooCommerce with the Bespoke theme:
- From your WordPress dashboard, go to “Plugins” > “Add New”.
- Search for “WooCommerce” and click on “Install Now”.
- Once installed, click “Activate”.
- Follow the WooCommerce setup wizard to complete your store setup.
Importing Demo Content
↑ Back to topTo import the content that you see in the demo or to use that content as a starting point:
- After Installing and Activating Bespoke, click on the “Get Started with Bespoke” link box that displays on the page.
- Click on the “Import Demo Content” button.
- Follow the on screen prompts to install the demo content, click “Start” to get started.
- Click “Import”.
- The import will take a few minutes to complete, please be patient.
Customizing Bespoke
↑ Back to topAll the theme’s customization settings can be found under Appearance > Customize. This is where you navigate to upload a logo, change color, or change fonts.
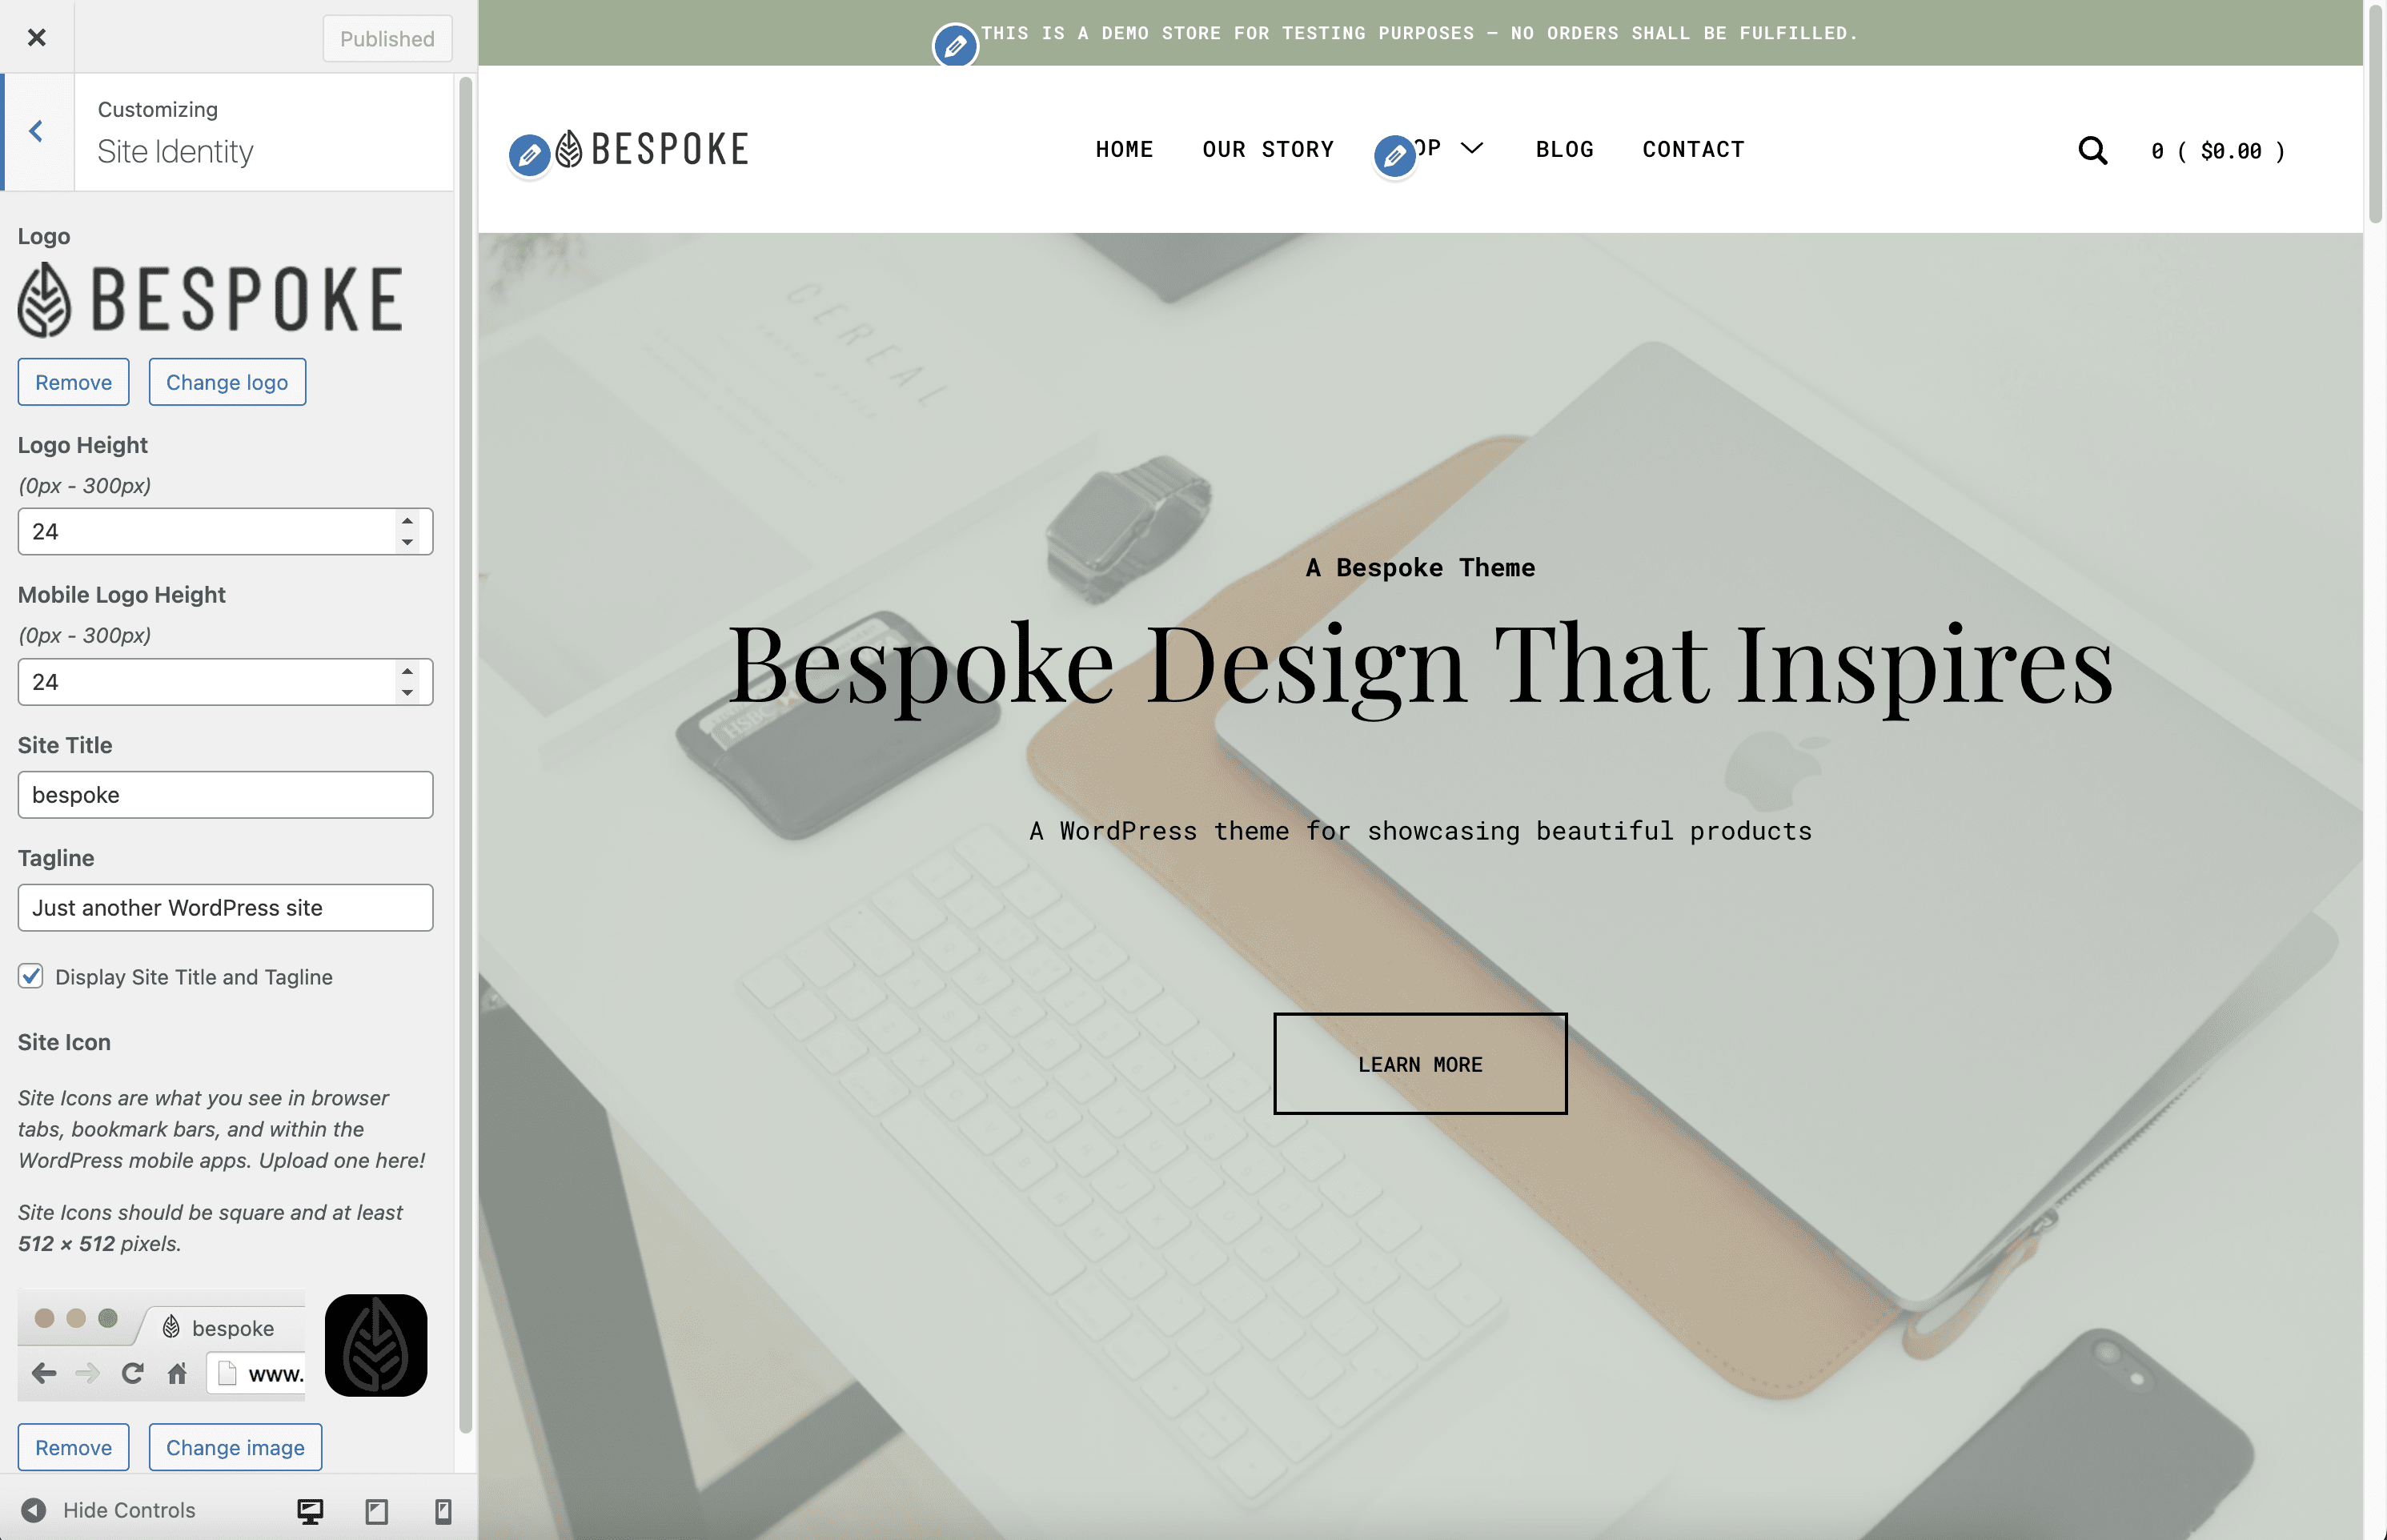
Site Identity
Under Appearance > Customize > Site Identity, you can:
- Upload a logo
- Adjust logo size on desktop and mobile screens
- Update the Site Title and the Tagline
- Upload a Site Icon
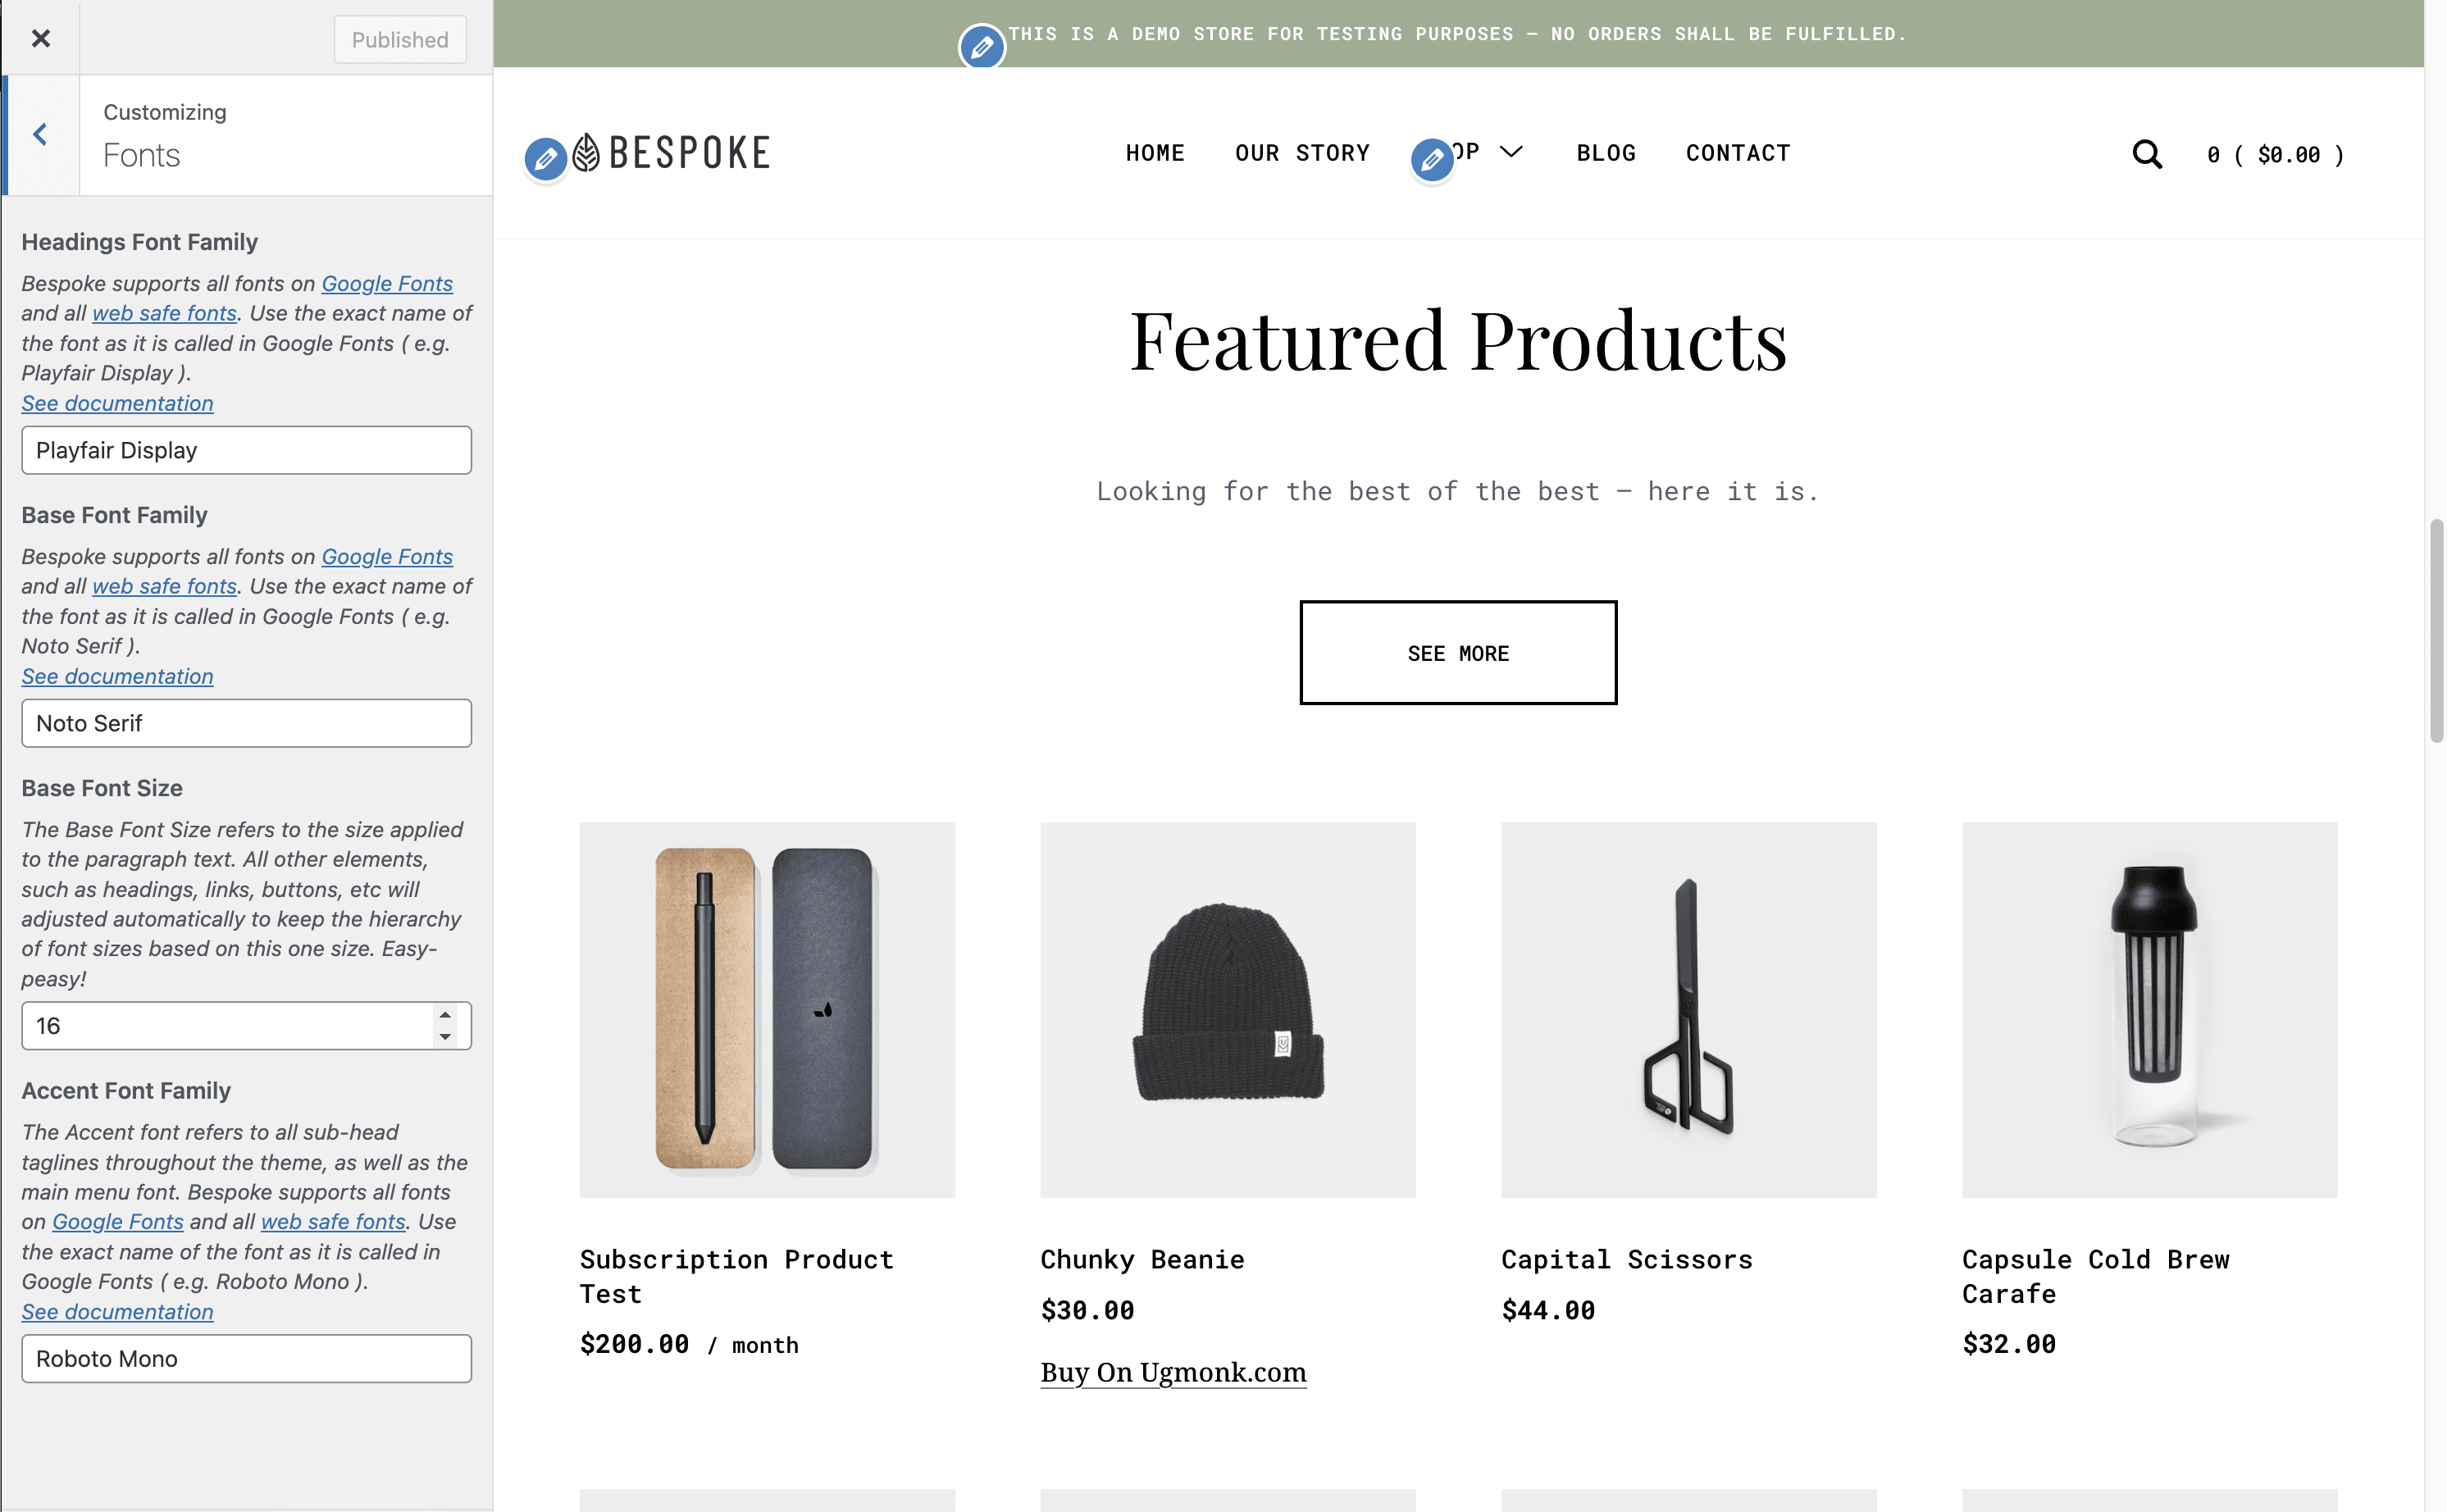
Fonts
↑ Back to topUnder Appearance > Customize > Fonts, you can:
- Choose a different Headings Font Family — Bespoke supports all fonts on Google Fonts and all web safe fonts.
- Choose a different Base Font Family — Bespoke supports all fonts on Google Fonts and all web safe fonts.
- Choose a different Accent Font Family — Bespoke supports all fonts on Google Fonts and all web safe fonts.
- Adjust the Base Font Size — The Base Font Size refers to the size applied to the paragraph text. All other elements, such as headings, links, buttons, etc will adjusted automatically to keep the hierarchy of font sizes based on this one size.
Using Web Safe Fonts
Web-safe fonts are fonts that can adapt to any browser on any device. By using these types of fonts, web designers and developers ensure that the intended font will always display properly on a web page, even if these fonts aren’t installed on the user’s computer.
The following fonts are the best web safe fonts for HTML and CSS:
- Arial (sans-serif)
- Verdana (sans-serif)
- Tahoma (sans-serif)
- Trebuchet MS (sans-serif)
- Times New Roman (serif)
- Georgia (serif)
- Garamond (serif)
- Courier New (monospace)
- Brush Script MT (cursive)
Using Google Fonts
Thanks to the Google Fonts library, we have access to a web repository of over 900 quality fonts ready to use. They’re free to use (even for commercial projects), pre-hosted (so they won’t take up your server’s resources), and downloadable (you can use them in print).
How to manually install Google Fonts on your WordPress website:
Step 1: Find the font you want to add to your website
To get started, browse the Google Fonts directory and choose the font you want to use on your WordPress website. If you already have a specific typeface, you can simply search for it using the search box in the right sidebar.
Once you know which font you’re going with, copy its name and return to your website’s Customizer settings.
2. Insert the Google Font’s name into the Font Family field
Make sure you use the exact name of the font as it is called in Google Fonts.
Publish your Customizer changes and visit your site. The selected Google Font should now load and apply into your pages.
Using Custom Fonts
In order to use a custom font, you need a plugin that helps you easily embed the custom fonts files (woff2, woff, ttf, svg, eot, otf) in your WordPress website. The Custom Fonts plugin or the Use Any Font plugin should do the trick. Once you successfully embedded the font files, all you need to do it change the font name under Appearance > Customize > Fonts > Base Font Family.
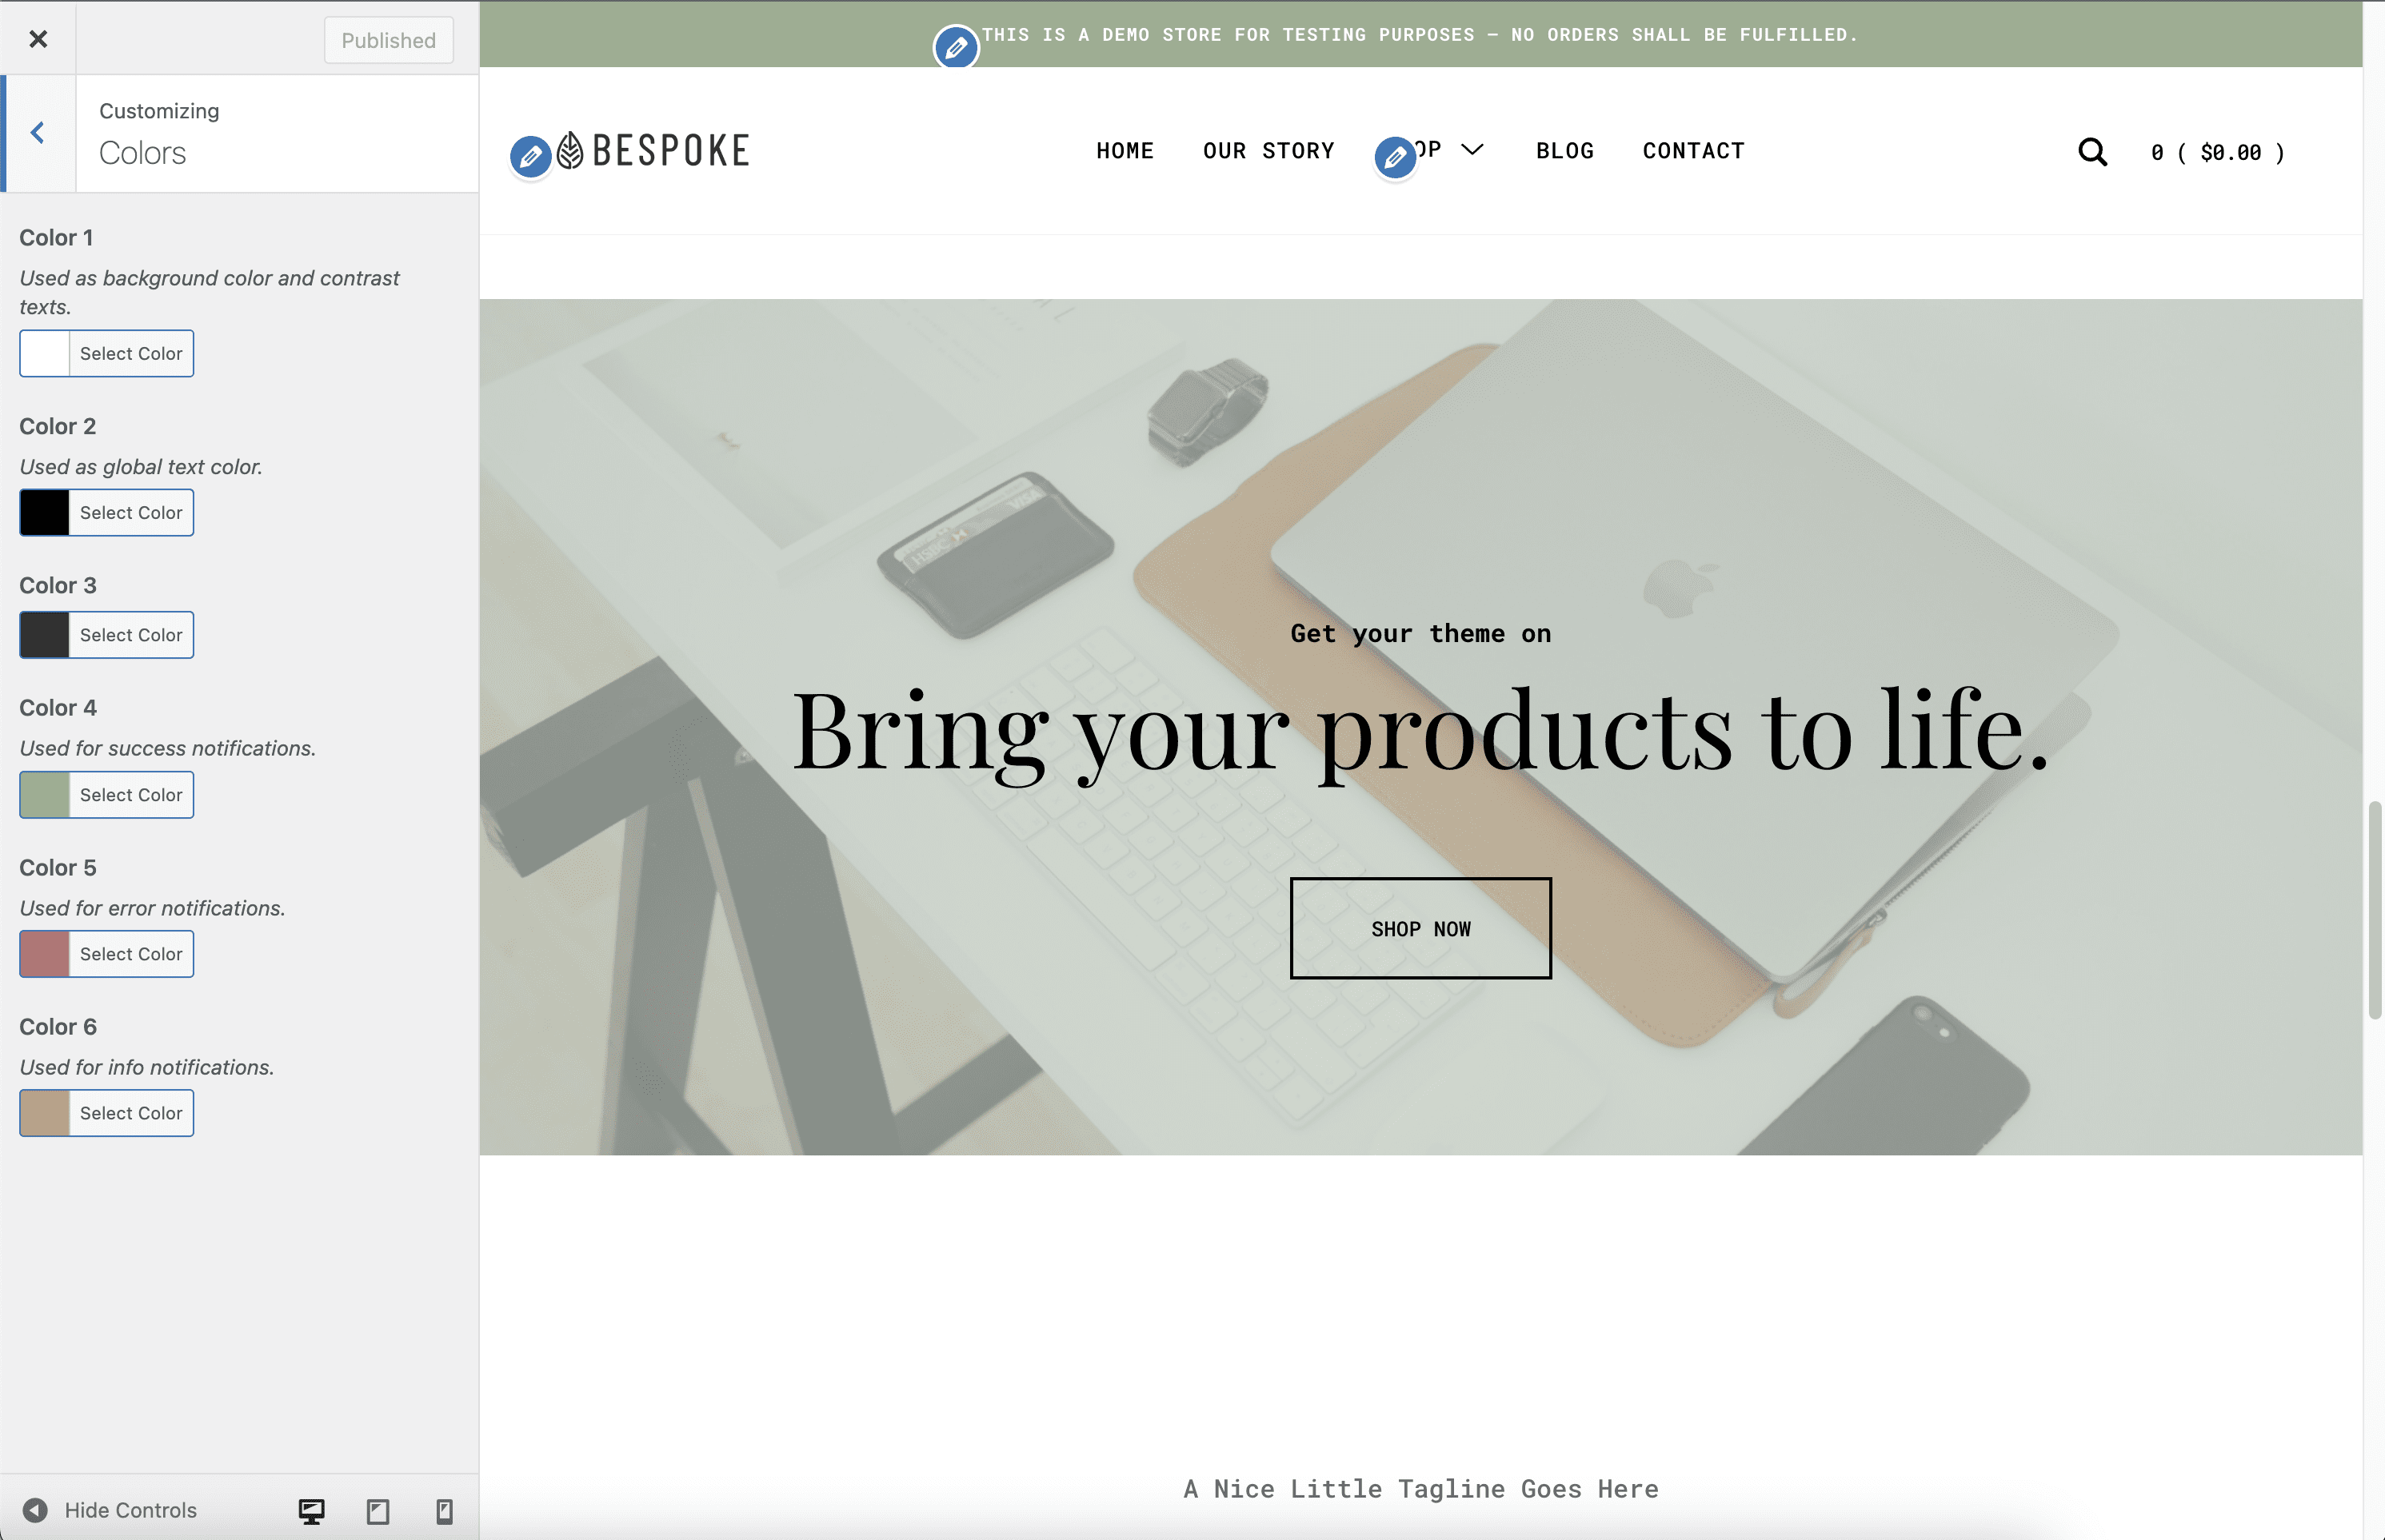
Colors
↑ Back to topThe theme’s color palette consists of 6 colors which can be changed via Appearance > Customize > Colors. The colors defined here are being applied automatically across the site.
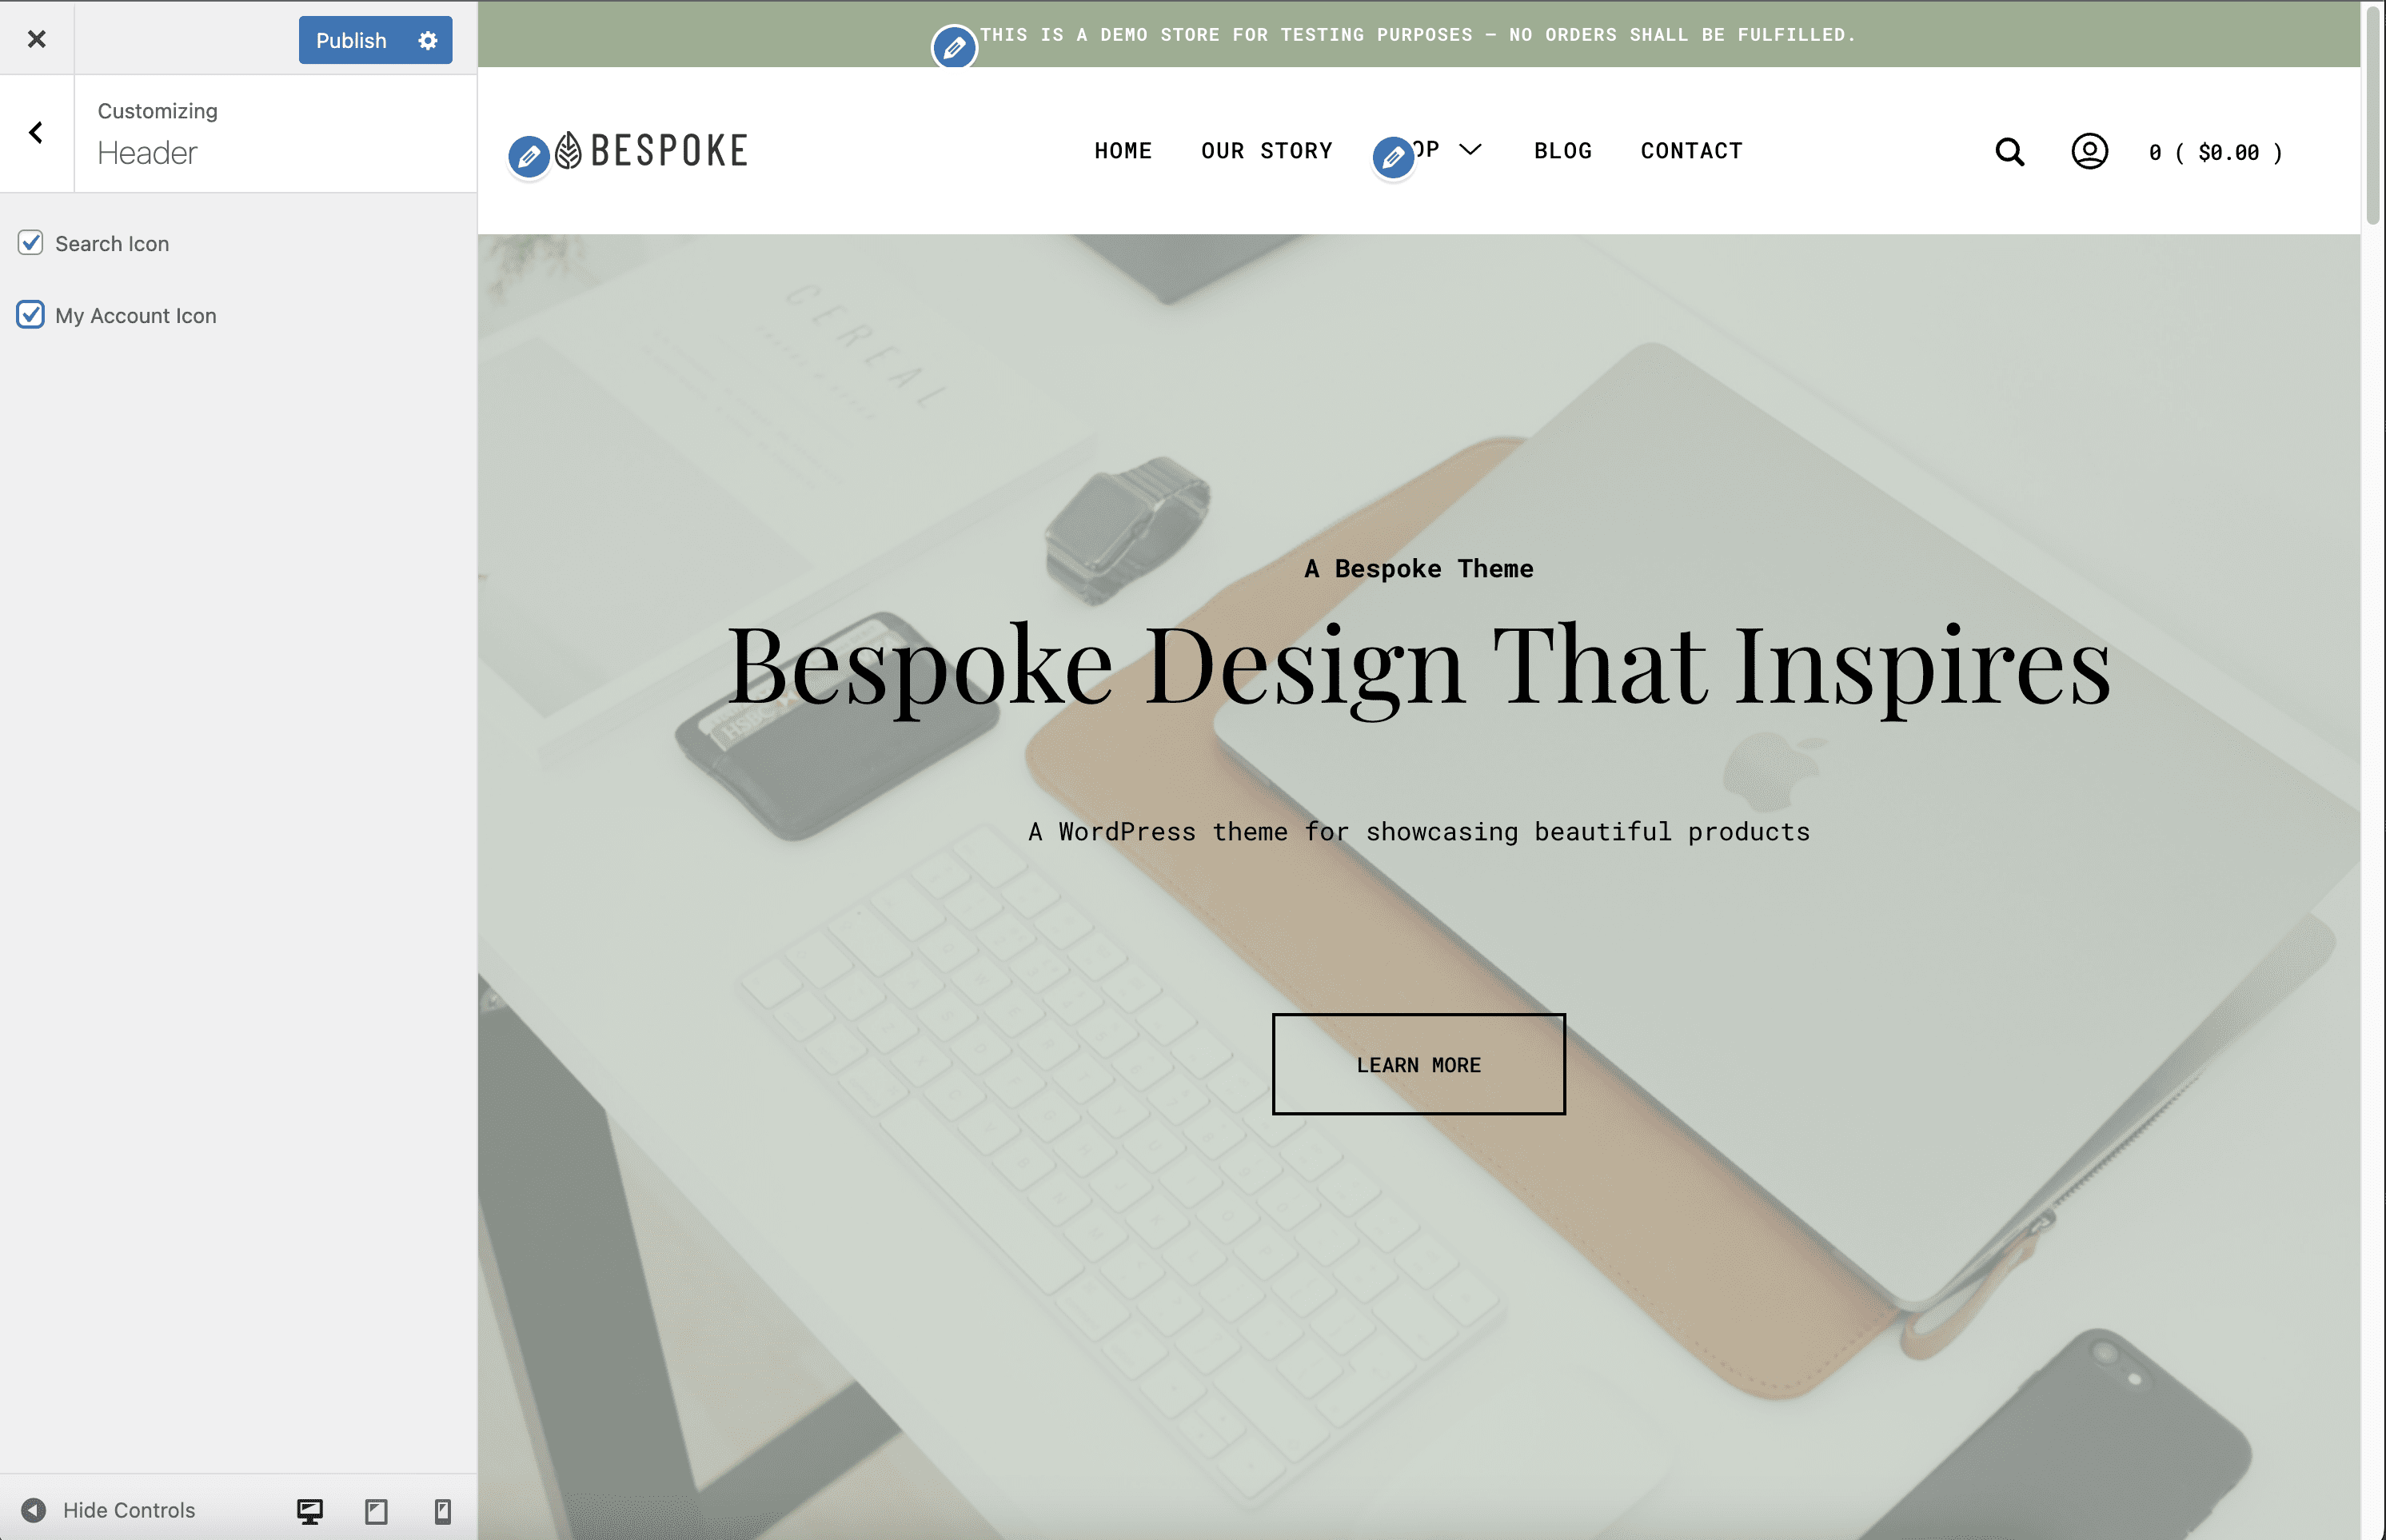
Header
↑ Back to topUnder Appearance > Customize > Header, you can:
- Show/Hide Search Icon
- Show/Hide My Account Icon
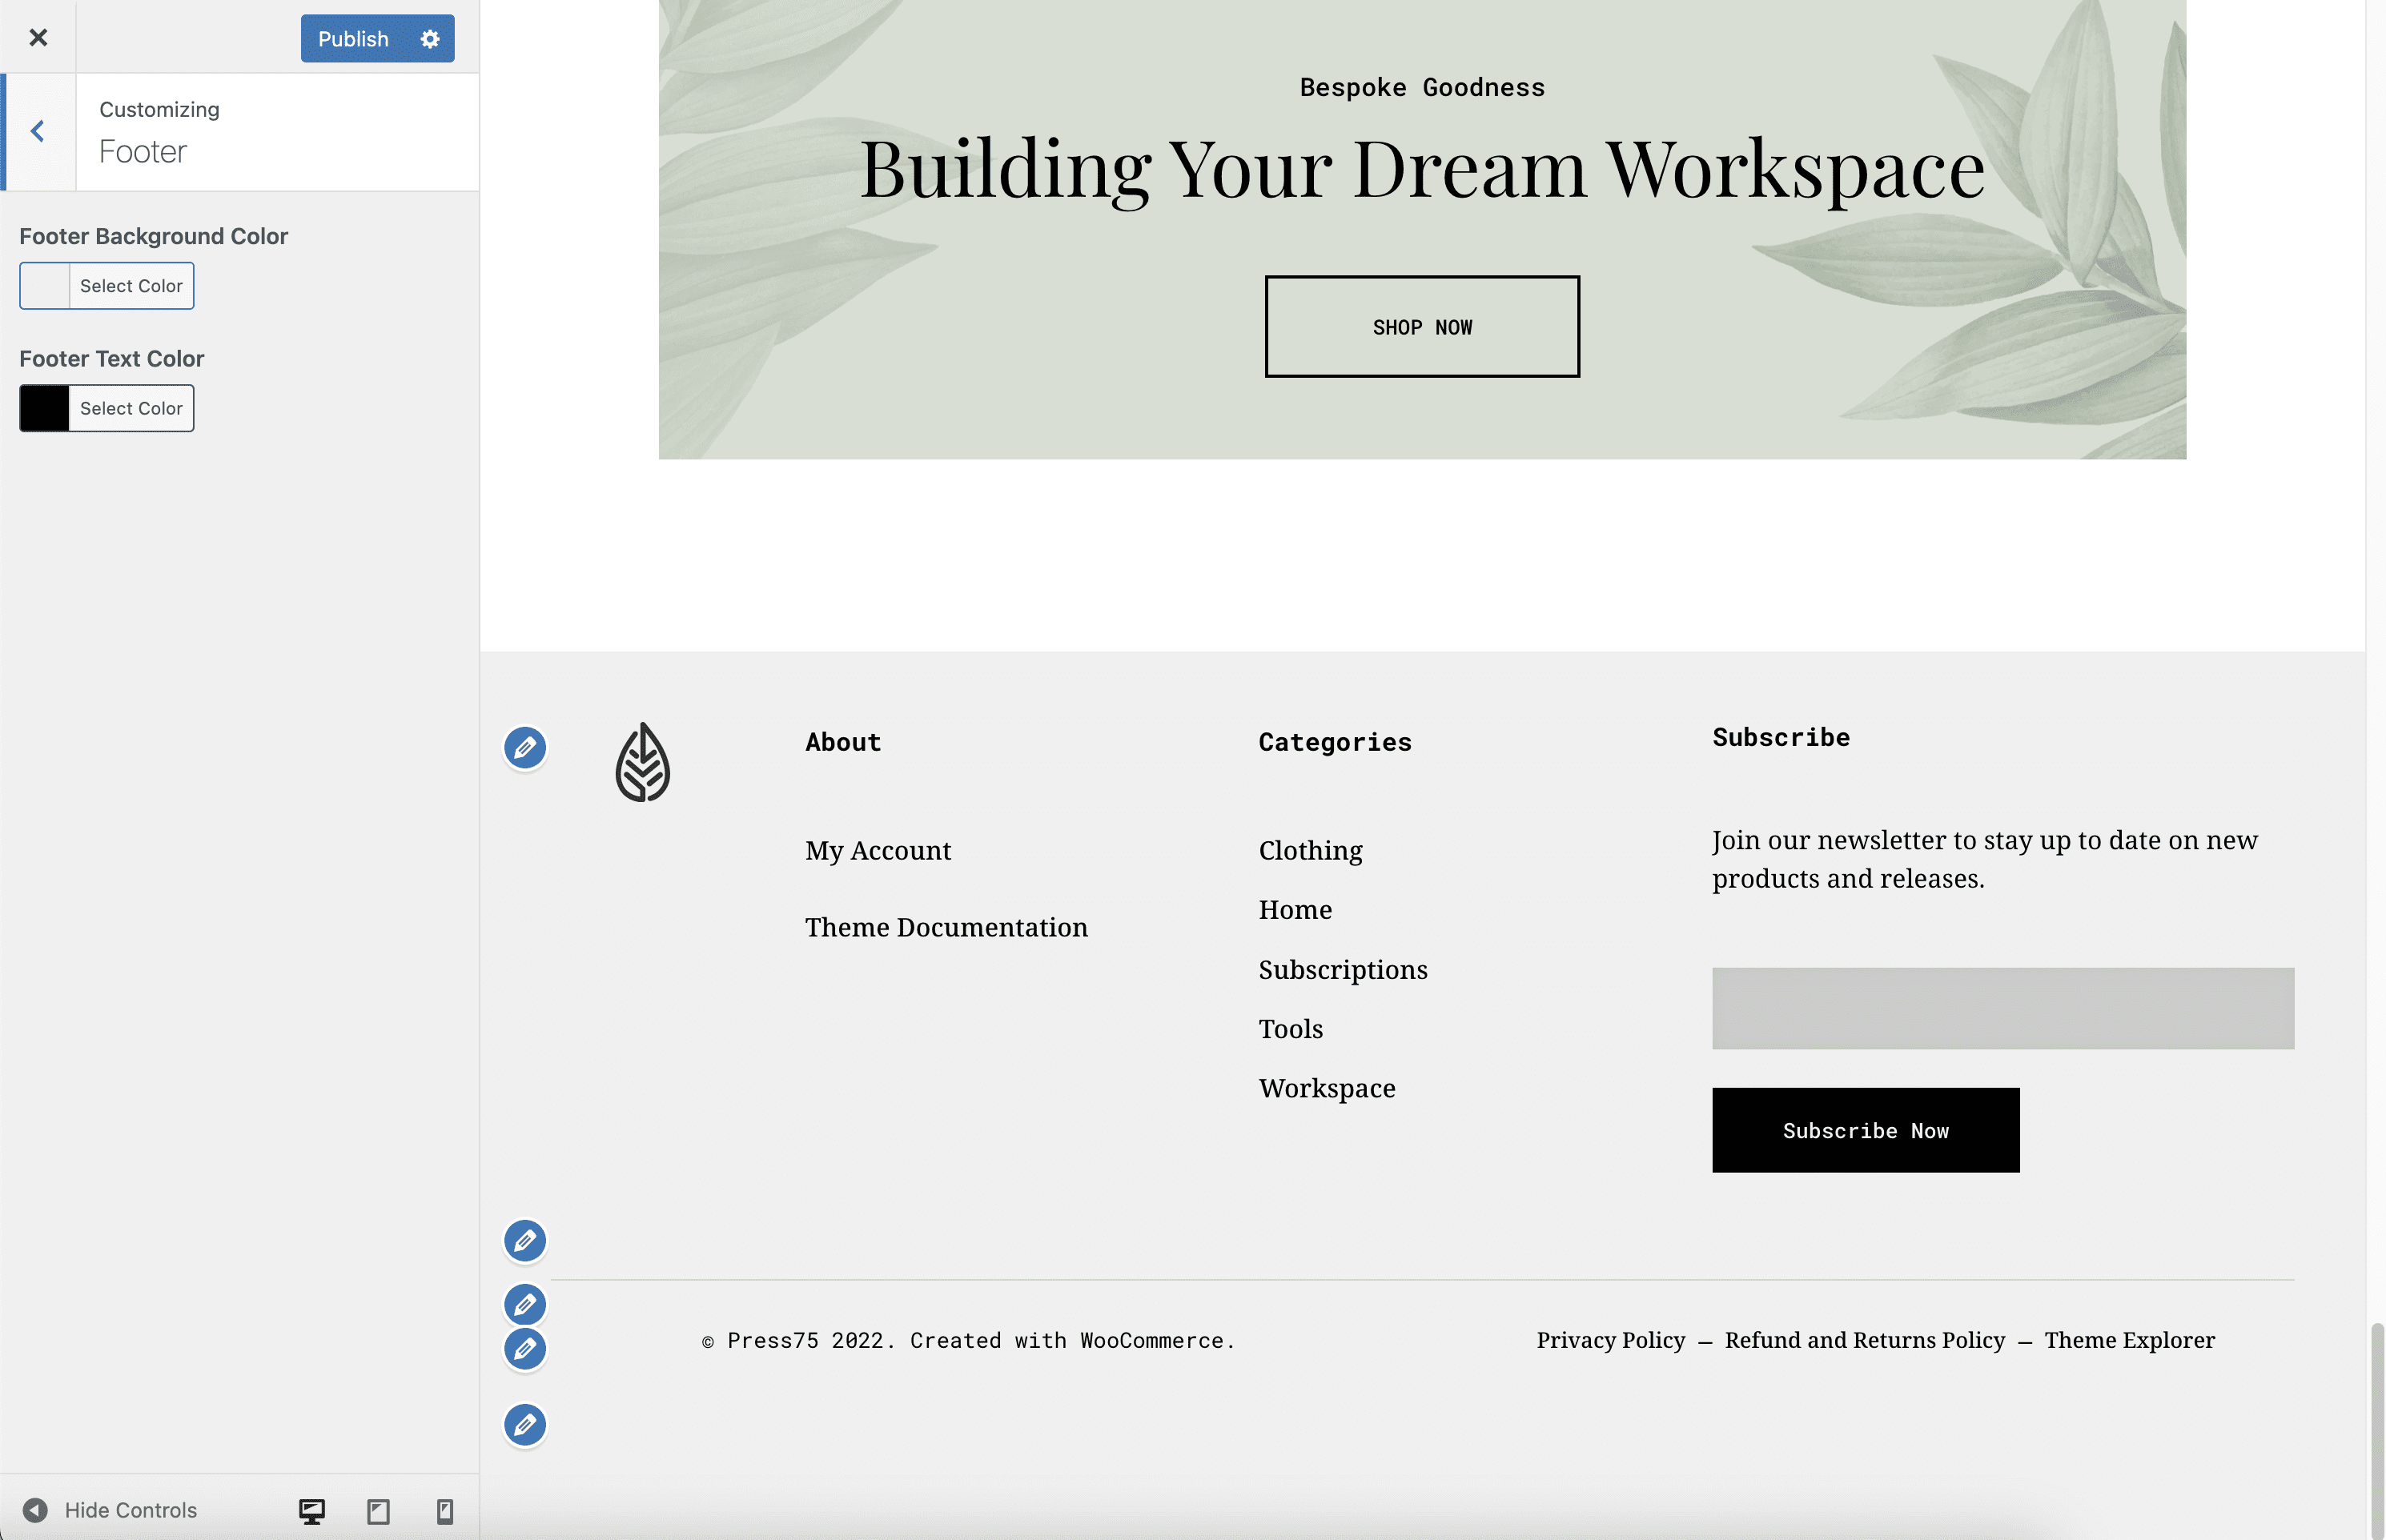
Footer
↑ Back to topUnder Appearance > Customize > Footer, you can:
- Set different colors for the text and background color
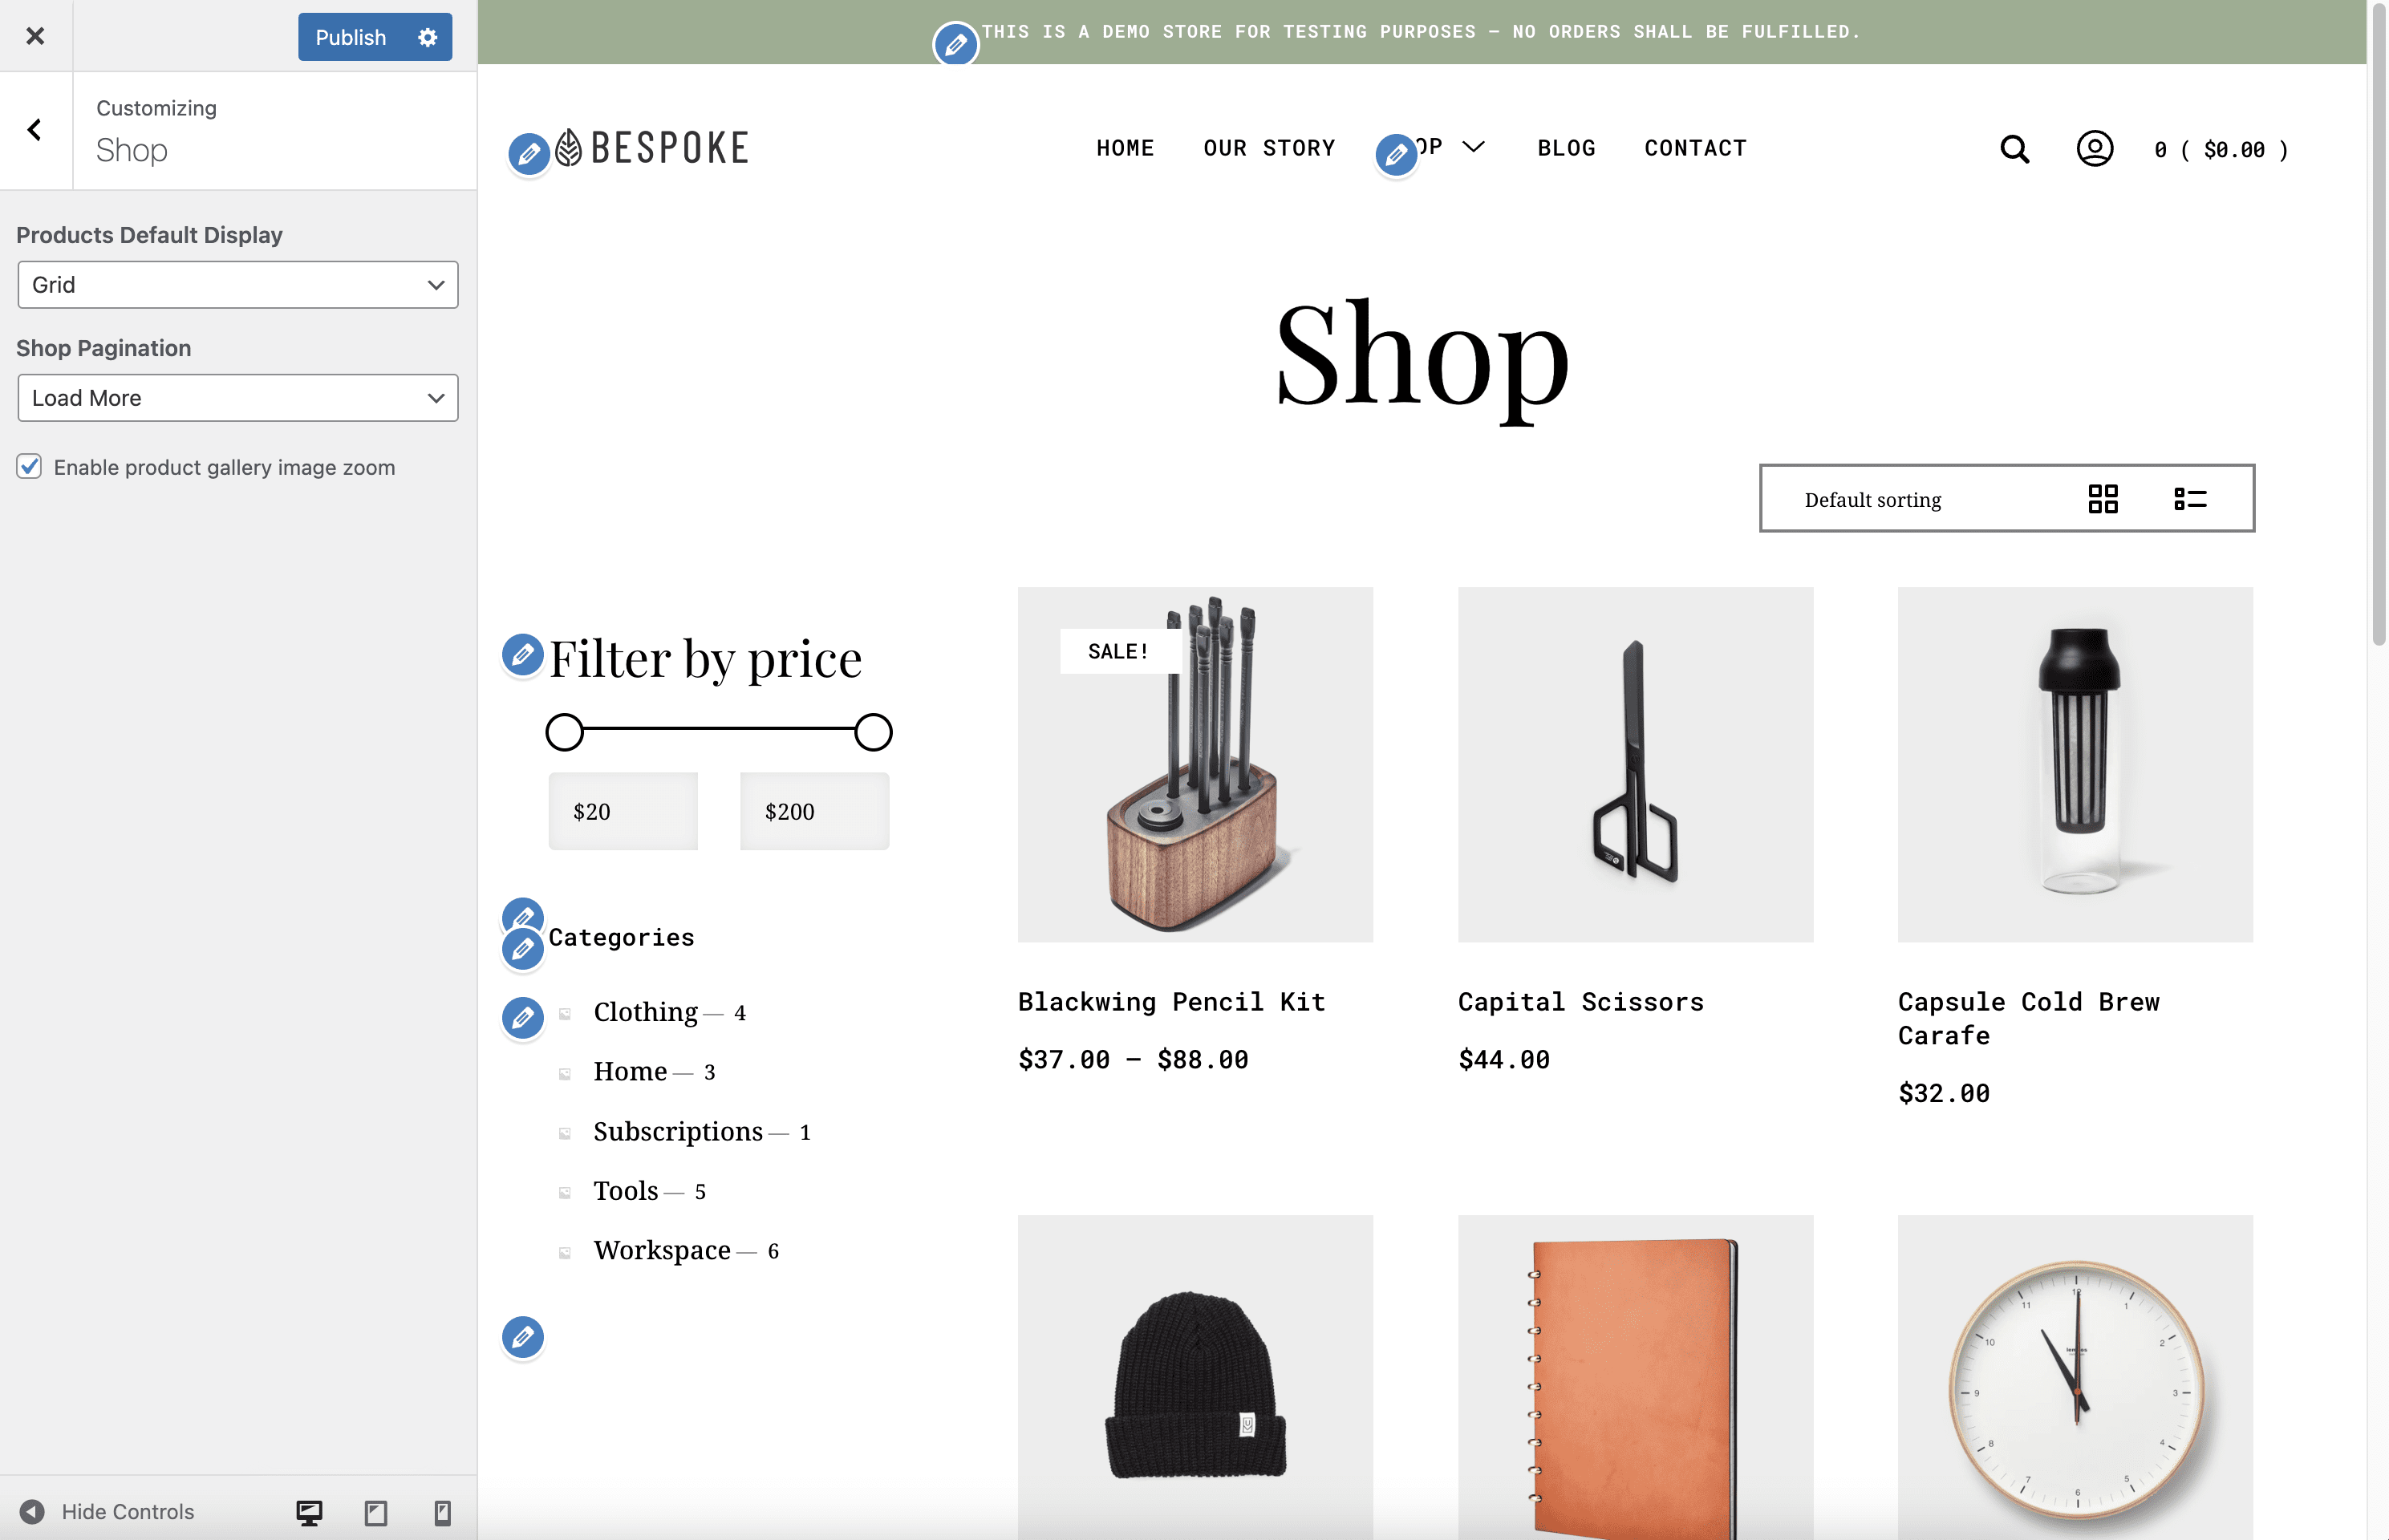
Shop
↑ Back to topUnder Appearance > Customize > Shop, you can:
- Change products display (Grid or List)
- Change product pagination (Classic or Load More Button)
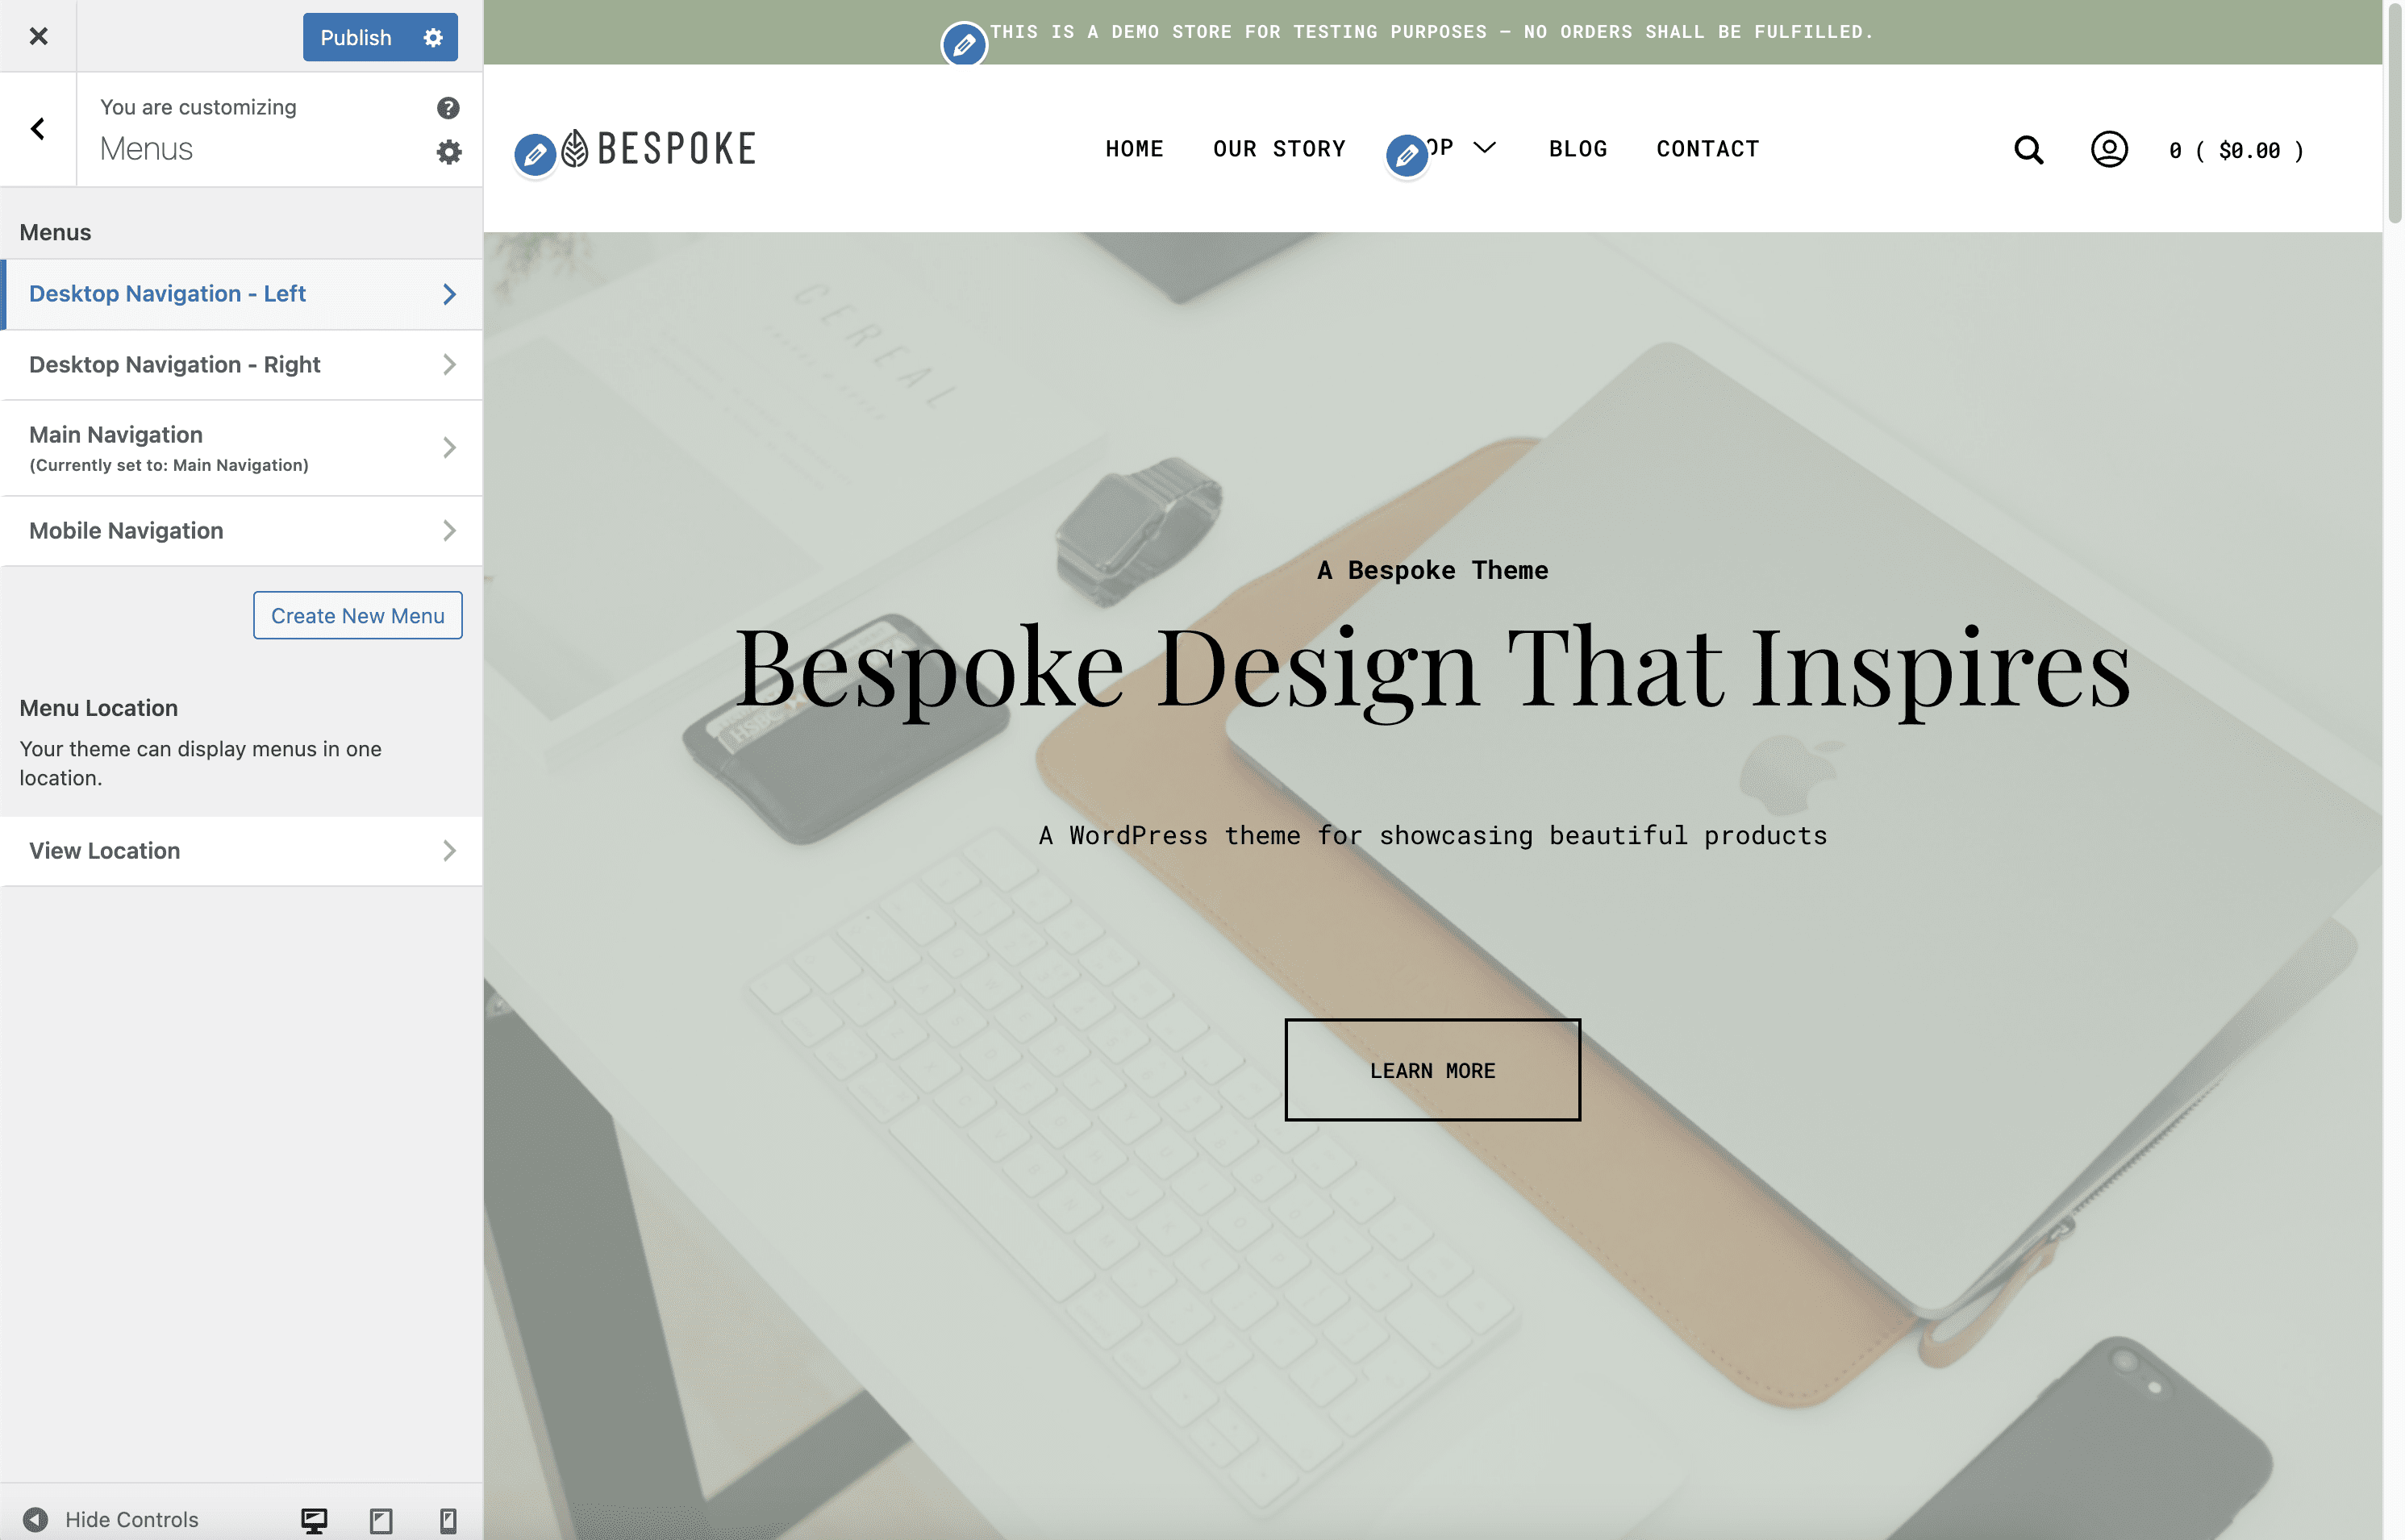
Menus
↑ Back to topThe theme comes with one menu location for both the header’s desktop and mobile navigation.
Menus can be created and assigned their respective menu location via Appearance > Menus.
Read more: WordPress Menu User Guide
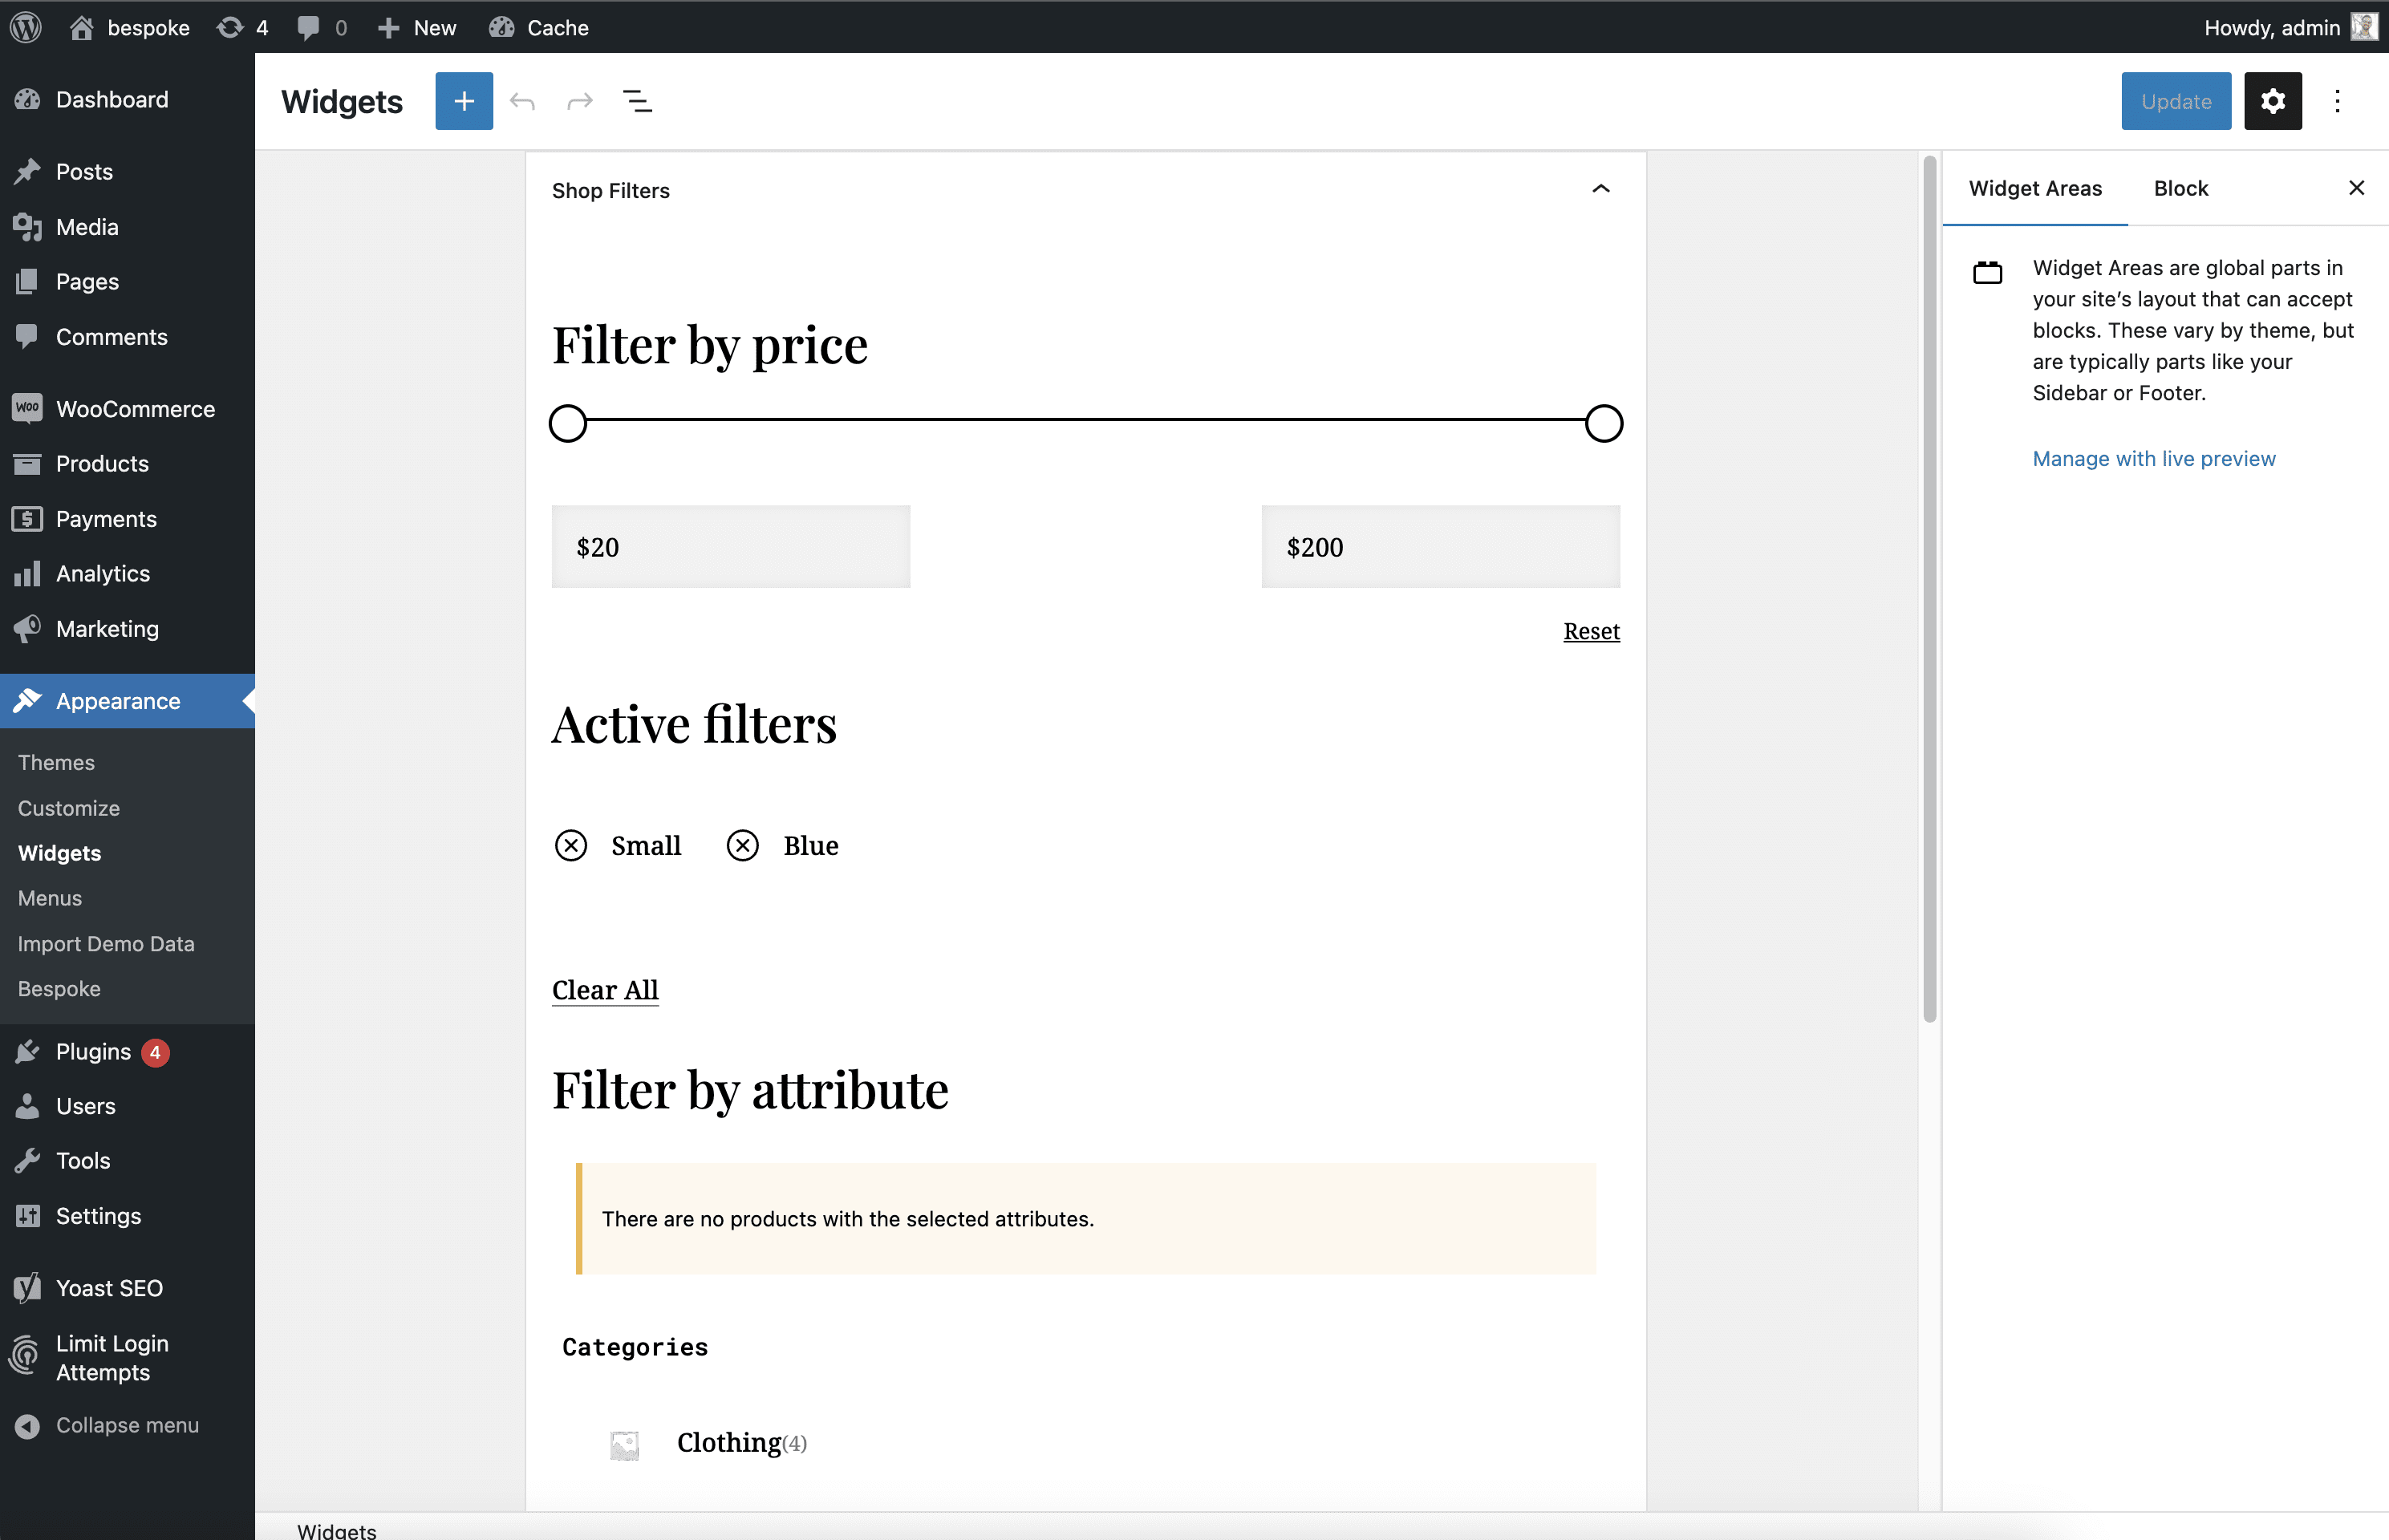
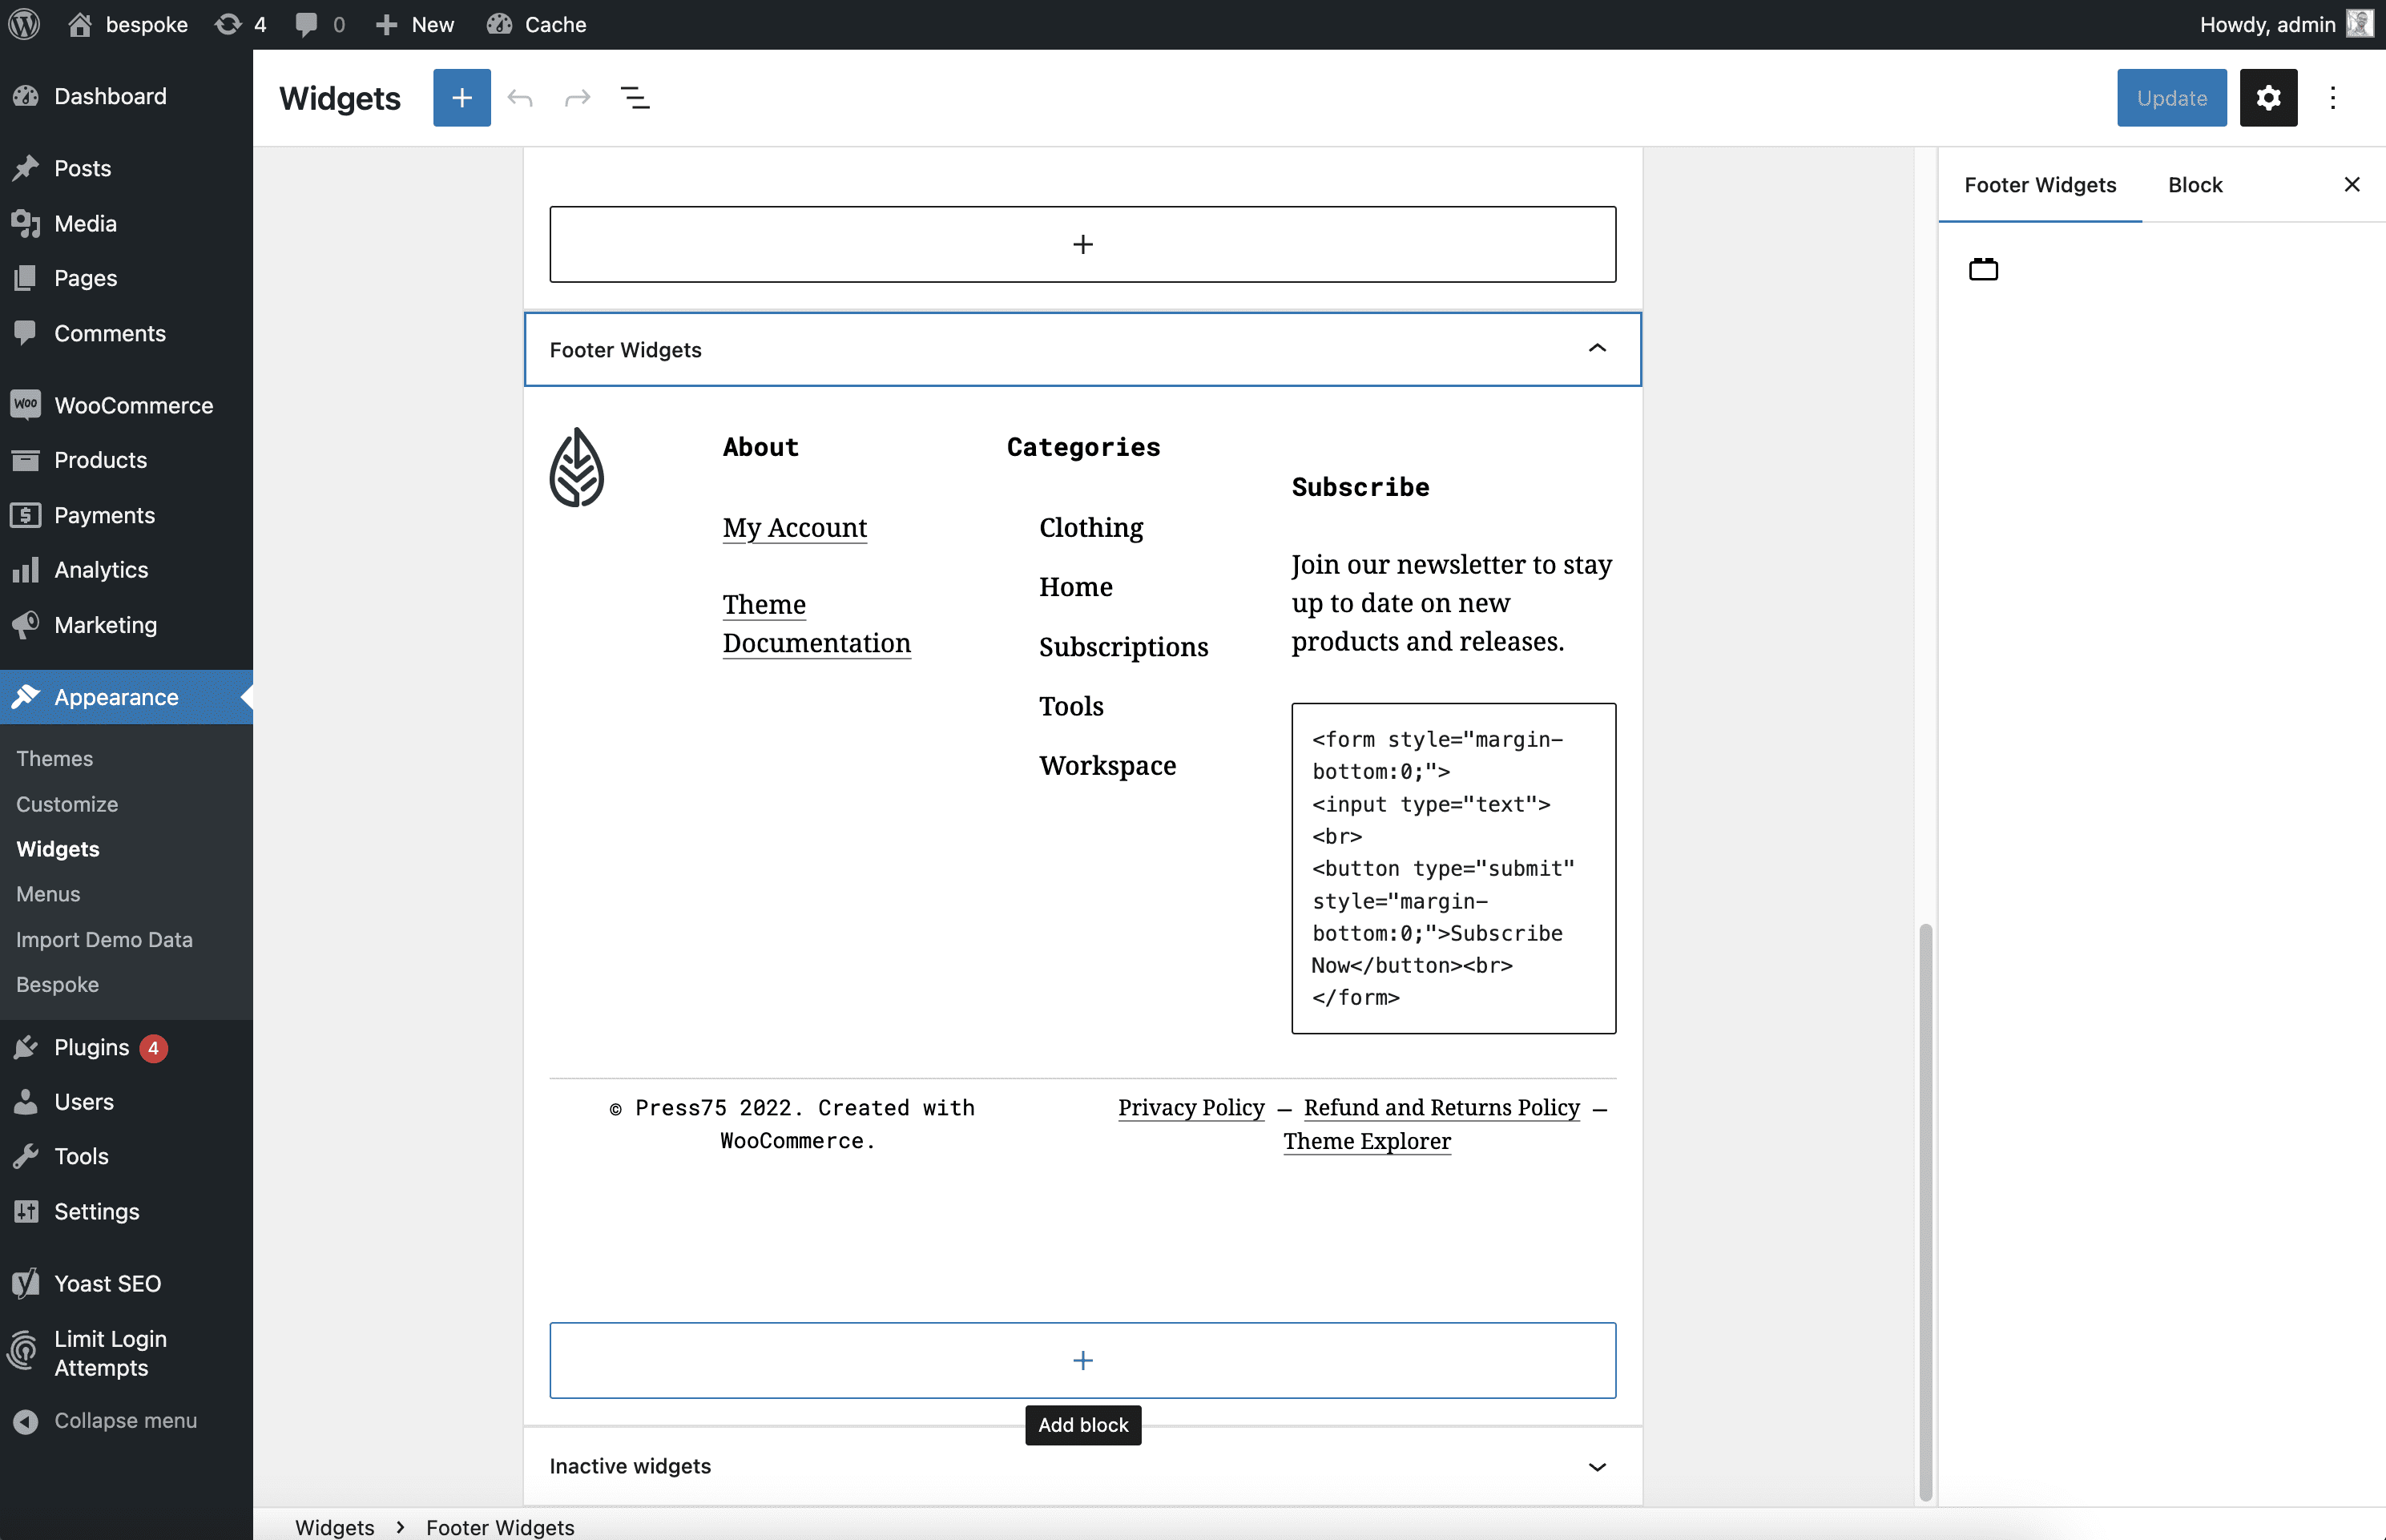
Widget Areas
↑ Back to topThe Bespoke theme comes with two widget areas: one for the Shop Filters Sidebar and another one for the Footer. Both can be managed via Appearance > Widgets.
Bespoke Block Patterns
↑ Back to topBlock Patterns are predefined block layouts, available from the block inserter’s Patterns tab. Once inserted into content, the blocks are ready for additional or modified content and configuration.
Bespoke comes with five theme-specific patterns:
- Cover
- Cover Contained (not full-width)
- Intro Copy
- About
- 2-Column Feature
Block Editor
↑ Back to topIf you are new to the WordPress Block Editor, here is an article that will show you how to use the it and master it to create visually stunning blog posts and pages: WordPress Block Editor.