Amazon S3 Setup
↑ Back to topThe API Manager allows an Amazon S3 (Simple Storage Service) URL to be copied and pasted into a product’s Downloadable files > File URL form field, so files can be download through Amazon S3. The secure URLs created by the API Manager for Amazon S3 will expire between 5 – 60 minutes after creation, just like a local download URL, depending on your setting. The WooCommerce > Settings > API Manager screen has form fields for the Amazon S3 keys will be creating, and the secret key is strongly encrypted, however it is much more secure to put the keys in wp-config.php using the defined constants detailed in the Settings section above.
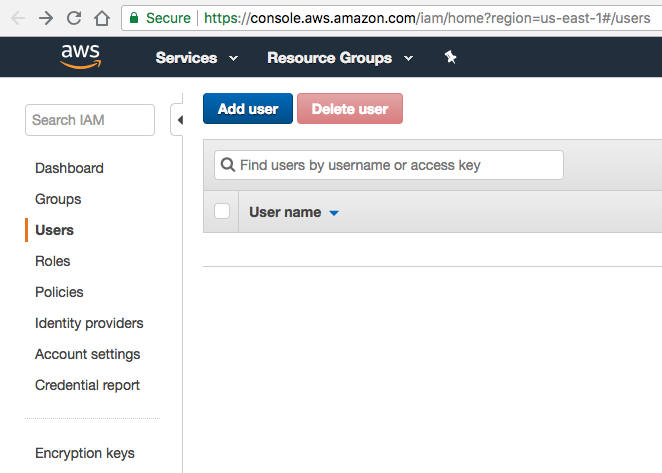
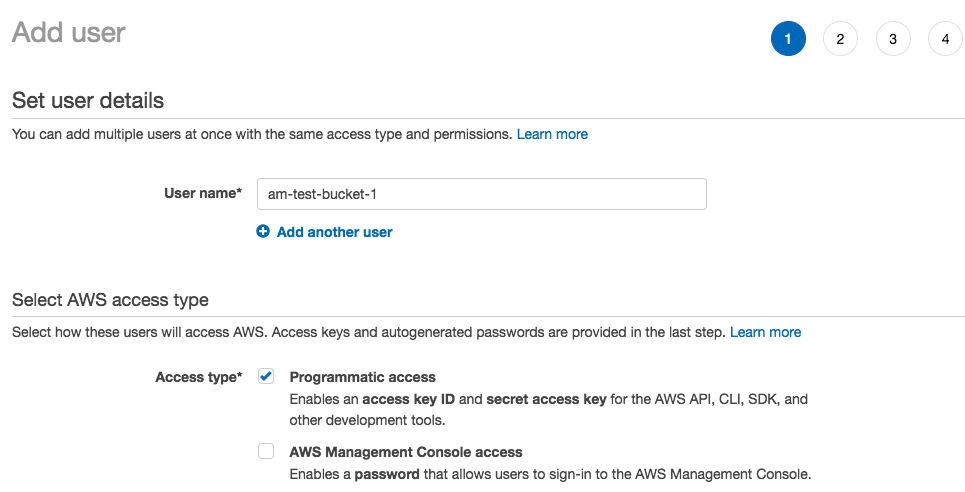
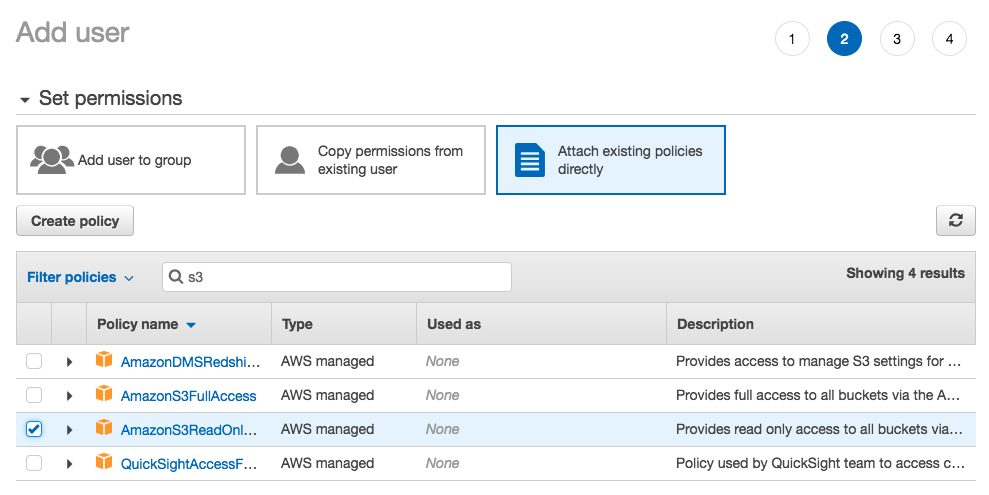
To get started with Amazon Web Services (AWS) login or create an account, then go to the Identity and Access Management (IAM) dashboard. Click on the Continue to Security Credentials button, then click on Users. The objective will be to create a user who has restricted read-only access to Amazon S3 buckets, and no other Amazon services. This helps avoid using root keys that have access to all services connected with the AWS account. The screenshots below will walk through the steps to setup a new restricted user.
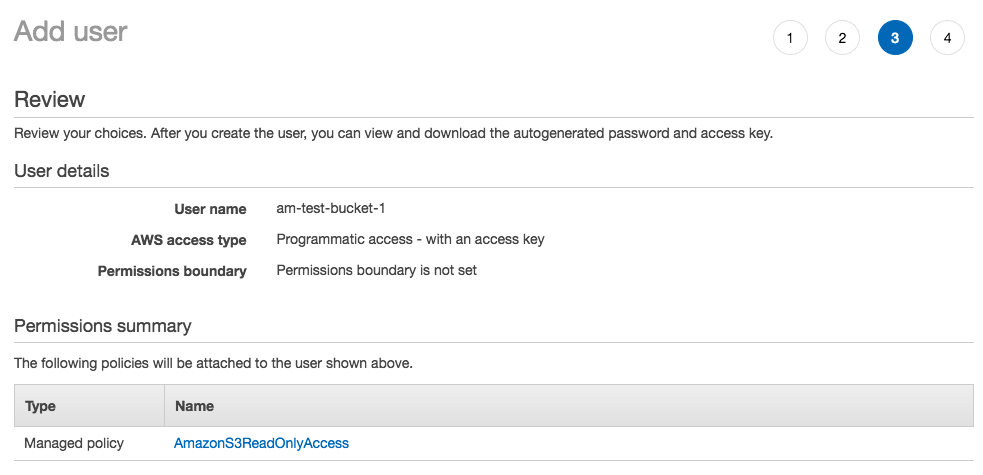
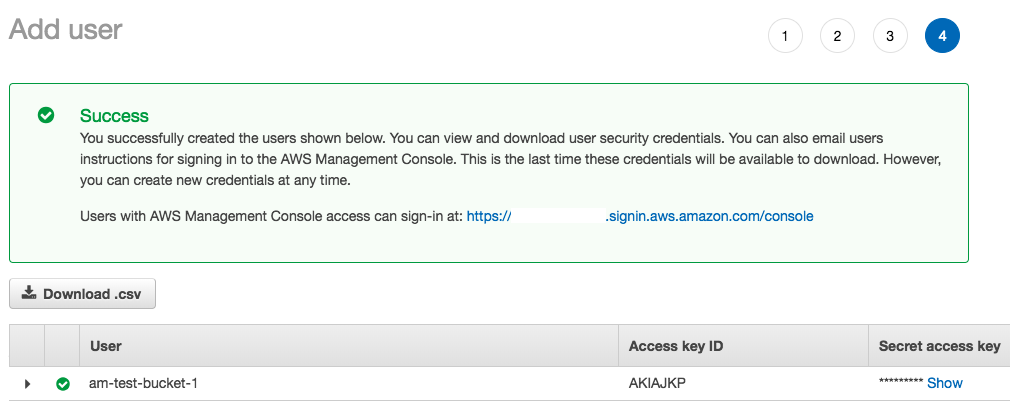
Download the .csv file, and store it somewhere secure, because this file contains the Access Key ID, and Secret Access Key you will need to add to wp-config.php using the defined constants (strongly recommended), or to save in the API Manager settings. Step 4, the success screen, will be the only time you can download the .csv file, or to view the Secret Access Key from the Amazon IAM dashboard for this user.
There are different ways to setup restricted users, and Amazon has a lot of documentation in this regard, but the overall objective is better security by limiting access to specific resources.
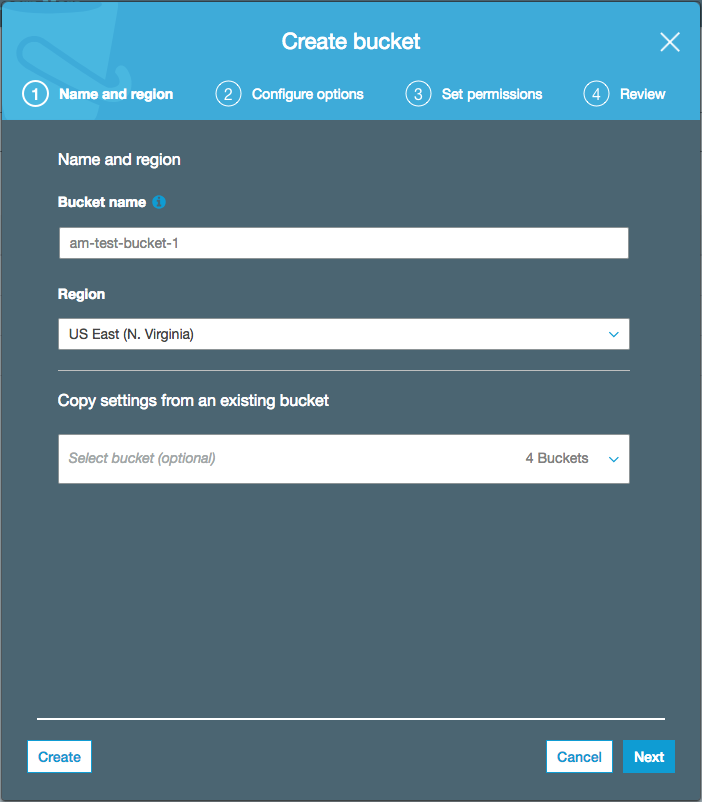
Now that an IAM user has been created with limited Amazon S3 access it is time to go to Amazon S3 and create a bucket to hold the files that will be downloaded. Once at the Amazon S3 dashboard click the Create bucket button, and follow the screenshot steps below.
- Note: The IAM user do not have to match the Bucket name, as the Bucket and IAM user are unrelated, although the names do match in the example screenshots only because it made it easier to see which Amazon S3 Bucket was used for the specific IAM user.
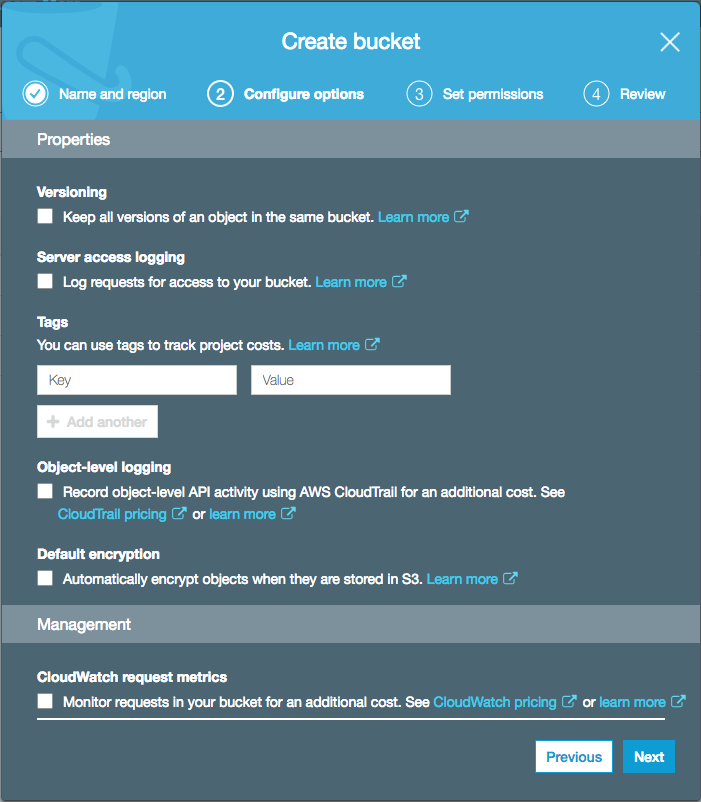

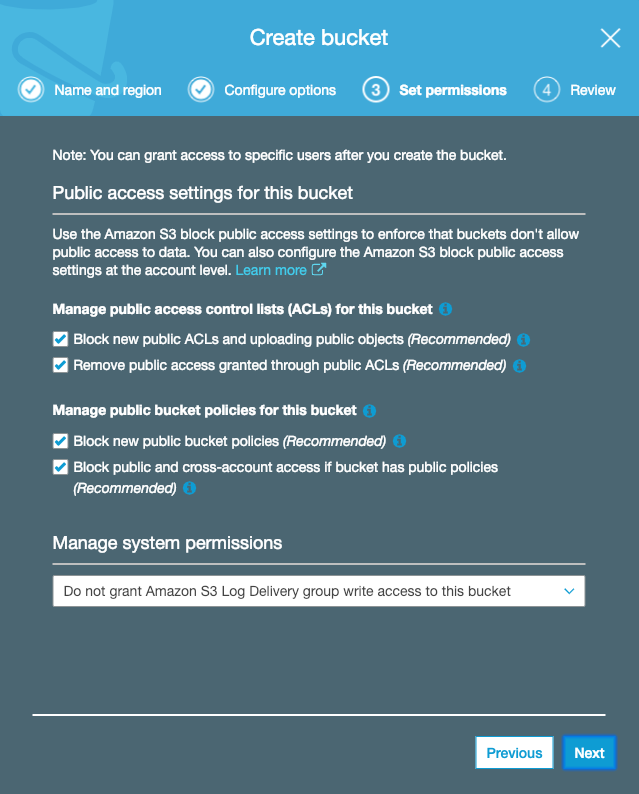
On step 3 of the create bucket wizard the screenshot above was displayed, then 6 hours later the screenshot below was displayed, but either way accept the default settings as there are no changes needed.
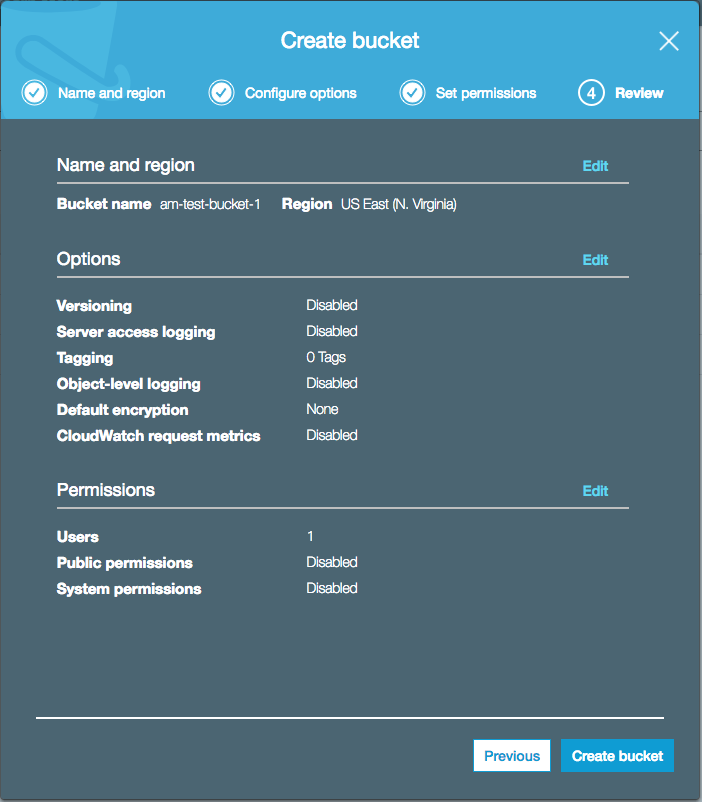
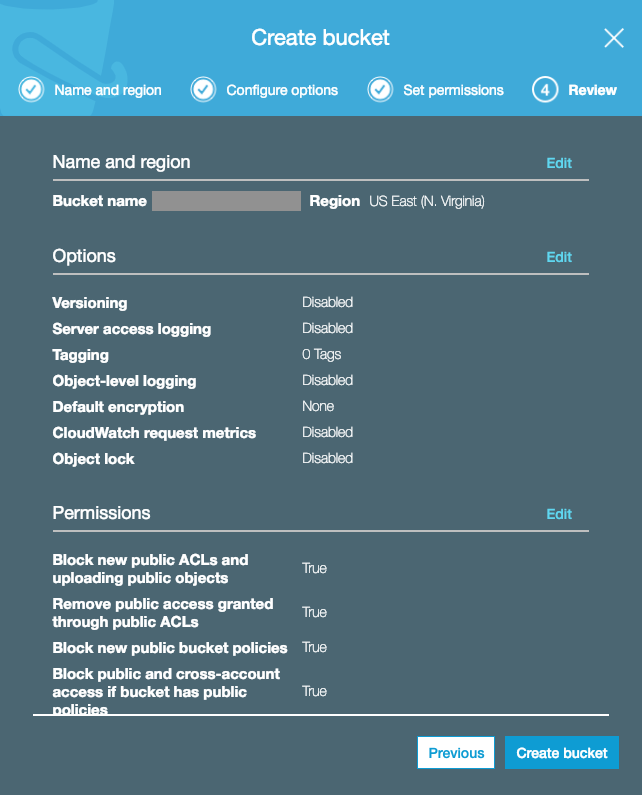
On step 4 of the create bucket wizard the screenshot above was displayed, then 6 hours later the screenshot below was displayed, but either way accept the default settings as there are no changes needed.
After the bucket is created, click on the bucket and follow the screenshots below to upload a file.

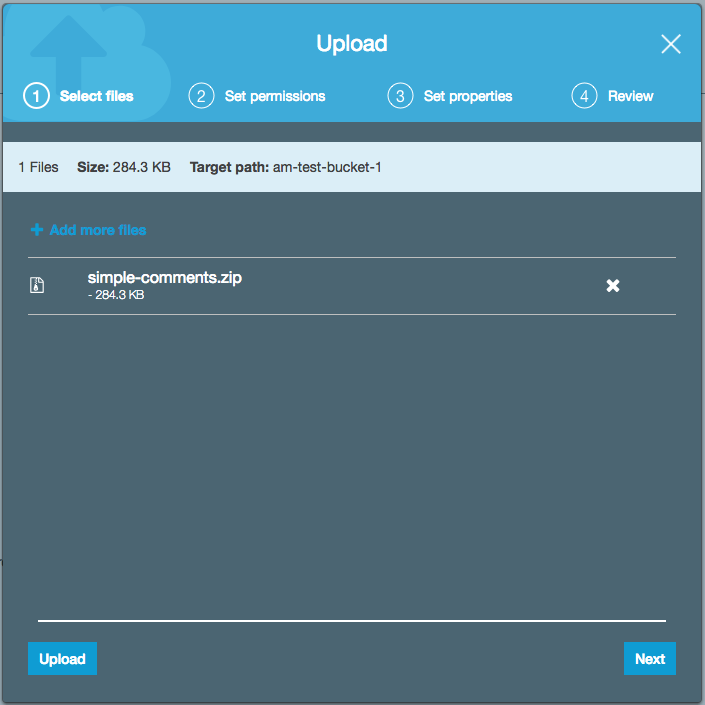

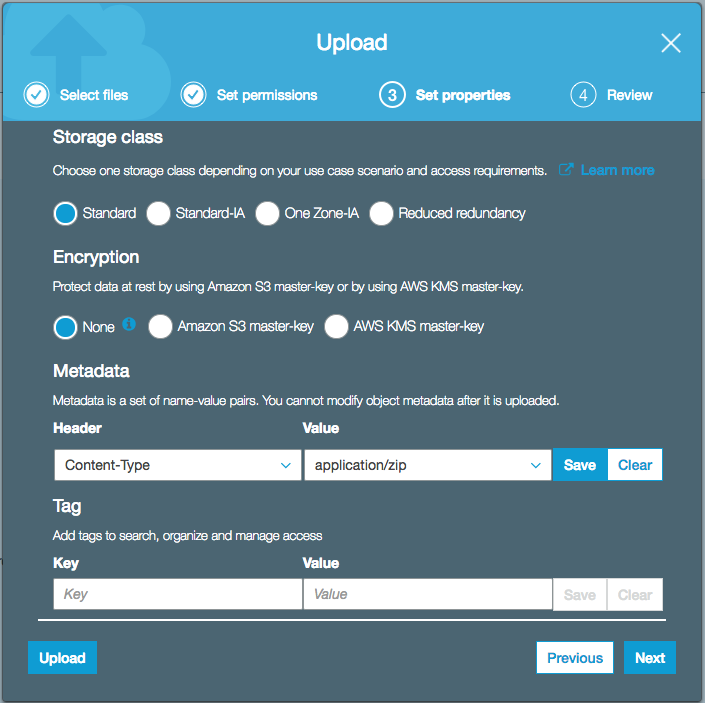
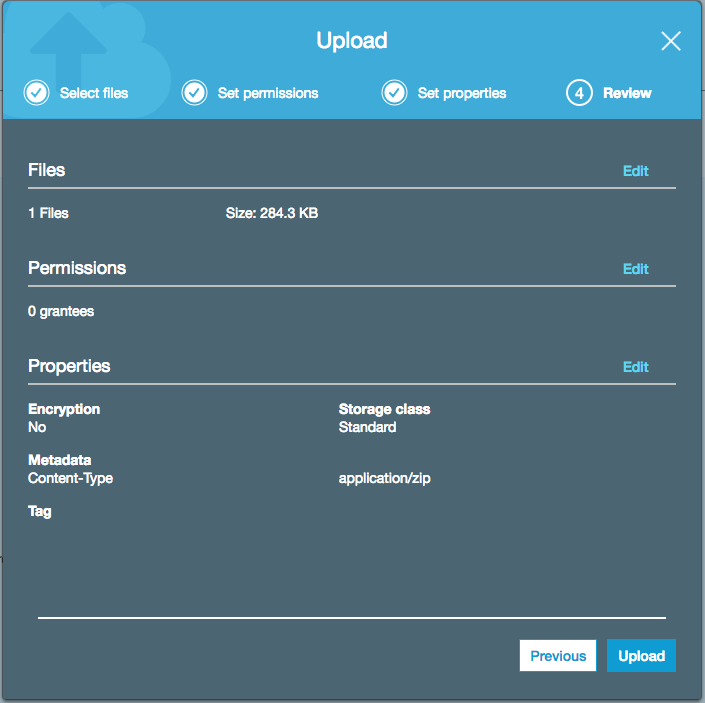
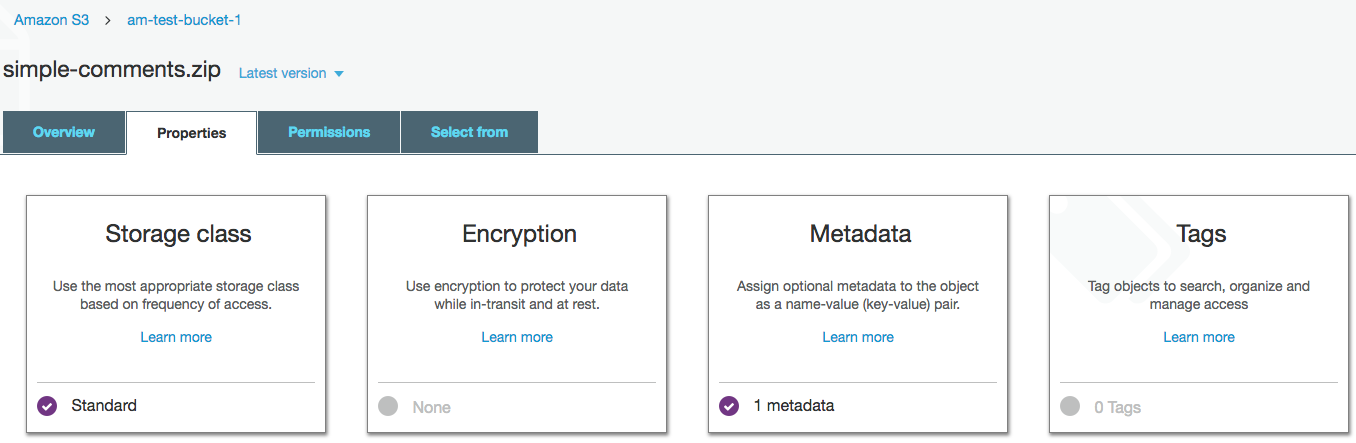
In the previous example the file is a zip file, so the Content-Type was set to application/zip. Once created click on the file to make additional changes needed. The root account is given full access to the file.
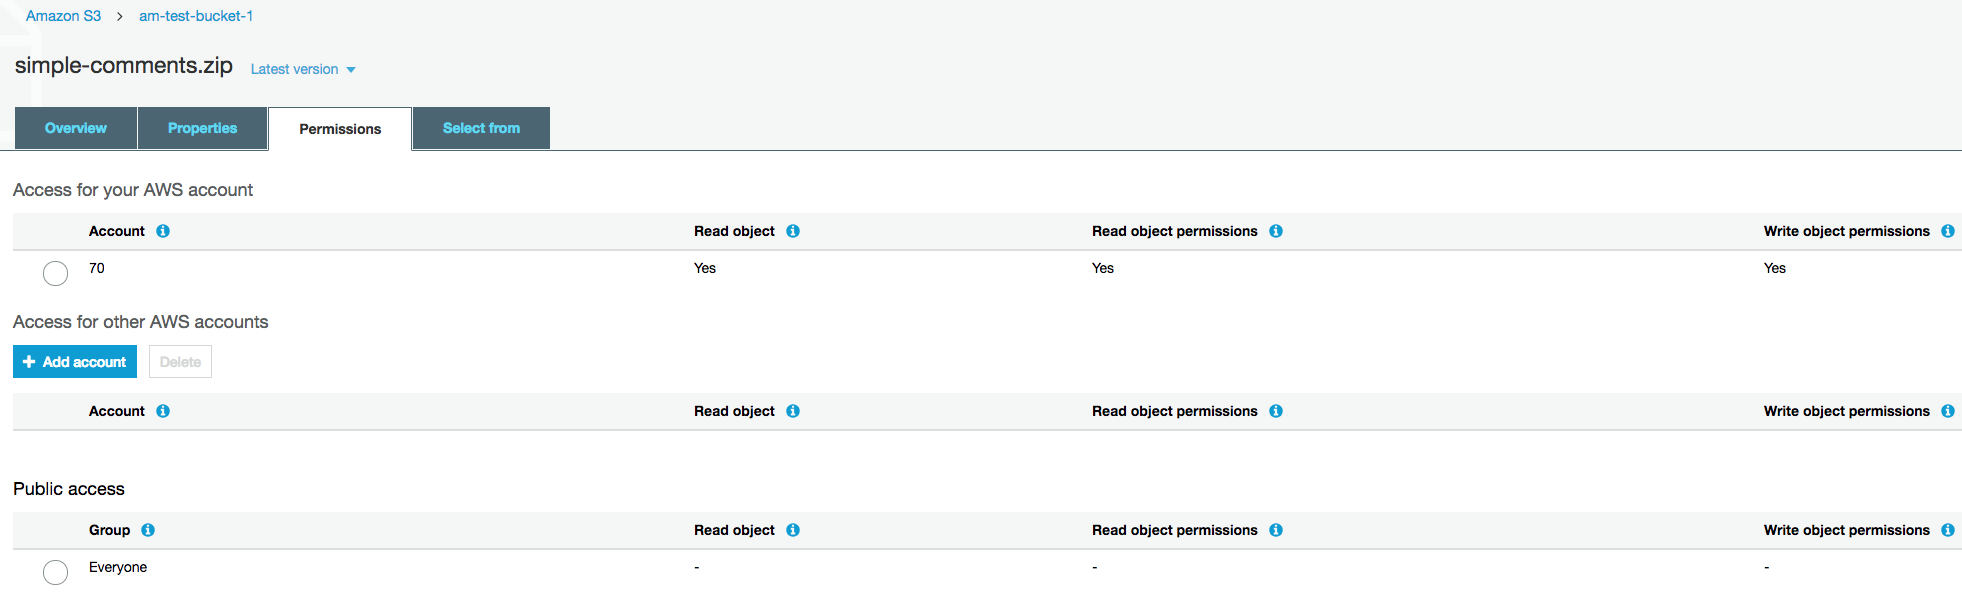
Currently the root account has complete permission to access the bucket and files, but no one else does, not even customers, so we need to give the IAM user bucket level permission.
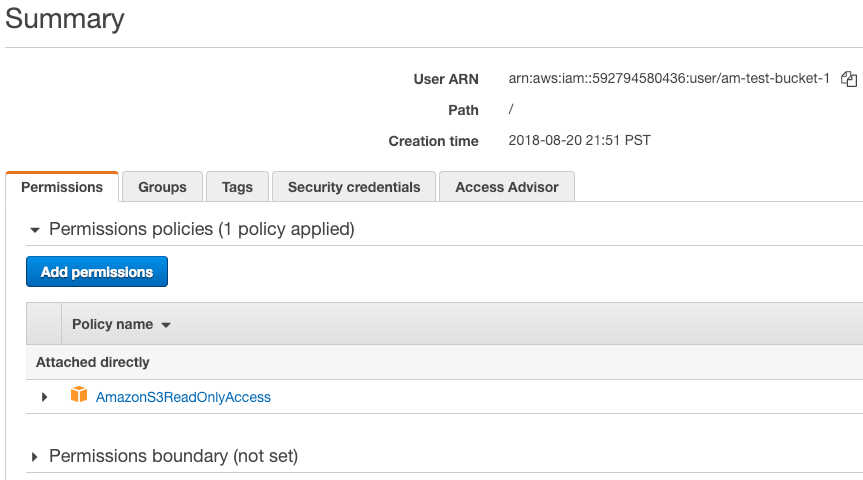
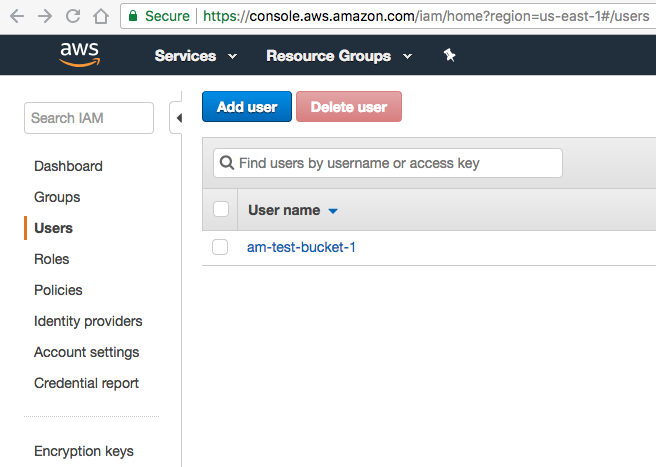
Open the Identity and Access Management (IAM) dashboard, click on Users, then click on the new IAM user you created, then copy the User ARN, and save it for the next step.
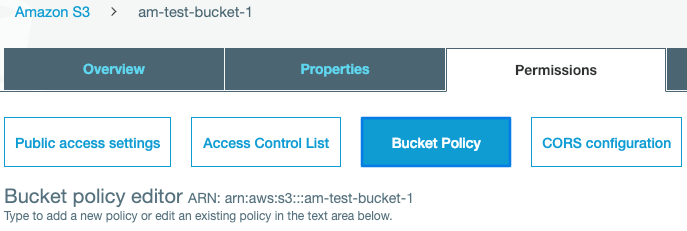
Open the Amazon S3 dashboard, select the new bucket > Permissions > Bucket Policy. Towards the bottom of this page click the Policy generator link.
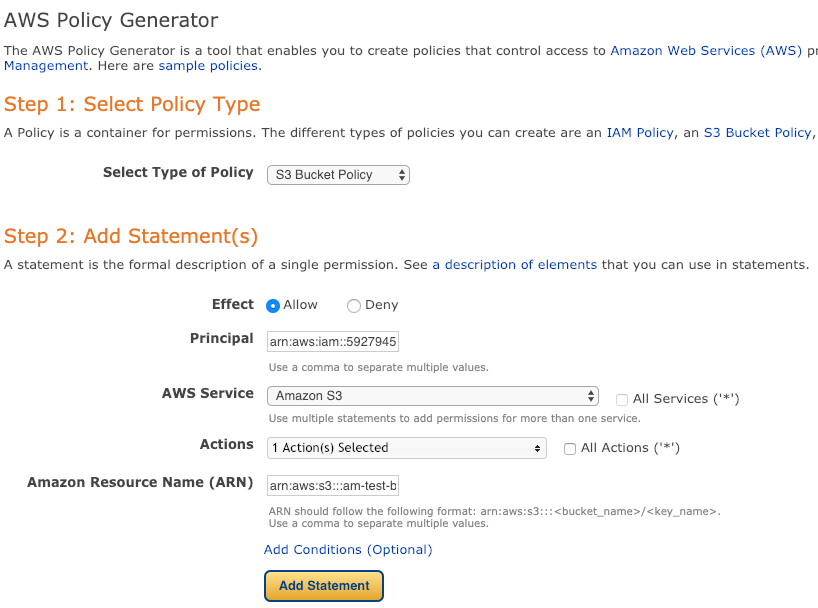
Select the S3 Bucket Policy from the pull-down menu, which should automatically select the Amazon S3 for the AWS Service in the form. Paste the User ARN into the Principal field. In the Actions pull-down menu, select only GetObject, then paste arn:aws:s3:::your-bukcket-name/* into the Amazon Resource Name (ARN) field. Now click Add Statement, then Generate Policy, and copy the resulting code snippet.
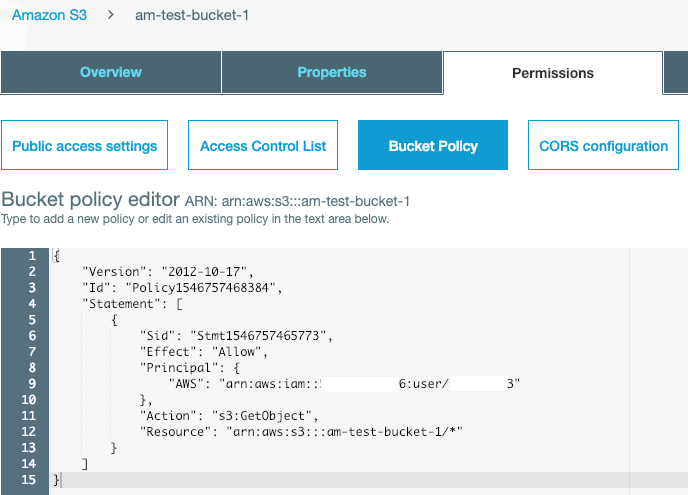
Now click Save at the top right of the screen. The code snippet below is a working copy of the code needed.
{
    "Version": "2012-10-17",
    "Id": "Policy1546757468384",
    "Statement": [
        {
            "Sid": "Stmt1546757465773",
            "Effect": "Allow",
            "Principal": {
                "AWS": "arn:aws:iam::592794580436:user/am-test-bucket-1"
            },
            "Action": "s3:GetObject",
            "Resource": "arn:aws:s3:::am-test-bucket-1/*"
        }
    ]
}
The Principal is the User ARN, and the Resource is the bucket name prefixed with arn:aws:s3::: and postfixed with /*. The forward slash is the delimiter, and the asterisk means anything below the bucket level, including all files.
The IAM user name am-test-bucket-1, which is the same name we gave the bucket, now has read access to any files placed in this bucket. Click on Overview and select the file that was uploaded.
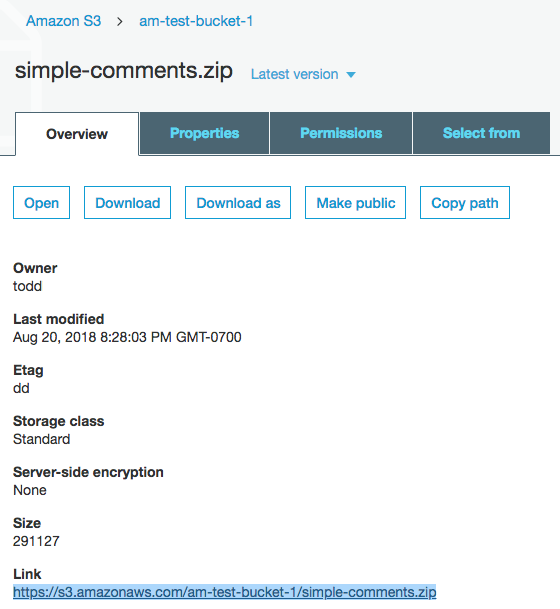
Copy the Amazon S3 (Simple Storage Service) URL and paste it into a product’s Downloadable files > File URL form field, so files can be download through Amazon S3.
More than one file can be added to the same Amazon S3 bucket to keep them organized in the same place. Remember to keep the same file name or the Link will have to be changed in the product.
Whenever a product file is download from Amazon S3 through the API Manager now, the download request will be authenticated through the IAM user permissions.
Here’s a summary of how this will all work:
The API Manager will create a secure URL that acts as a wrapper around the Amazon S3 link. The URL is created when the My Account > API Downloads page loads, and it expires in 5 – 60 minutes depending on your setting. The URL is also created when client software sends an API query requesting a software update. The API Manager finds the URL in the product, and sends a reply URL wrapper. This URL has details required by Amazon S3 to authenticate the download request using the IAM user account information created to limit access to read-only Amazon S3, the file being requested, and an expiration time. The Access Key ID and Secret Access Key created, and entered into the API Manager settings or wp-config.php file, are encrypted and sent in the URL wrapper to download the file, so Amazon S3 know the limits of access for the request, and authenticates the request based on this information.
Going forward, the simplest way to manage new file releases is to keep the name the same, and replace the old file with the new file in the same Amazon S3 bucket, so the Link will remain unchanged.
If new Amazon S3 buckets are needed, follow the directions here, then copy and past the bucket policy code snippet, and modify the User ARN and bucket name as needed.