2Checkout Gateway is a plugin that extends WooCommerce, allowing you to take payments via 2Checkout. This plugin utilizes the 2CO Pass-Through-Products Parameters that enables you to use the gateway without having to create products in the 2CO sellers area.
Note: This product has been retired. Documentation is no longer being updated.
General information
↑ Back to topInstallation
↑ Back to top- Purchase and download the plugin zip file from WooCommerce.com
- Login to your WordPress Admin. Click on Plugins | Add New from the left hand menu
- Click on the “Upload” option, then click “Browse” to select the zip file from your computer. Once selected, press “OK” and press the “Install Now” button.
- Activate the plugin.
Configure the gateway
↑ Back to top- To configure the plugin, click on WooCommerce | Settings from the left hand menu, then the top tab “Checkout”. You should see “2Checkout” as an option in the list.

- Optionally you can select the radio button next to this option to make it the default gateway.
- You should see “2Checkout” displayed across the top of the page as a link also. Click on this to configure the plugin, and you will see a list of options:
- Enable/Disable checkbox for this gateway.
- The “Title” option allows you to determine what your customers will see this payment option described as on the checkout page.
- The “Description” box controls the message that appears under the payment fields on the checkout page.
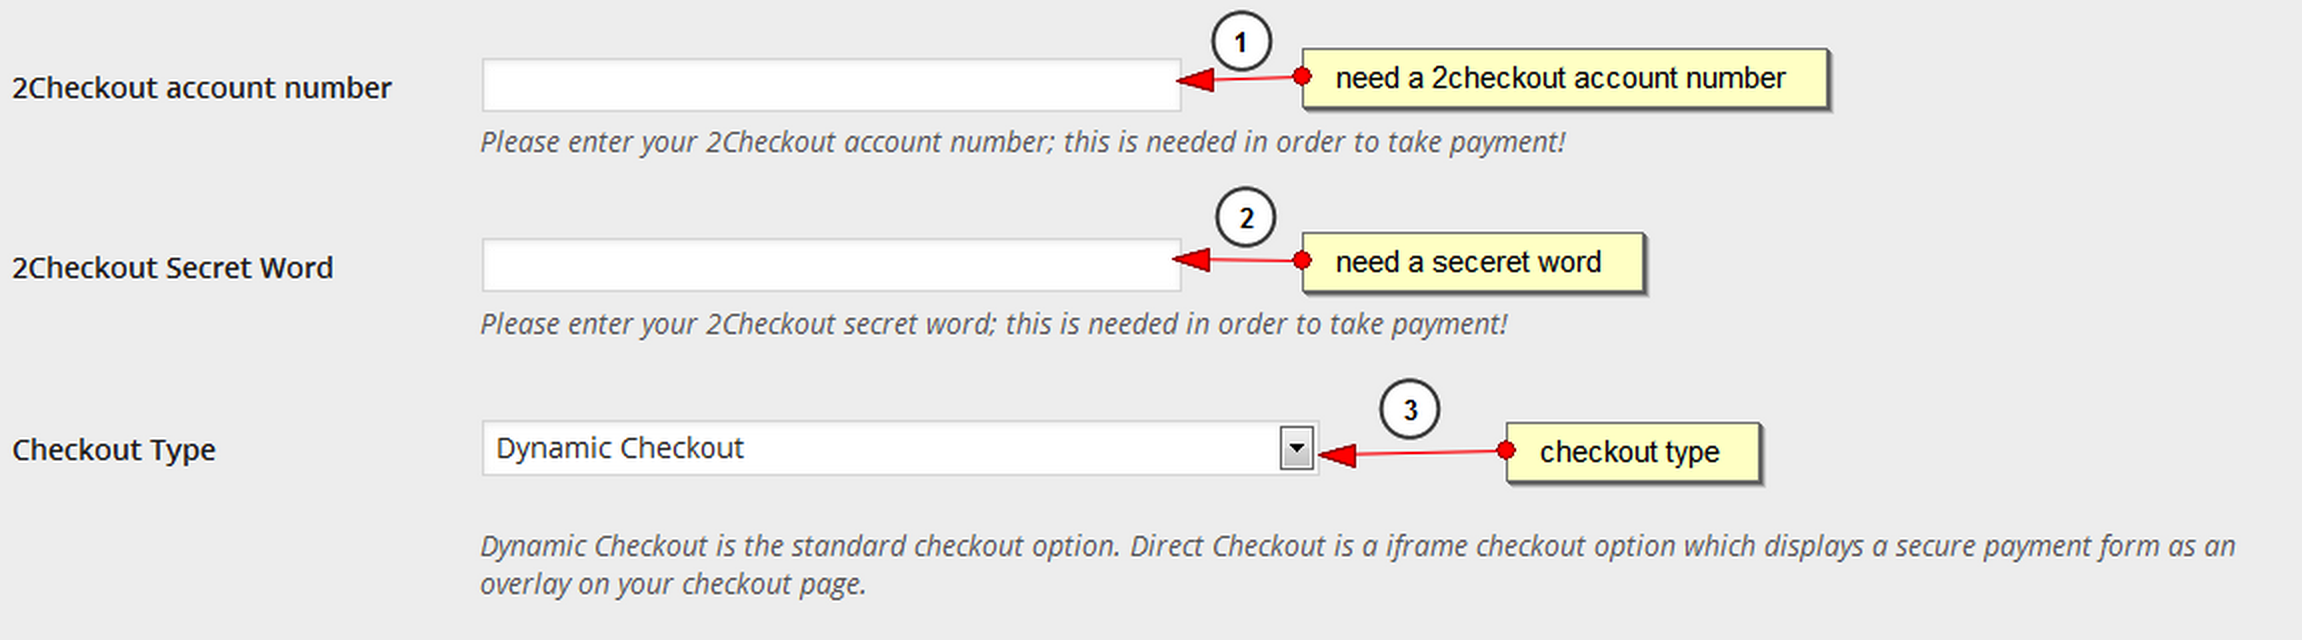
- 2Checkout Account Number – Select the top right Avatar icon in your 2Checkout account area to view your Account number.
- 2Checkout Secret Word – Defined by you in the 2CO account area. Go to: Account > Site Management to view your Secret Word.
- Send Order Total as one item – Send the entire order as one single item to 2Checkout. This can be useful when selling physical products but still want to use the 2Checkout Single Page Checkout.
- Test Mode – This is just to test your 2Checkout account information. No payment will be made.
- Debug – If this option is checked then details of communication with 2Checkout are stored in a debug log at location /wp-content/plugins/woocommerce/logs/2checkout.txt.
- Press Save changes to save your changes.
The account number can also be found in the email sent to the merchant from 2Checkout when a new 2CO account is created.
Purchase routines
↑ Back to topStandard Purchase Routine (purchase)
↑ Back to topSingle Page Checkout (spurchase)
↑ Back to topShipping and purchase routines
↑ Back to top2Checkout account setup
↑ Back to top- This plugin uses 2Checkout’s x_receipt_link_url parameter to send the customer back to your site after payment is completed. For the return process to work properly the domain of your webshop must match the domain registered to the 2Checkout account.
- Go to: Account > Site Management > Direct Return. Make sure that the radiobox Given links back to my website is checked.
- Go to: Notifications > Order Created. Enter the URL to your Thank You Page. From version 1.3.2 the URL must be changed to http://yourdomain.com/?wc-api=WC_Gateway_Twocheckout
Currency
↑ Back to topWooCommerce version 2.1+ compatibility
↑ Back to topPlease note: From version 1.3.3 the callback URL must be changed to https://yourdomain.com/?wc-api=WC_Gateway_Twocheckout
- Login to your 2Checkout account. Navigate to –> Notifications –> Settings.
- Change the URL in Order created to – https://yourdomain.com/?wc-api=WC_Gateway_Twocheckout