1. Log in to your account on woocommerce.com and download the ZIP file of the plugin.
2. Upload the plugin into your plugin directory. To do this, just go to Plugins and click Add New.
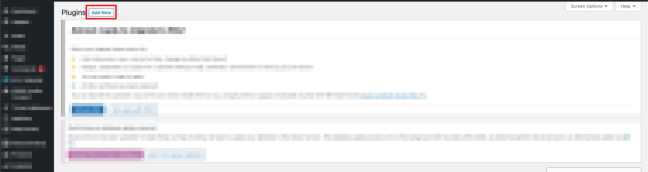
3. Click Upload Plugin and Choose File.

4. Go to your Downloads folder and select the Pixel Manager Pro for WooCommerce ZIP file. Select Install Now.

5. Once you’ve installed and activated the plugin, you’ll need to get the Google Ads conversion ID and the conversion label. You will find both values in the Google Ads conversion tracking code.
To find this, log in to your Google Ads account and go to Tools and Settings > Measurement > Conversions.

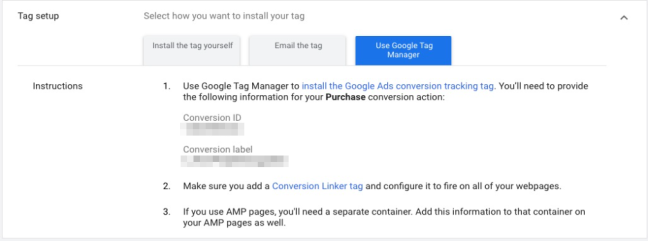
6. Select your existing Purchase Conversion Action and under Tag setup, select Use Google Tag Manager. In there you will see the Conversion ID and Conversion Label.
7. In the WordPress admin panel, go to WooCommerce > Pixel Manager > Google Ads Conversion Tracking menu and enter the Conversion ID and the Conversion Label into their respective fields.